Data migration from other vendors to HelpDesk
You may need to migrate your data to HelpDesk. If you switch from another help desk software or use email providers like Gmail, you can transfer your ticketing system data to HelpDesk. Thanks to our partnership with the Help Desk Migration service, your data migration is smooth and straightforward.
We’re here to assist you throughout this process, including providing information about any associated costs and possibly covering them. If you’re interested, please contact us through chat.
Below, you’ll find a handy step-by-step guide on how to migrate your data using Help Desk Migration. So go ahead and give it a shot!
What you can import to HelpDesk
- Tickets
- Contacts
- Agents
- Groups
- Replies
- Public and Private Notes
- Tags
* Remember that this list is just the tip of the iceberg. Depending on your source platform, the actual records you can migrate may vary.
Contact our team or start setting up your migration to see the exact list of migrated records.
Key preparations before you begin
Before you dive into the migration process, it’s crucial to get a few things in order:
Clean up your data
Take some time to tidy up your data in the source help desk. Remember, in HelpDesk, there’s a limit of 100 agent profiles, groups, and tags. Exceeding this limit could halt the migration process, so it’s wise to clean up any unnecessary clutter beforehand.
Check your API limits
Once you set up your demo and know the number of records you’ll be dealing with, consider reaching out to our team to discuss increasing your API limits. This can significantly speed up the migration process, especially when dealing with a large volume of data.
Choose the right time
Depending on the amount of data you’re migrating, the process can take anywhere from a few hours to a few days. Pick a time when your ticket volume is at its lowest to minimize disruption. This way, there’ll be fewer new tickets to handle post-migration.
Prepare your HelpDesk account
Before starting a Demo Migration, make sure your HelpDesk account is all set up and ready to roll. Set up agent profiles and teams to ensure that tickets are assigned to the right people swiftly, allowing your team to hit the ground running once the migration is complete.
Migrate your data to HelpDesk using API
If you’re keen to migrate your data to HelpDesk using the API, just give us a shout. We’ll hook you up with the documentation for a special endpoint designed specifically for importing requests.
Drop us a line at support@helpdesk.com to get the ball rolling on your API-powered migration journey. We’re here to help every step of the way!
Migrate to HelpDesk with the Help Desk Migration service
How to migrate your data to HelpDesk
Step 1. Sign up for the Help Desk Migration service
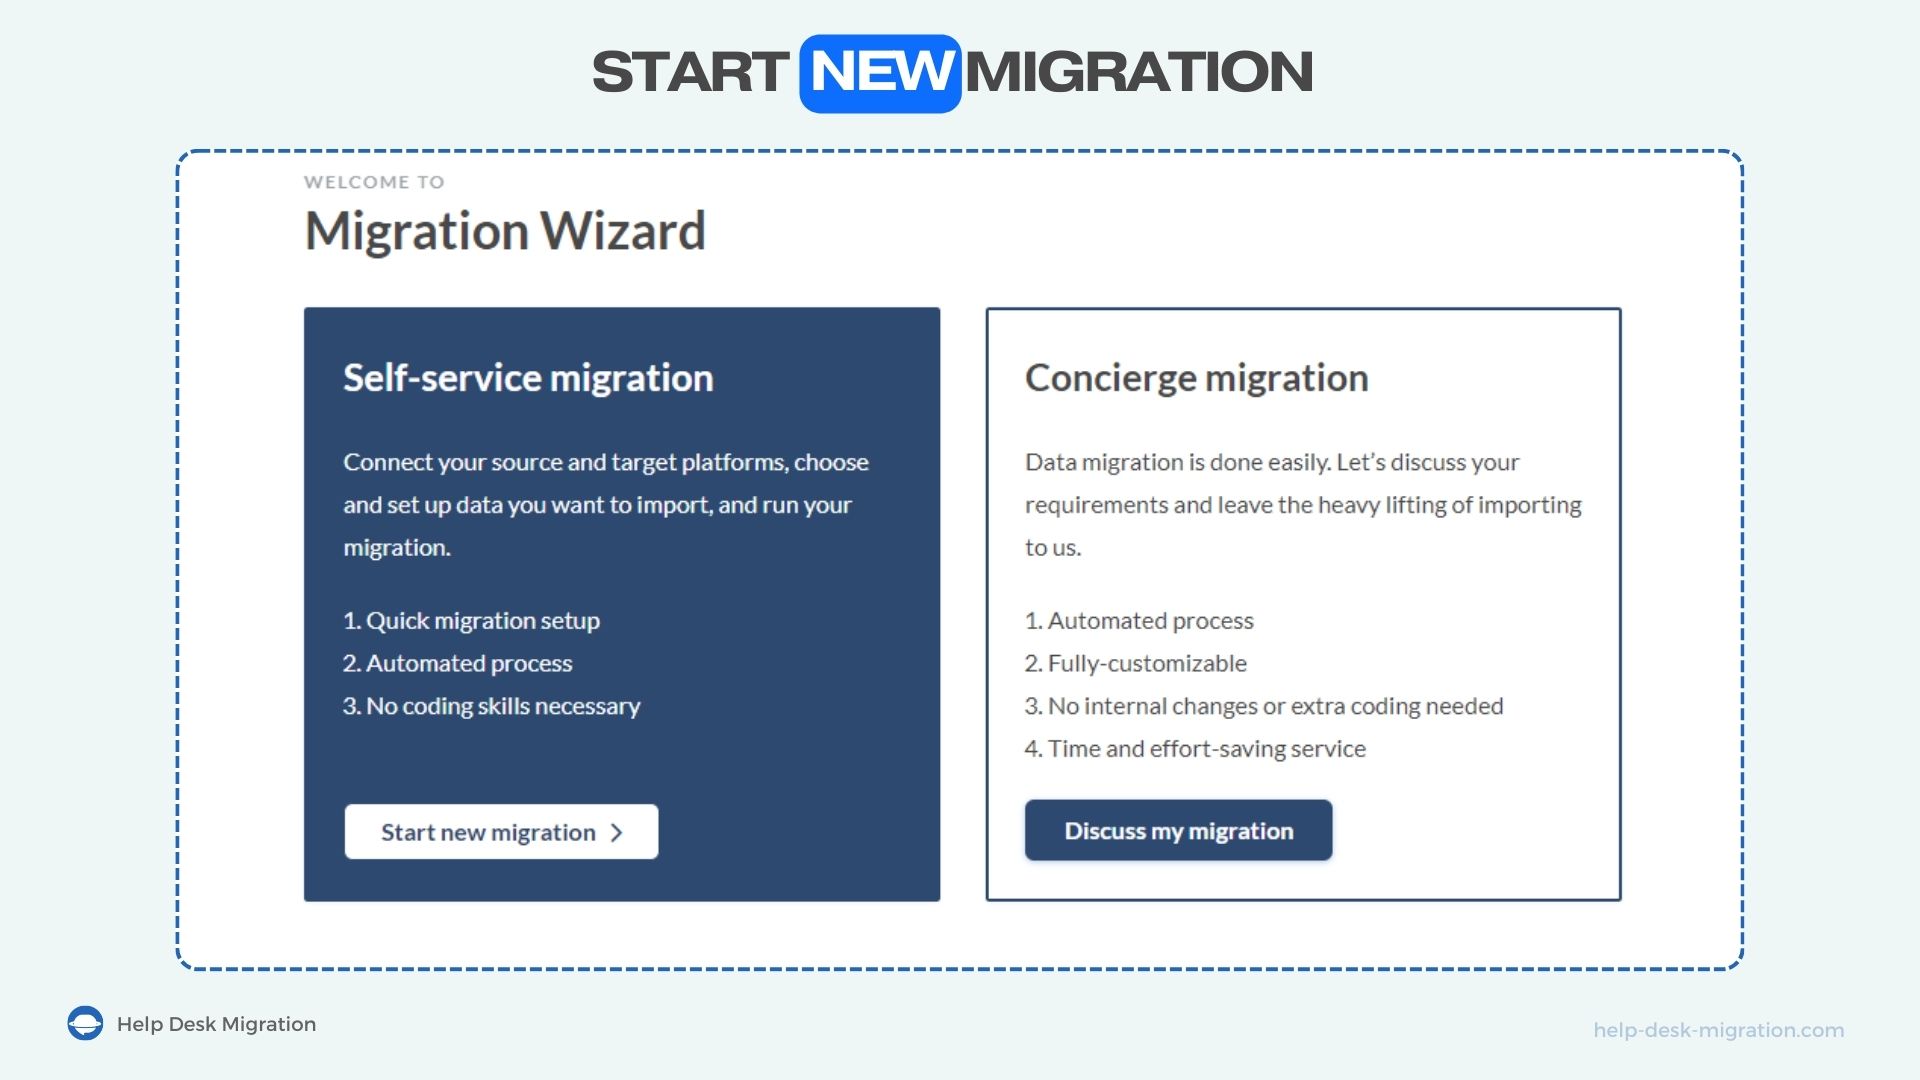
Provide a valid work email and your full name so our partners can update you on the migration process or contact you with any questions. Once submitted, check your mailbox for a confirmation letter. Create a strong password and click the Confirm button.
Step 2. Choose the data source
Choose the help desk from which you want to export data. Simply click the select box and browse through the list to find your help desk. If needed, utilize the search bar to quickly locate your help desk.
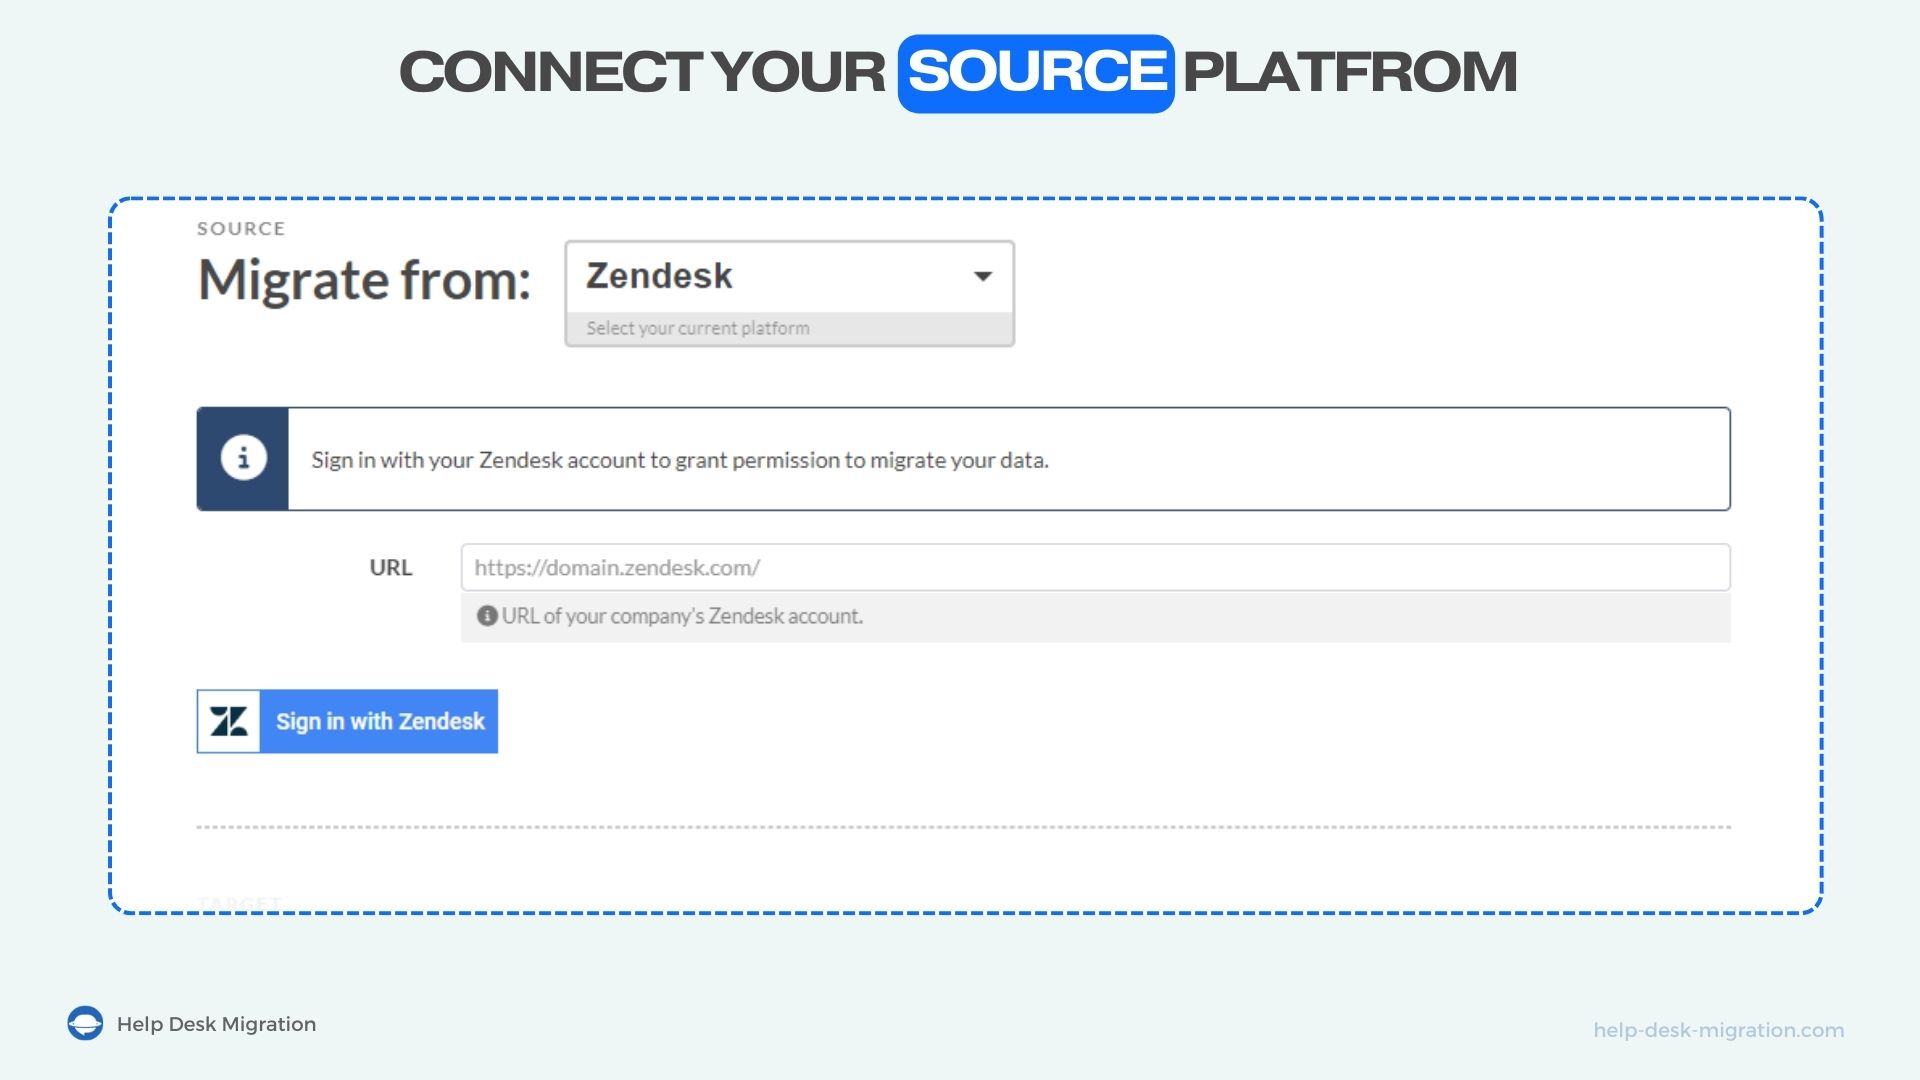
Once you’ve selected your help desk, the next step is providing the credentials for our partner’s tool to migrate your data. After entering the required information, simply click “Continue” to proceed.
Step 3. Grant access to your HelpDesk account
After successfully connecting to the source help desk, the next step is to log in to your HelpDesk account. Simply click the select box and choose HelpDesk, then click “Continue.” This will direct you to the authorization page, where you can log in to your HelpDesk account using your usual credentials.
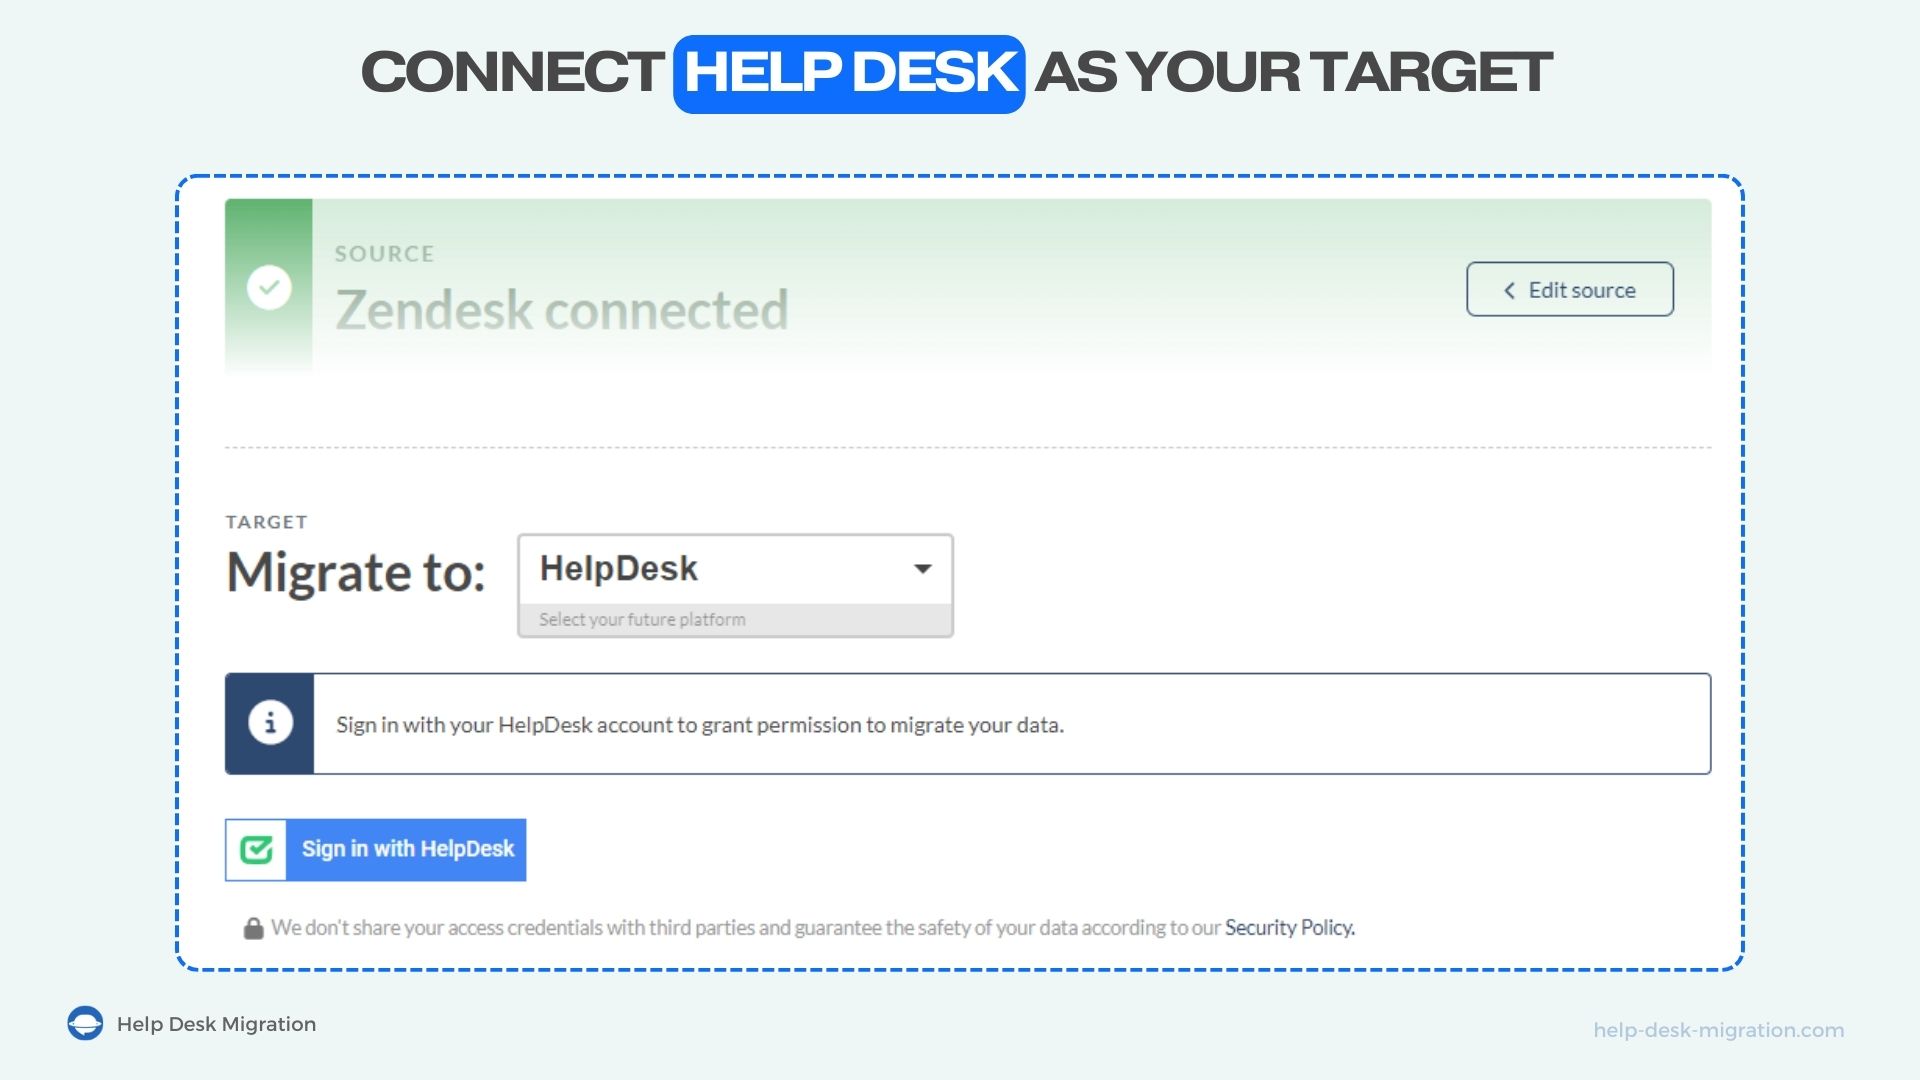
Once your HelpDesk account is connected, you’ll seamlessly proceed to the next step of the migration process.
Step 4. Select the data you want to migrate
Once both platforms are successfully connected, the Migration Wizard will prompt you to select the data you wish to migrate. You’ll be presented with a comprehensive list of records available for migration from the specified help desk.
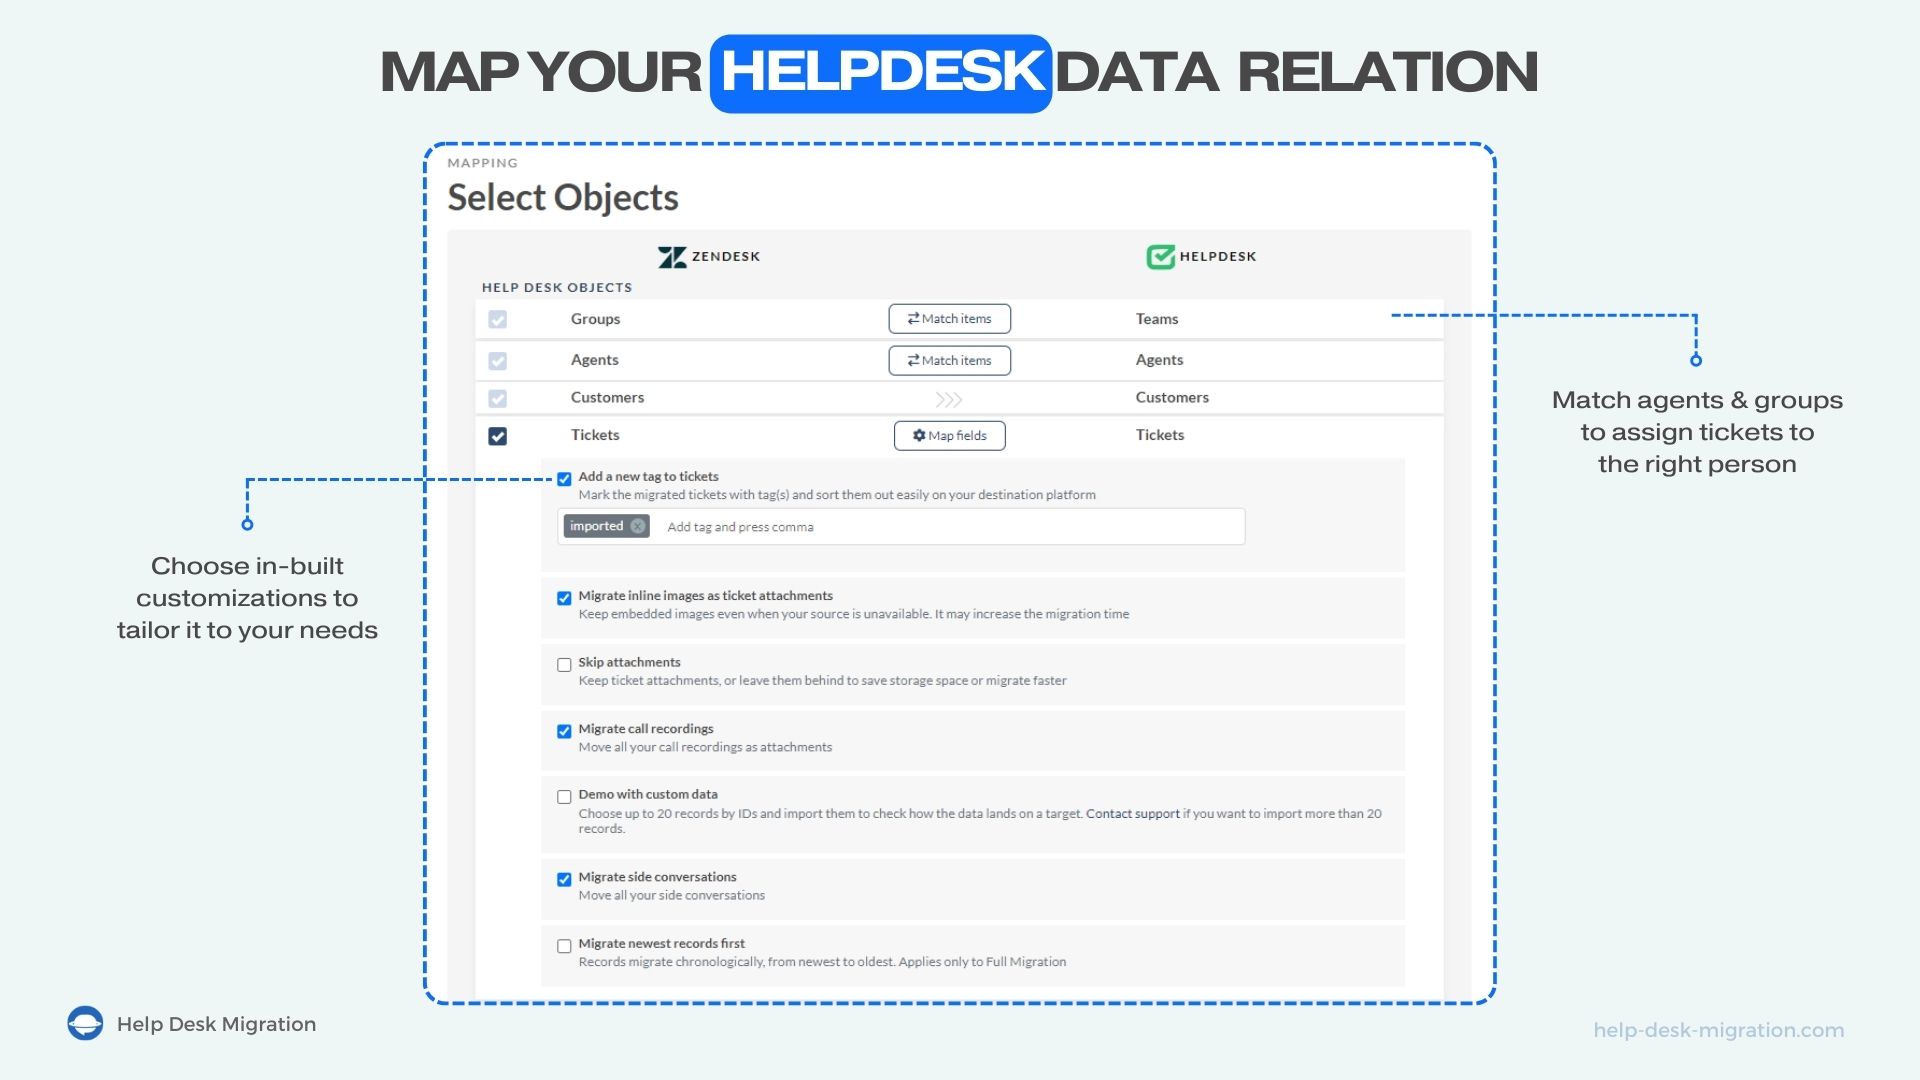
Simply check the box next to each record you want to migrate. For certain records like agents and groups, you’ll have the option to press “Match items” to ensure proper alignment.
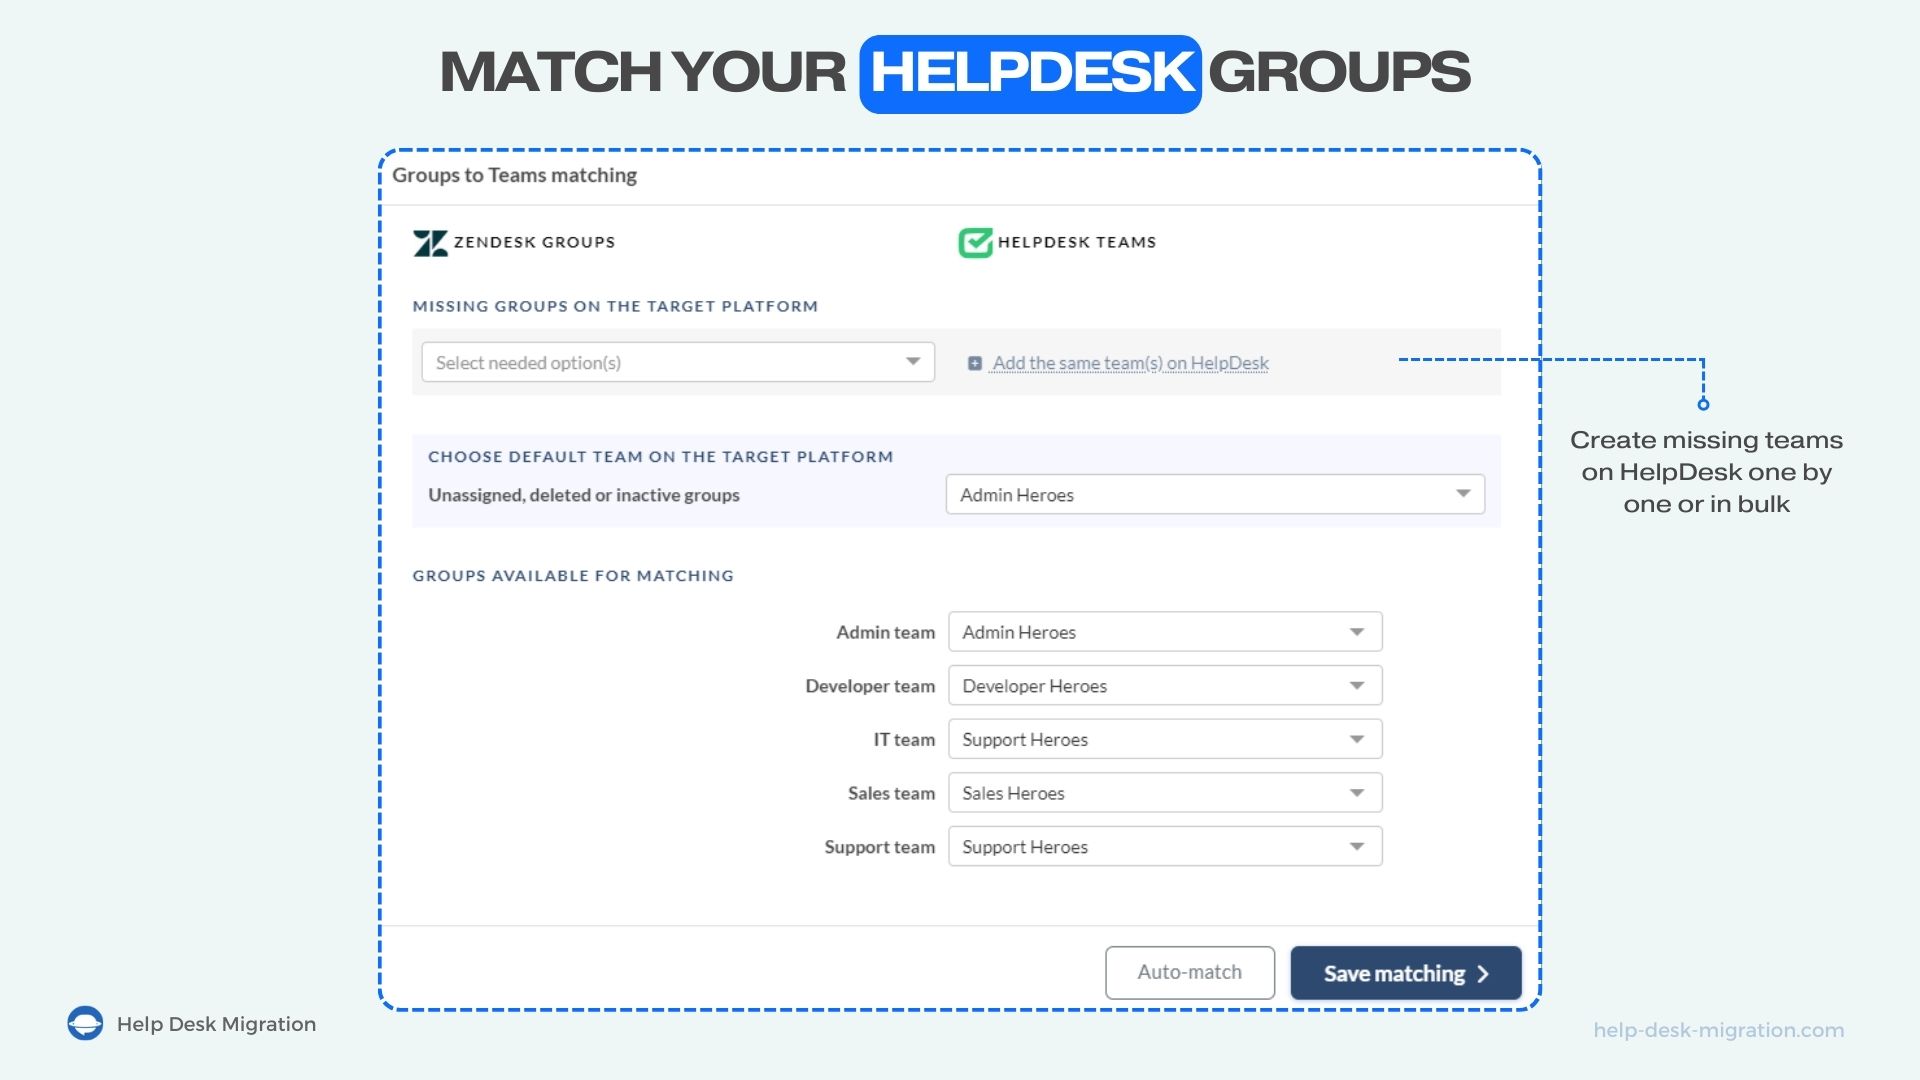
Match up teams
Match source groups with their corresponding counterparts in HelpDesk to ensure proper ticket assignment. Select a default team to facilitate the seamless import of tickets from deleted or unassigned groups. This ensures smooth continuity of ticket management throughout the migration process.
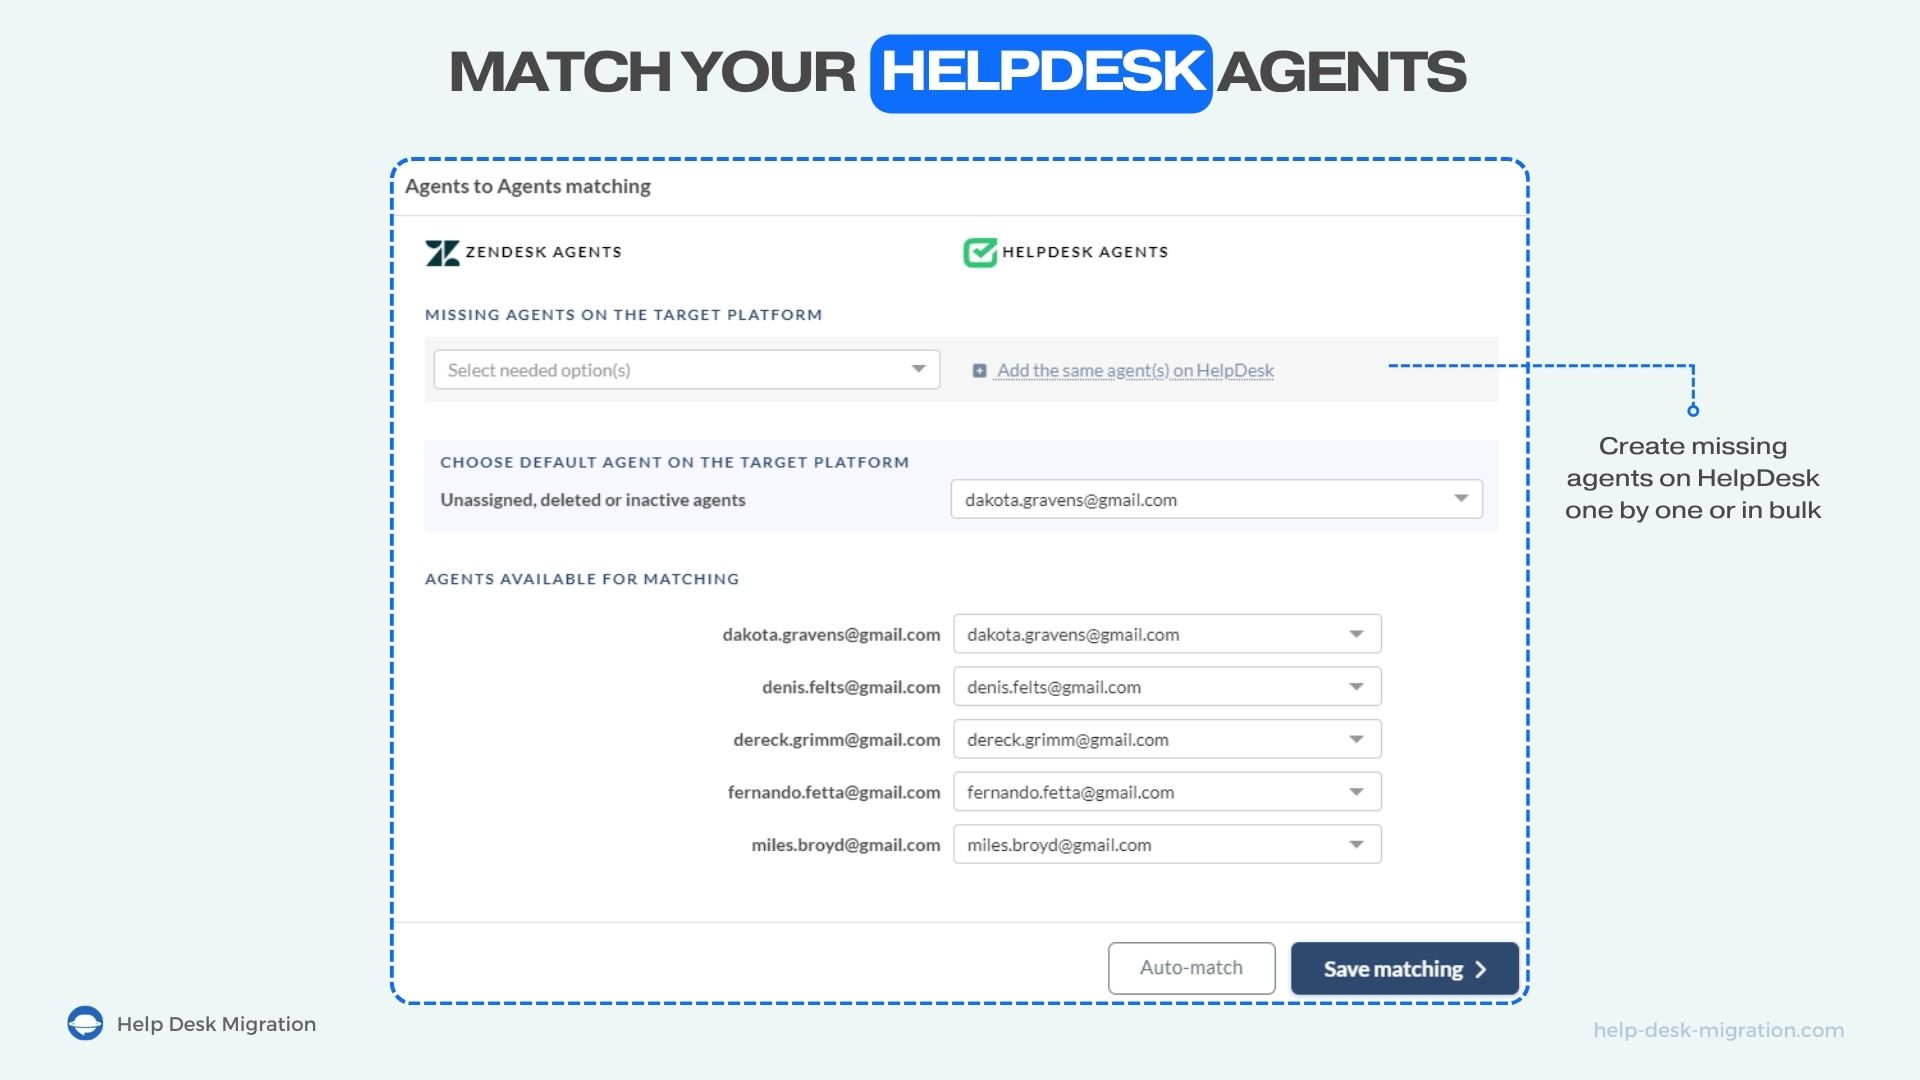
Match up agent profiles
Match source users with their corresponding counterparts on your HelpDesk account to maintain consistency. Similar to groups, assign a default agent for tickets originating from deleted or unassigned users. Remember that identical user profiles existing on both platforms will be matched automatically, streamlining the process.
After making sure all relevant boxes are checked, proceed by clicking the “Map fields” button located next to Tickets.
Step 5. Match up ticket fields
Match ticket fields from the source help desk with corresponding fields in HelpDesk. Remember that HelpDesk doesn’t support custom-created fields, so you’ll only be able to match default ticket fields during this process.
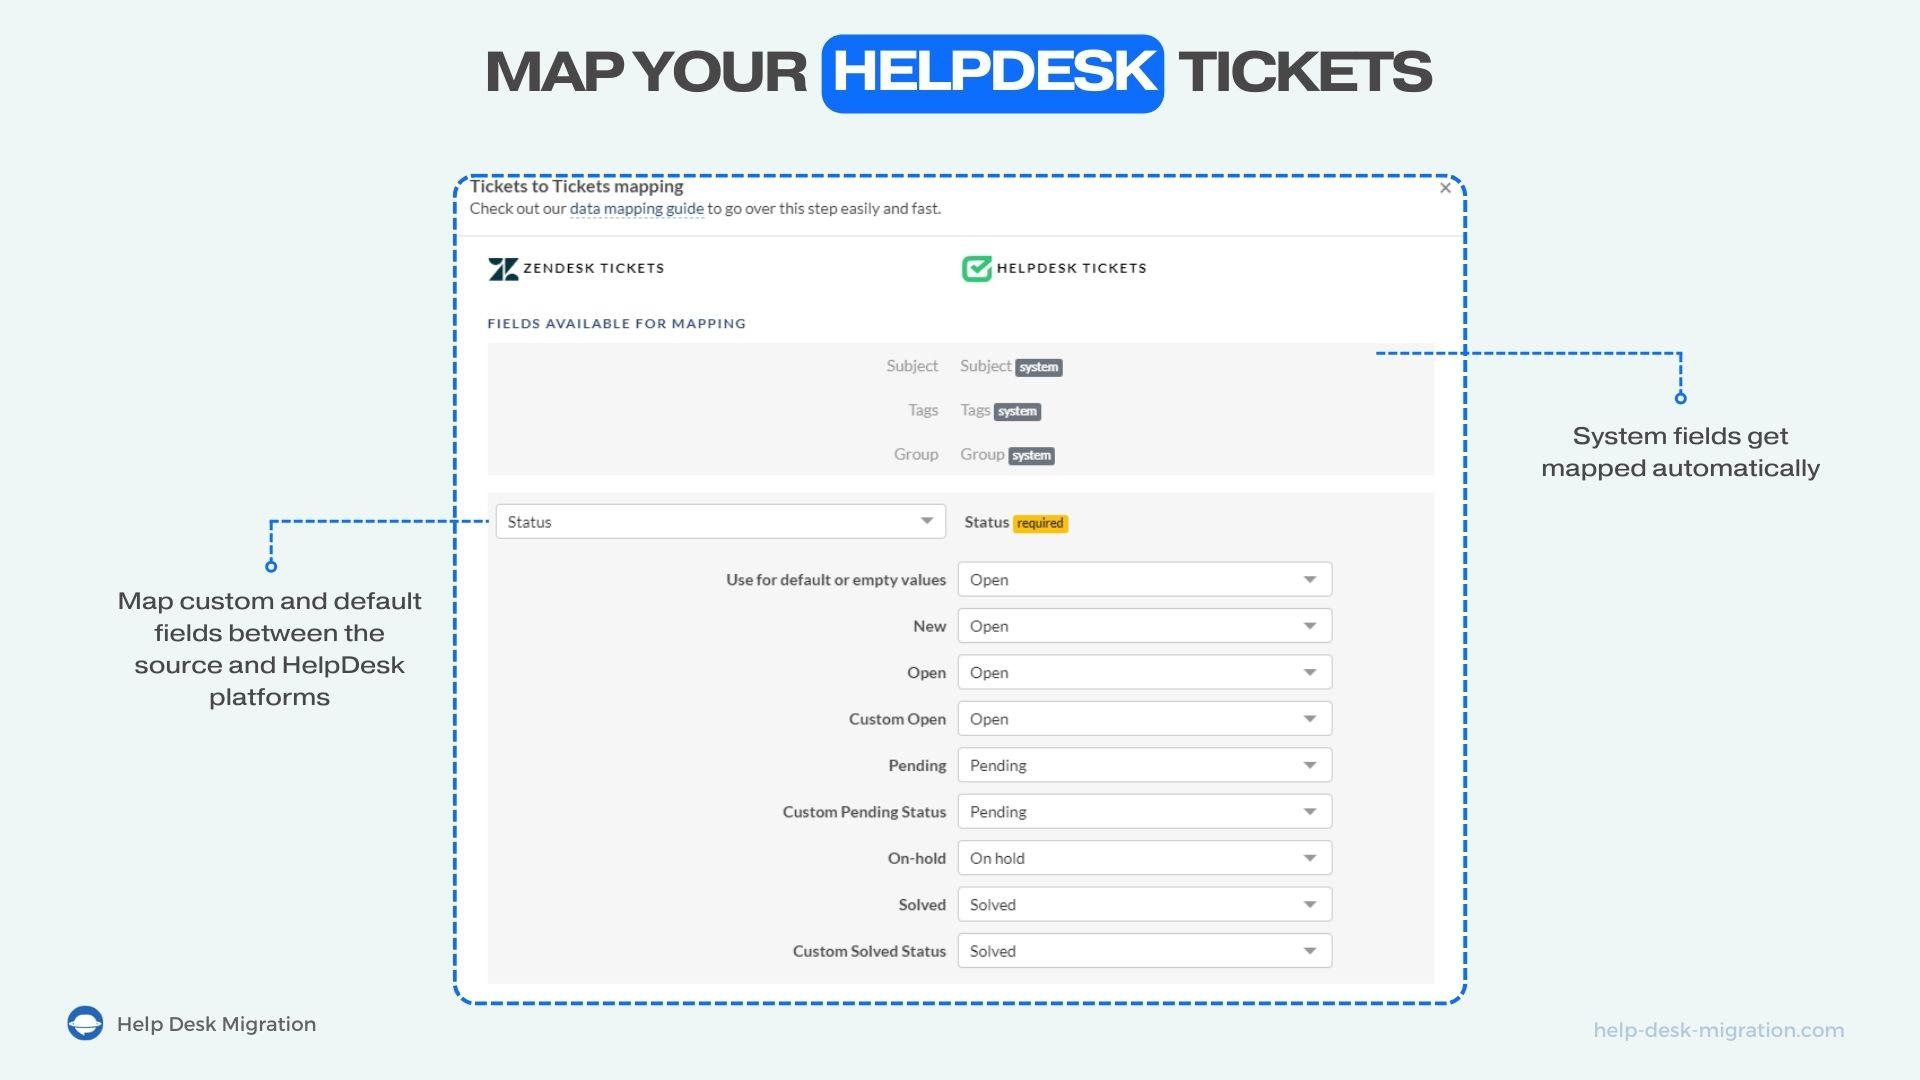
Review all the fields carefully to ensure they align with your requirements, then click “Save mapping” to proceed. Once saved, proceed to the Demo Migration.
Step 6. Test the migration tool
The Demo Migration serves as a valuable trial run before importing all records. During this process, the tool will import a small subset of data, typically around 20 tickets, along with related information. This allows you to verify that everything works smoothly and as expected before proceeding with the full migration.
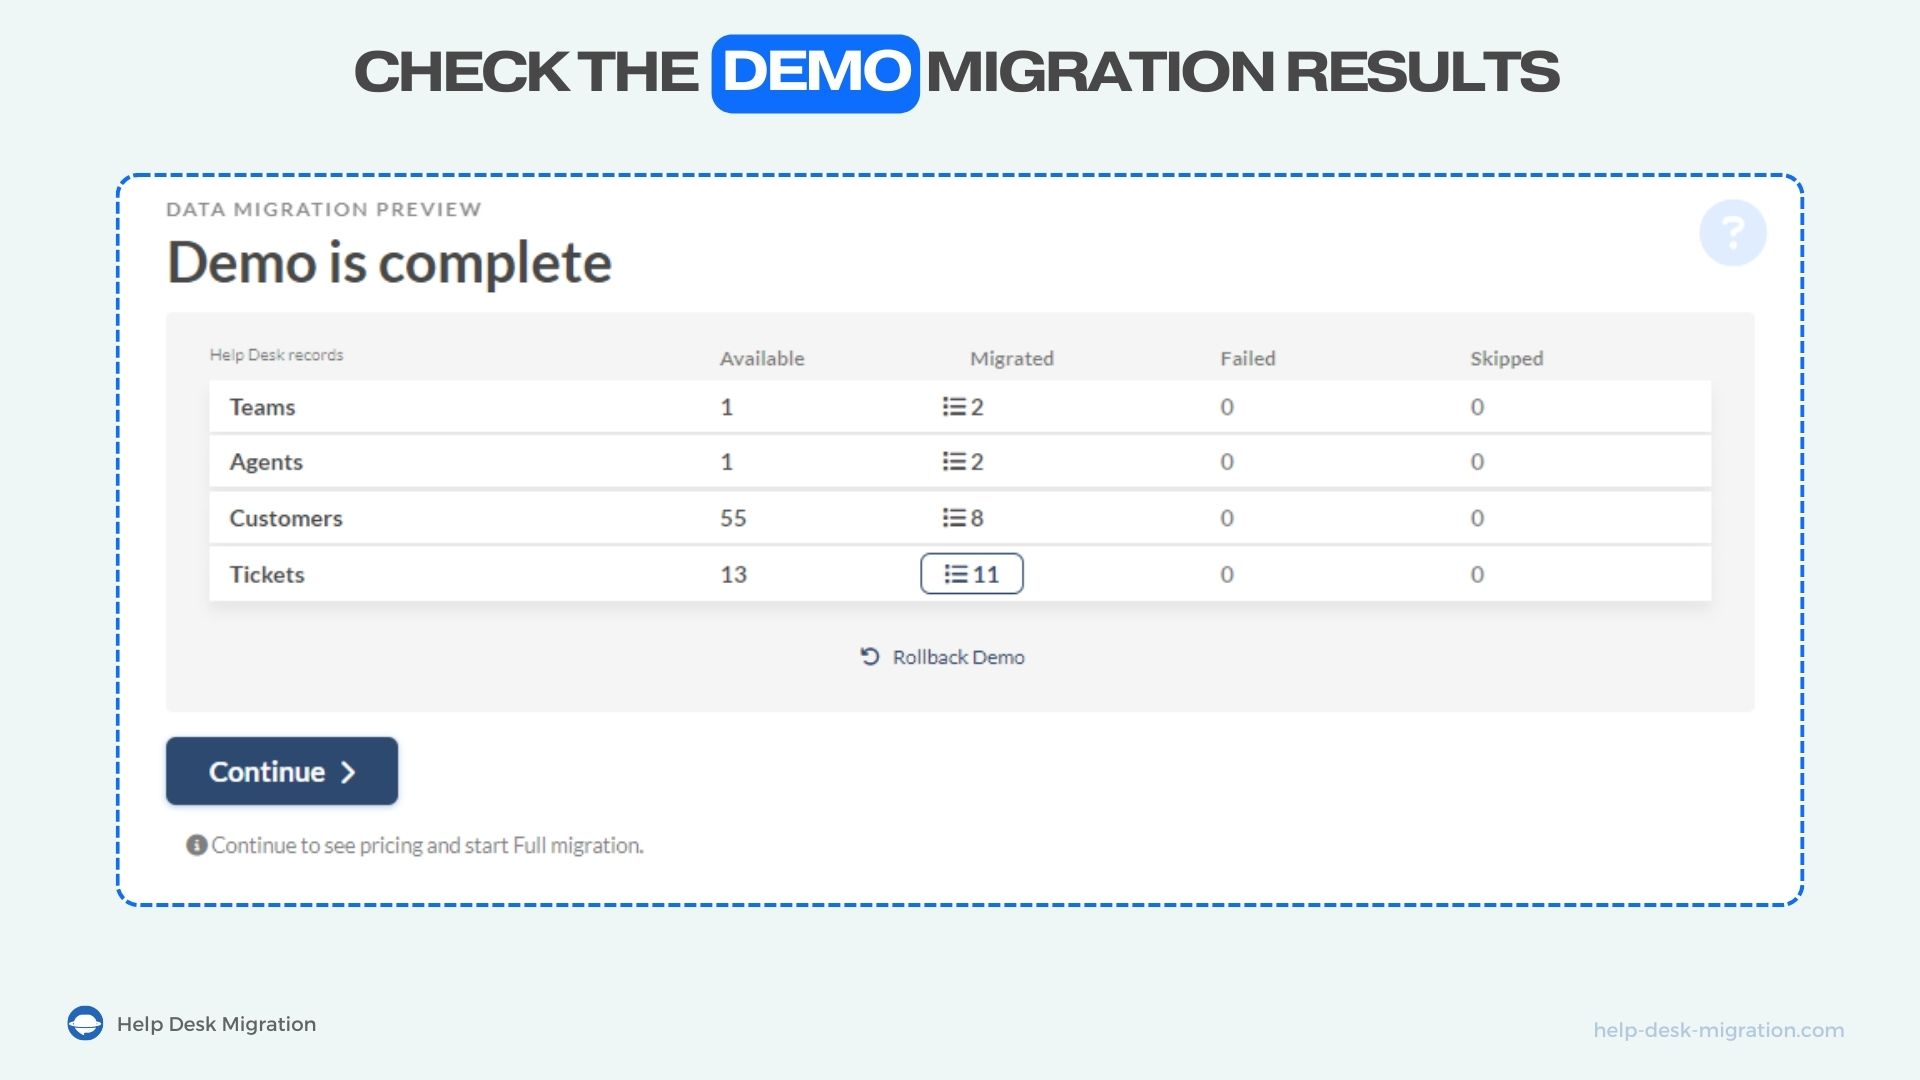
It’ll only take a couple of minutes, and best of all, it’s completely free! If you’re having trouble checking the results, don’t hesitate to reach out to our support team for assistance.
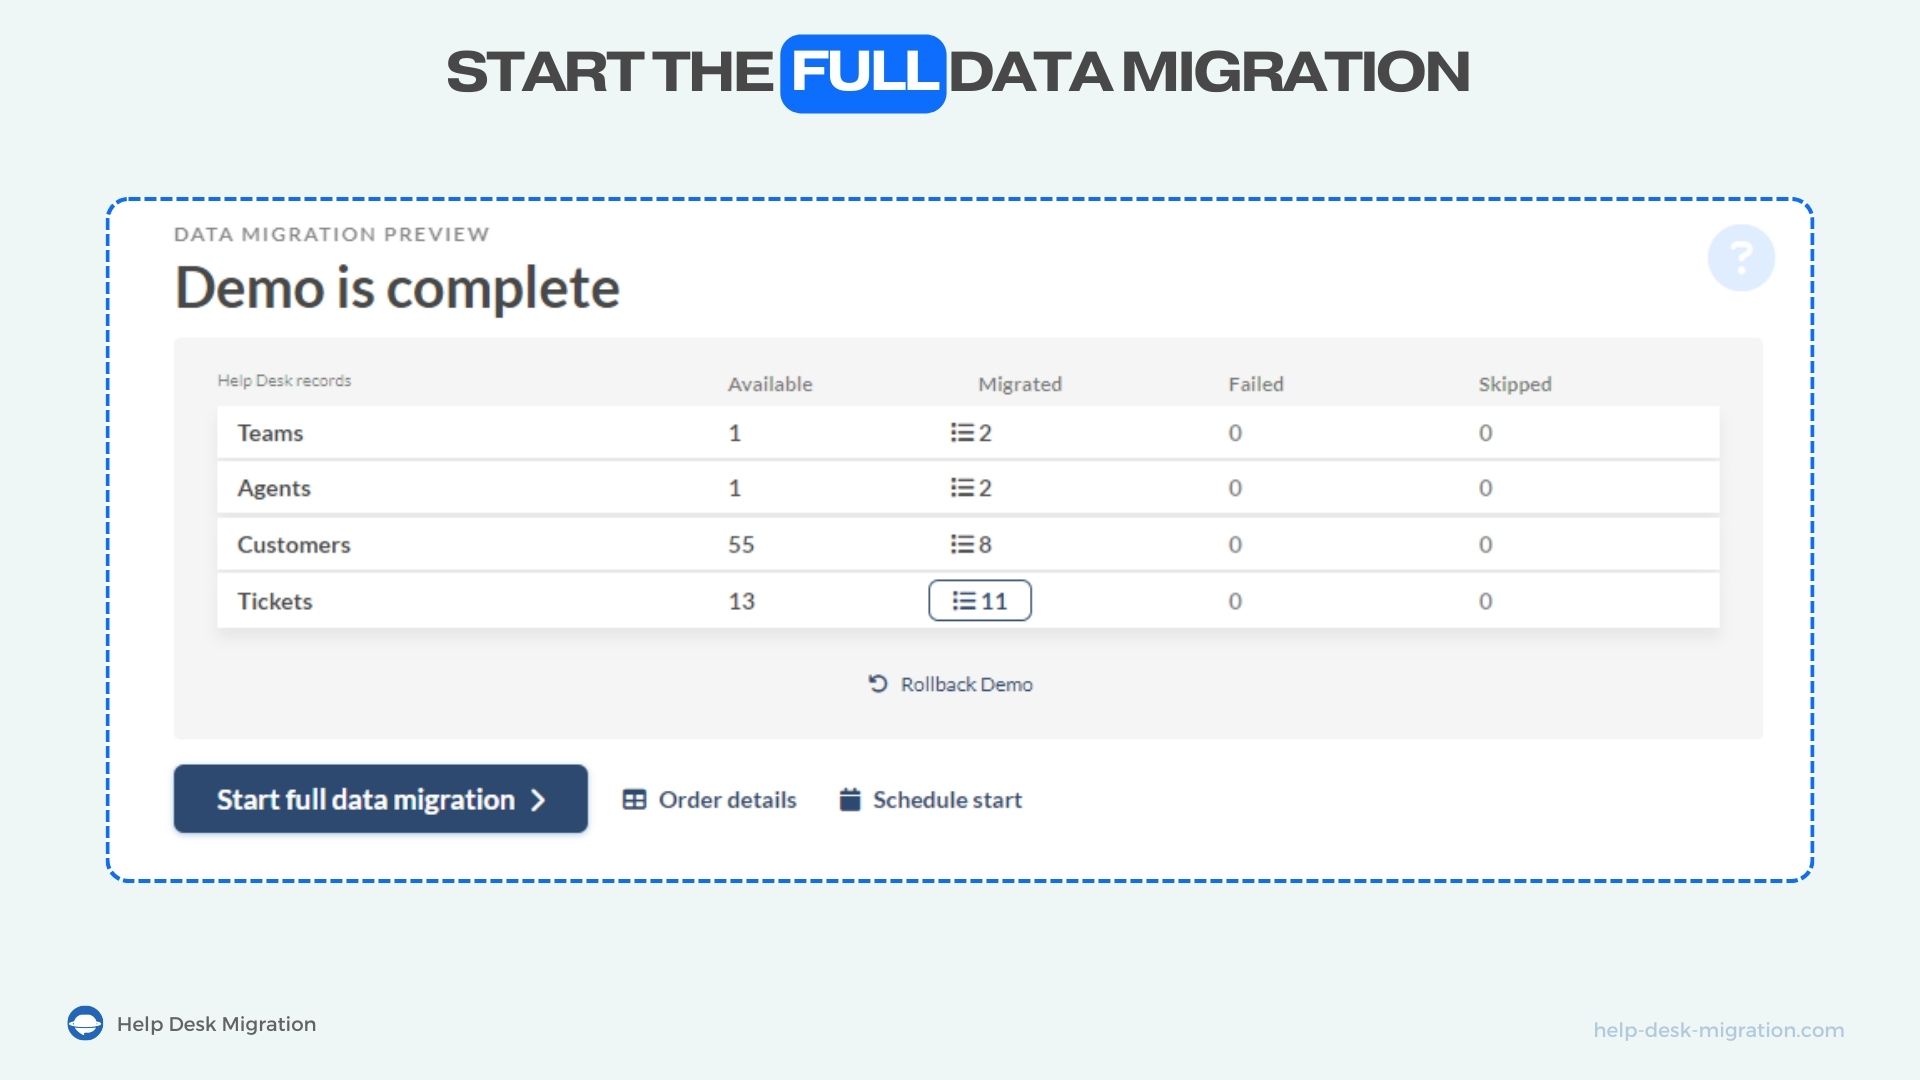
Step 7. Import all data to HelpDesk
If you’re satisfied with the migration tool and its performance during the Demo Migration, you can proceed with your Full Data Migration. Simply complete the payment process, return to the Migration Wizard, and kickstart your data migration.
Once the import process has been initiated, you can close the tab. You’ll receive updates once the data has been successfully imported. Alternatively, you can log in to your Help Desk Migration account to monitor progress anytime.
Four things you should know about the Full Data Migration
Avoid modifying HelpDesk data. Resist the urge to merge or delete any data within HelpDesk while the migration is in progress. It’s best to wait until the import process is complete before making ticket changes.
Run automatic removal of Demo data. Before importing all data, our tool automatically removes any tickets imported during the Demo Migration. There’s no need for manual intervention on your part.
Maintain migration credentials. It’s crucial not to alter any credentials, such as emails, tokens, or passwords, used to execute the migration process. Any changes could halt the migration, requiring you to restart the process from the beginning.
Report issues. If you encounter any issues with the Full Data Migration, it’s important to report them promptly. However, if no issues are reported within five days of completing the migration, our team will consider it a success and remove any related data accordingly.
Once the import is over
After the import process is complete, it’s essential to carefully review the outcome of your data migration. Take the time to ensure that all your data is present and accessible in HelpDesk. If anything seems amiss or you encounter any discrepancies, don’t hesitate to contact our support team for assistance.
Depending on your service package, the migration will be automatically archived up to ten days after the Full Data Migration. This is done in accordance with the Help Desk Migration privacy policy.
Once the migration is archived, Help Desk Migration will no longer provide assistance or support to resolve any issues related to the migrated data. That’s why it’s crucial to review the migration outcome promptly and report any concerns before the archive process takes place.
Estimate the cost of your migration
To estimate the cost of your migration, simply run a Free Demo to assess the scope of your data migration to HelpDesk. The final quote will depend on various factors, including the number of records available for migration, any additional options or customizations required, and the service package you choose.
By initiating a Free Demo, you’ll better understand the migration process and the associated costs based on your specific needs. This allows you to make an informed decision about moving forward with the migration to HelpDesk.
Frequently Asked Questions
How does Help Desk Migration charge for the migration?
They charge based on the total number of records in your source help desk. To be exact, they charge for every Agent, Group, Contact, Company, and Ticket.
How do I get an accurate quote?
To find out the exact price of your migration, you need to run a Free Demo Migration. It takes up to 5 minutes and allows you to estimate the exact amount of data you have.
Can Help Desk Migration help me with the migration?
Yes, the Help Desk Migration team would happily help you with this task. You can also contact us through live chat.