 158 29
When configuring email forwarding in Microsoft 365, you may encounter certain issues. Our goal is to assist you in resolving these challenges.
In this article, we’ll outline the most frequently encountered issues and provide step-by-step solutions to help you successfully set up email forwarding in Microsoft 365.
If you get one of these statuses:
-
Office 365 Forwarding Not Working
-
Delivery has failed
-
Your organization does not allow external forwarding
-
550 5.7.520 Access Denied
It means that the forwarding settings may be tied to arrangements at an organizational level — Microsoft requires administrator permission to set up forwarding outside the organization if a company manages your email address.
While email forwarding may be convenient and necessary for HelpDesk to function correctly, it also introduces security concerns related to potential information exposure. Malicious actors could leverage this information to attack your organization or its partners.
That’s why Microsoft 365 offers various types of automatic forwarding options, including:
-
Users can set up Inbox rules to automatically forward messages to external recipients, either intentionally or as a consequence of a compromised account.
-
Administrators can configure mailbox or SMTP forwarding to redirect messages to external recipients automatically. The admin can decide whether to forward the messages or retain copies of the forwarded messages within the mailbox.
Learn more about controlling automatic external email forwarding in Microsoft 365.
Set up forwarding with default spam policies
The next steps are related to forwarding using default anti-spam policies, but we recommend creating your own anti-spam policy to meet your organizational needs and requirements.
- Access Active users in the Microsoft 365 Admin Center.
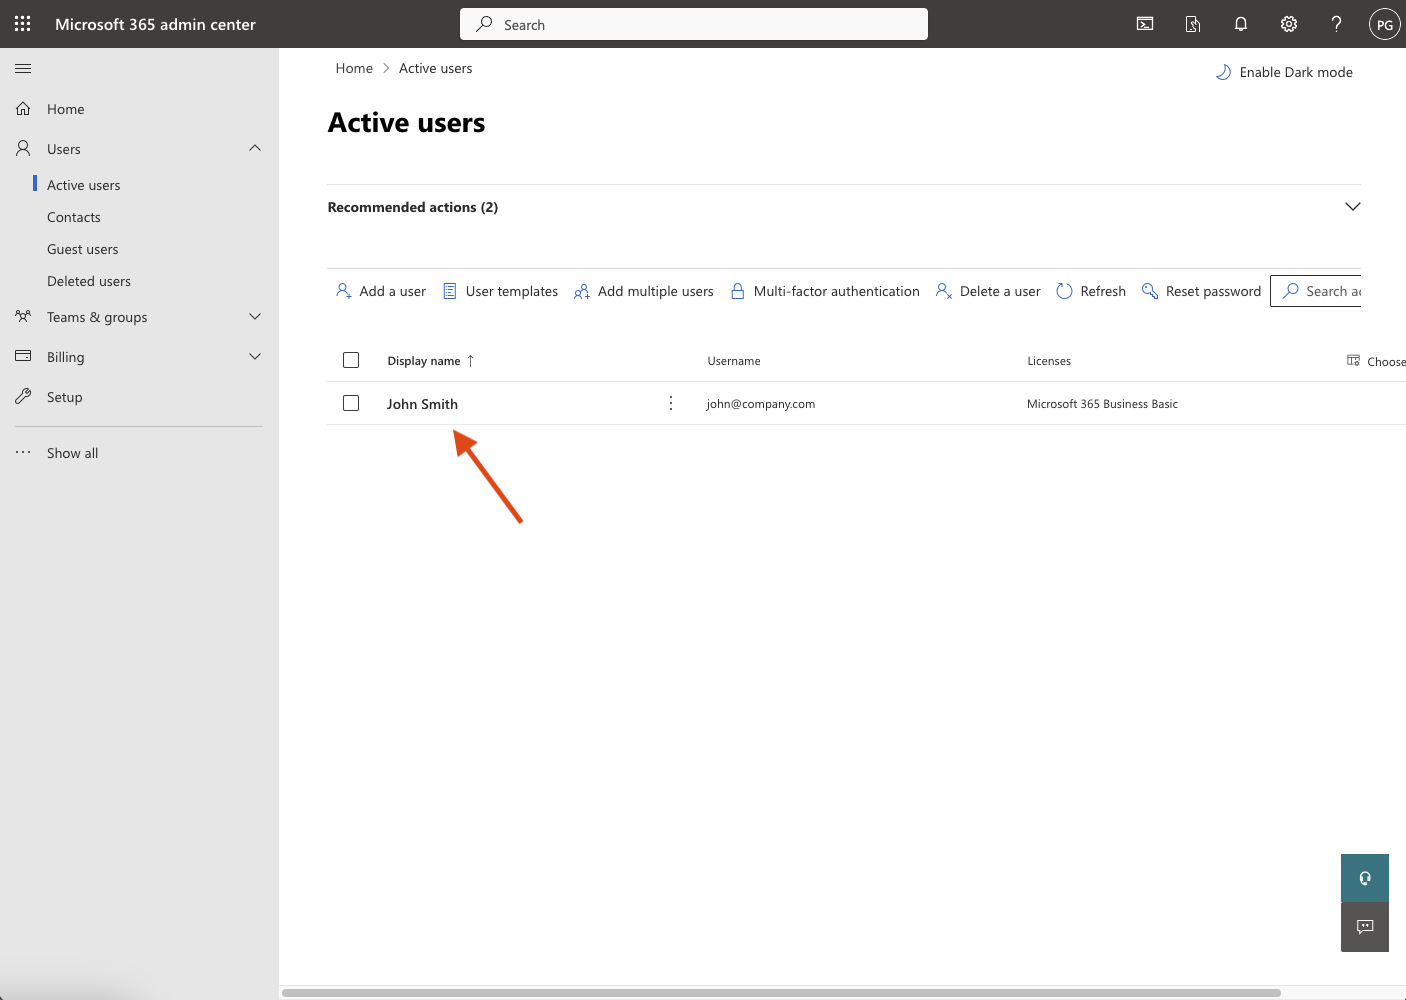
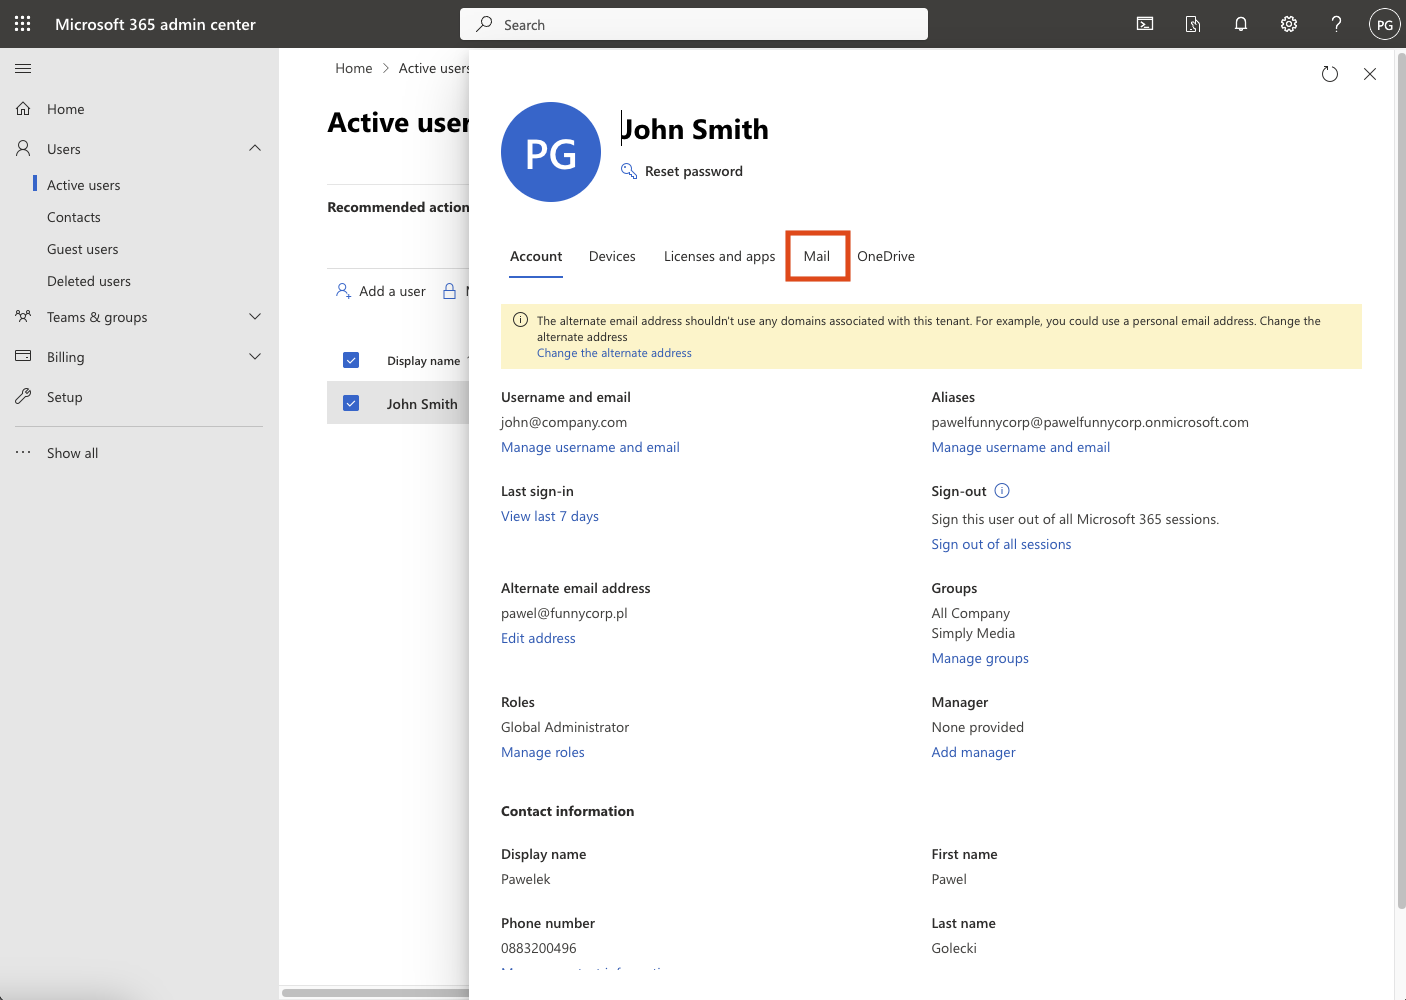
- Select the name of the user whose email address you want to forward, then select the “Mail” tab.
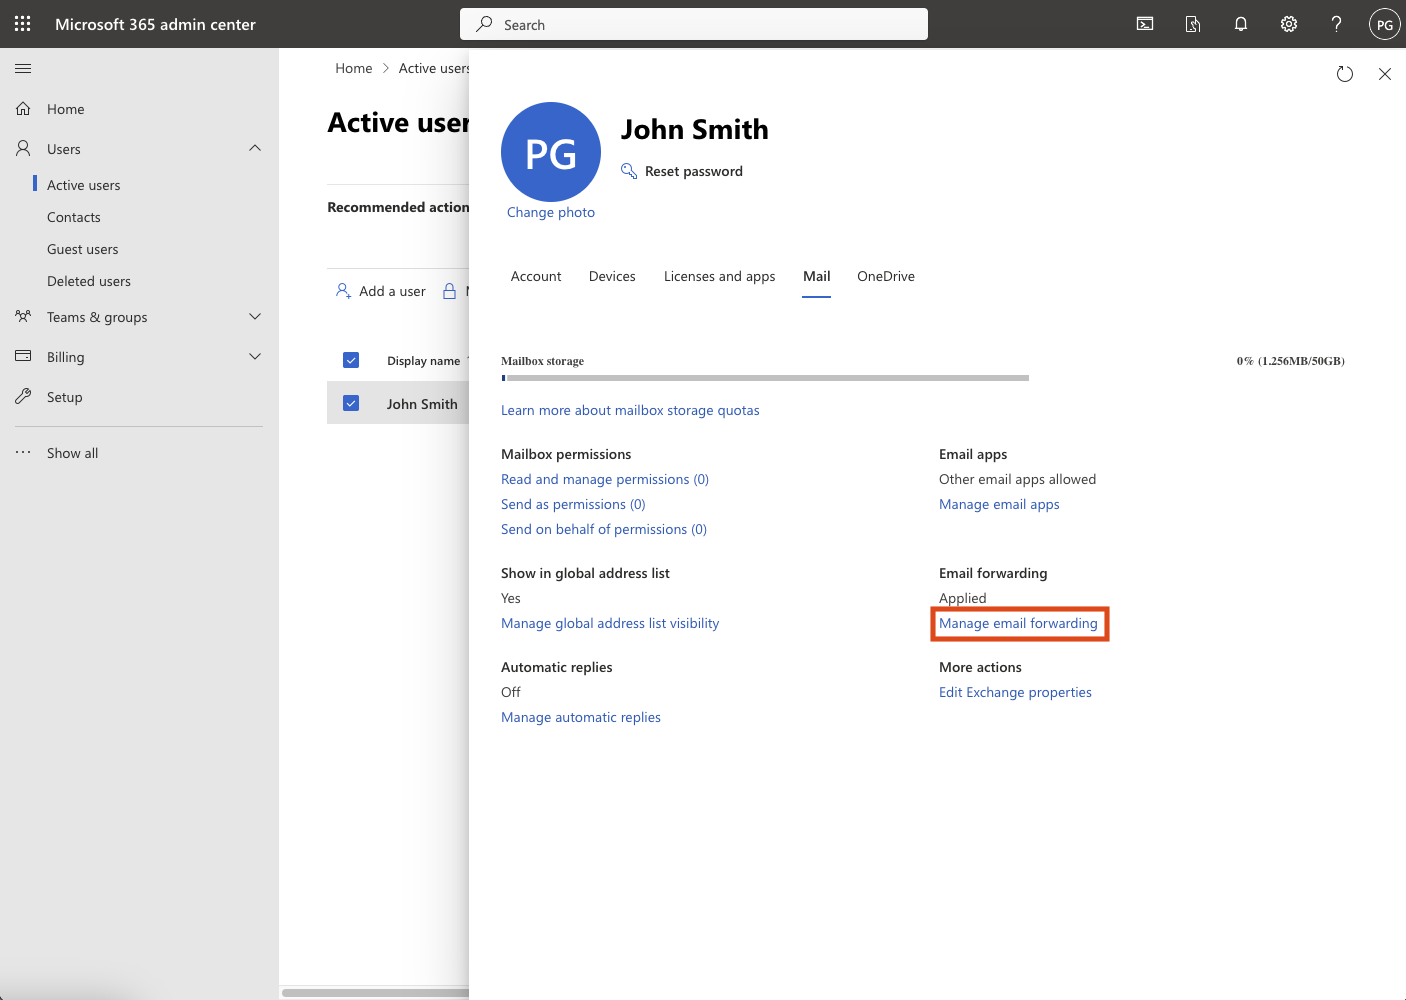
- Select “Manage email forwarding.”

- Select “Manage outbound anti-spam policies.”
- Select “Anti-spam outbound policy (Default)” settings.
- Select “Edit protection settings,” change the value in the “Automatic forwarding” to “On - Forwarding is enabled,” and save changes.
- Revisit “Manage email forwarding,” select “Forward all emails sent to this mailbox,” and enter the HelpDesk’s forwarding address.

After saving the changes, the forwarding will be set correctly, and you’ll receive your first HelpDesk tickets.
Set spam filtering policies for Microsoft 365
You can manage automated forwarding to external recipients through outbound spam filter policies.
There are three spam filtering settings for the external email forward control:
-
Automatic (system-controlled). This is the default setting, currently functioning the same as Off. Read additional details on automatic spam filtering.
-
On. It enables automatic external forwarding without restrictions.
-
Off. It disables automatic external forwarding, leading to the generation of a non-delivery report (NDR or bounce message) sent to the original sender.

Refer to the “Configure outbound spam filtering in EOP” instructions for guidance on configuring these settings.
Enable automatic external forwarding for all mailboxes
- If you’re an admin of your Microsoft account, sign into the Security & Compliance portal for Microsoft 365.

If you can’t find these options or if no policies are visible on the page, it indicates that the Microsoft 365 user used to log in doesn’t have the necessary permissions to make changes.
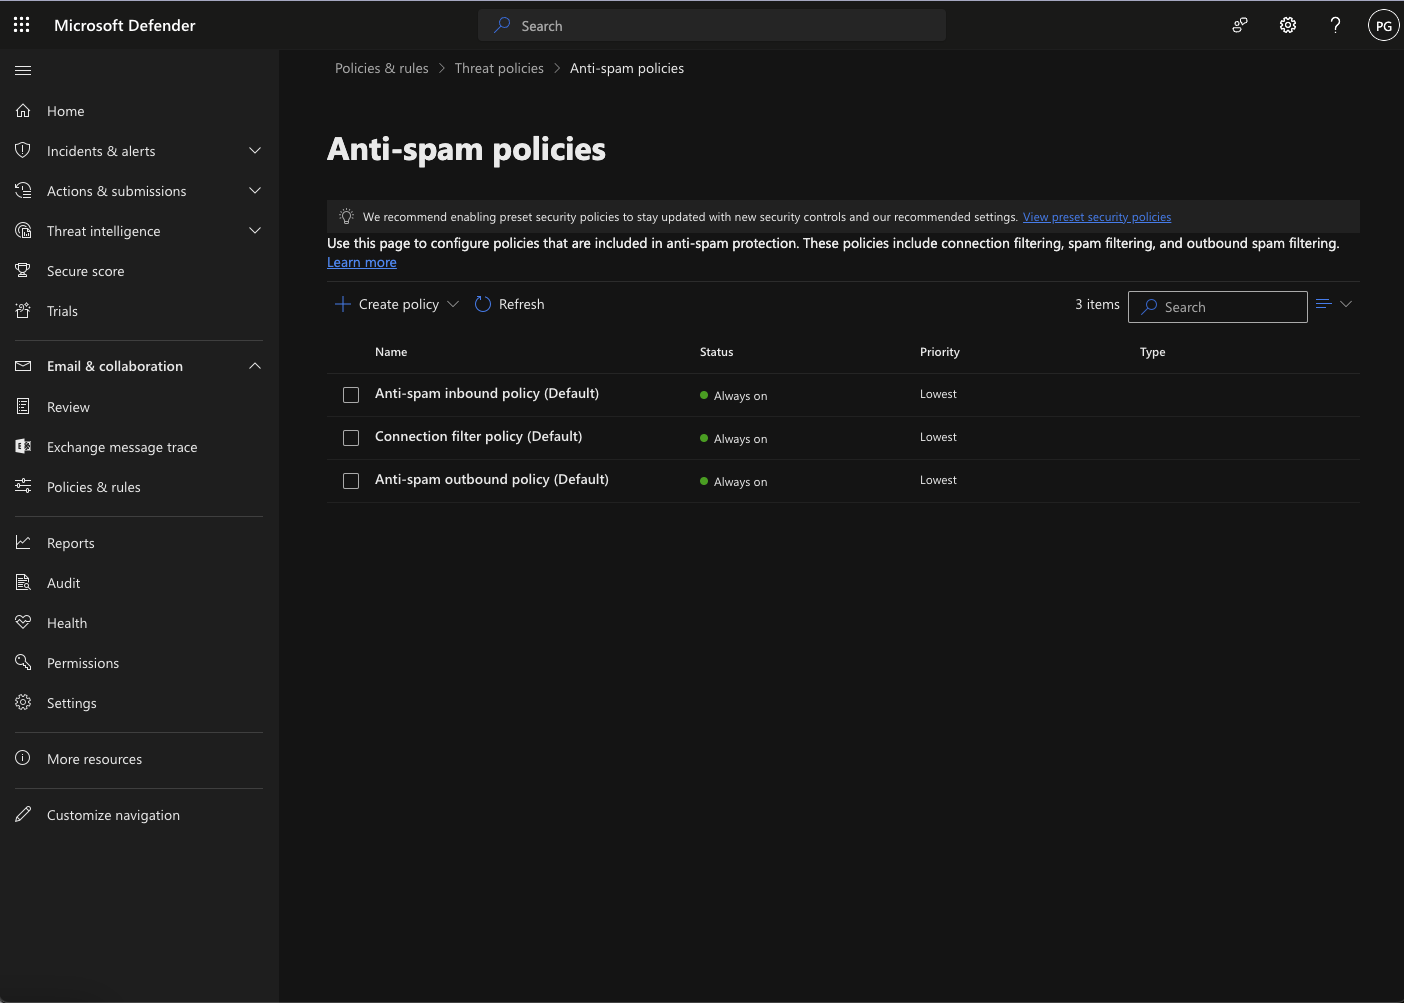
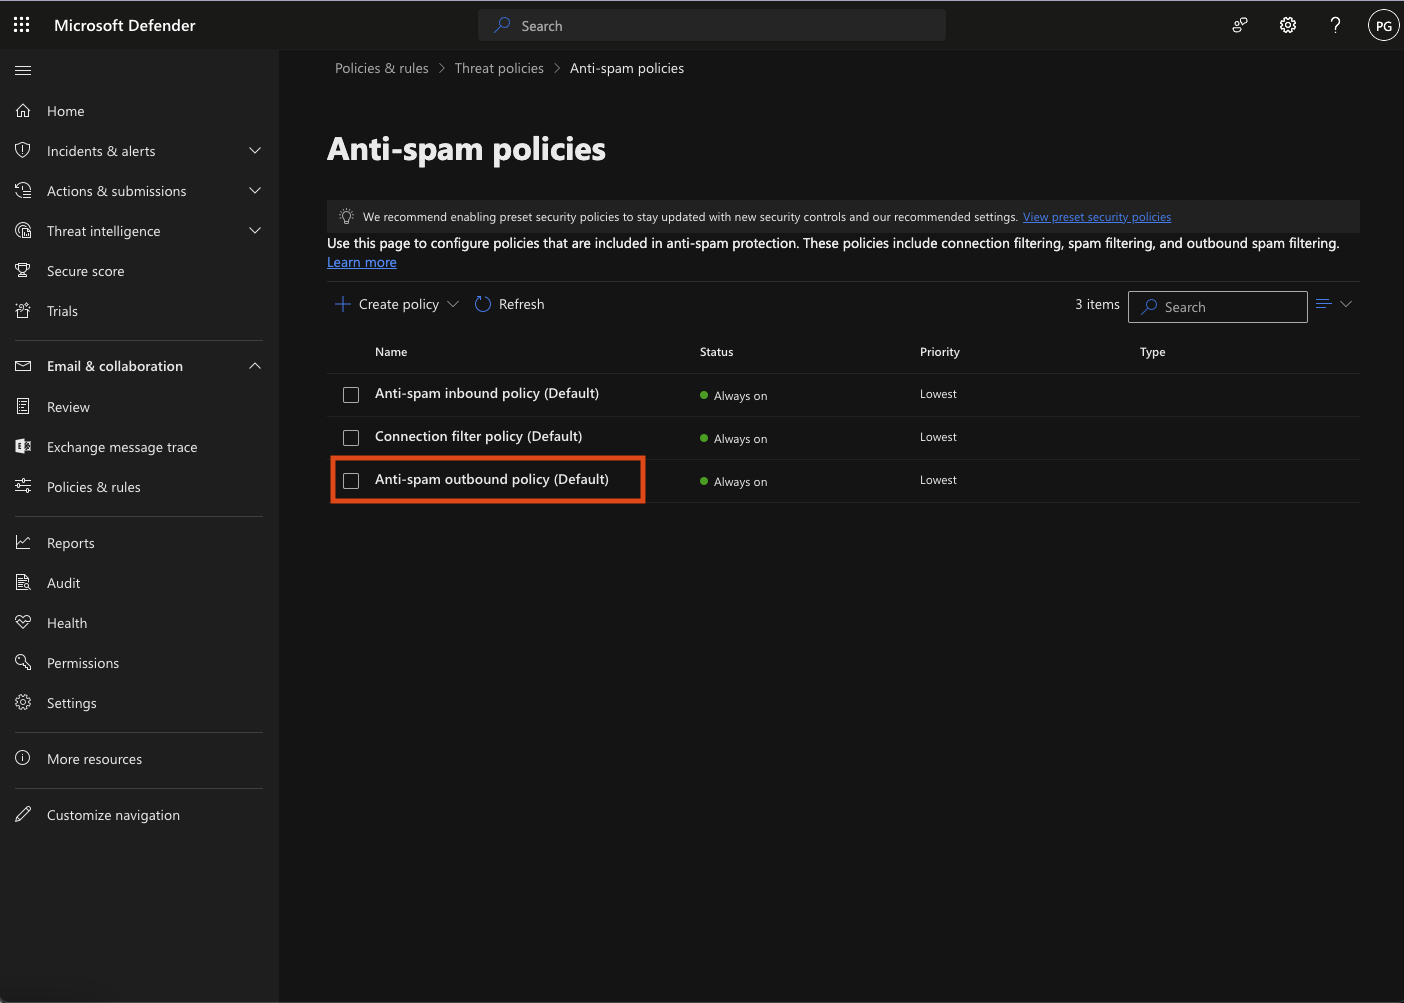
- Then, navigate to Email & collaboration > Policies & rules > Threat policies > Anti-spam policies (or go directly to the Anti-spam settings page).

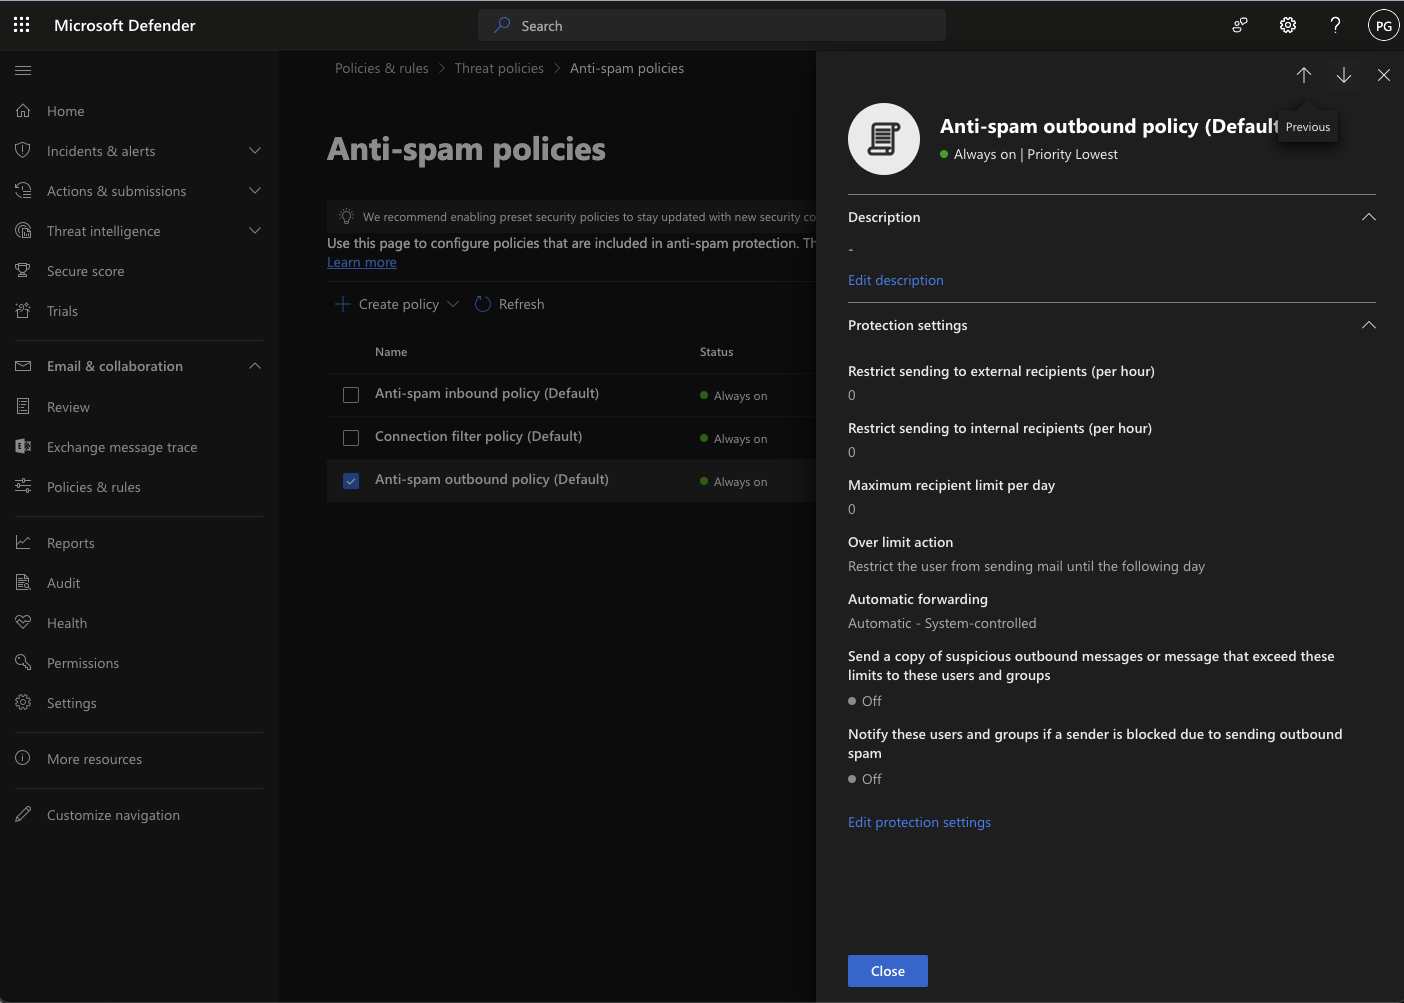
- Select the Anti-spam outbound policy (Default).
Then, access the Edit protection settings at the bottom.

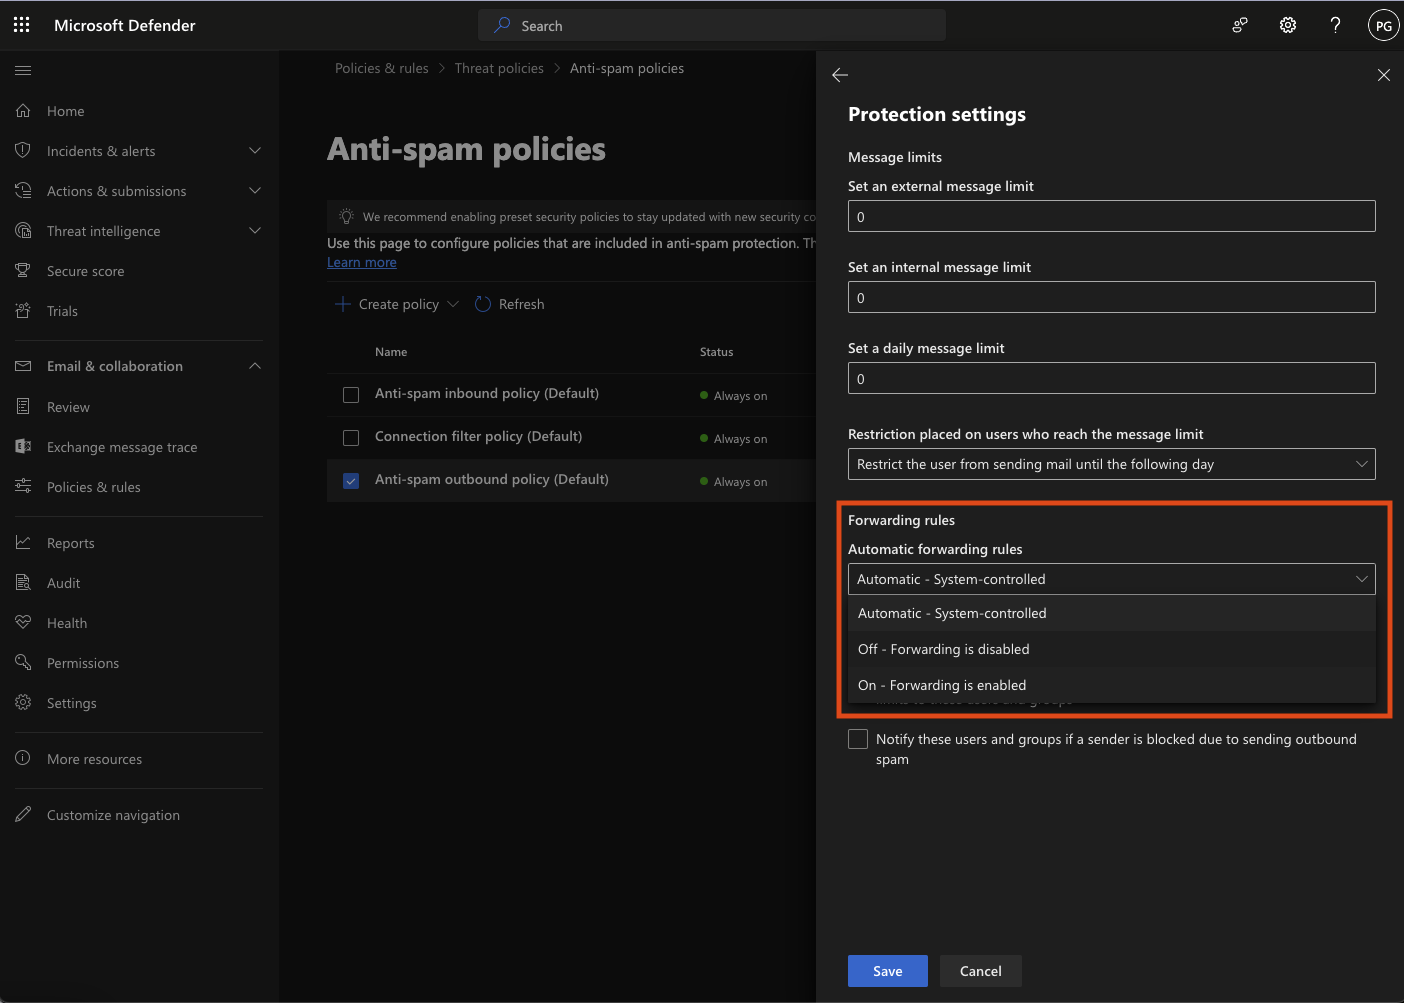
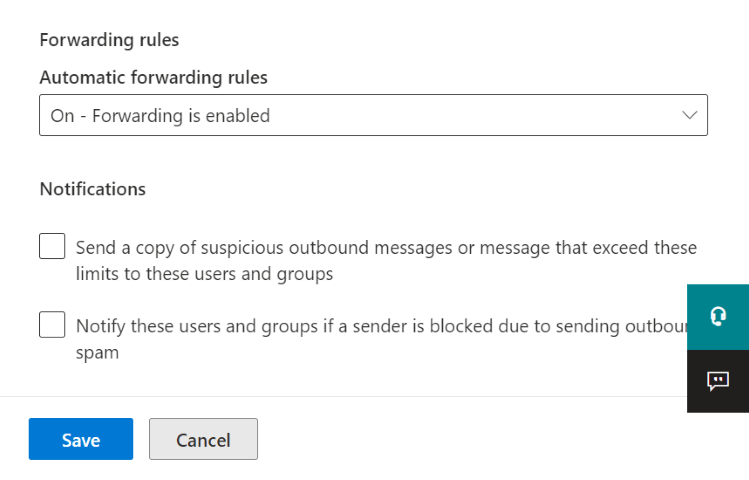
- Find the Forwarding Rules section and the Automatic Forwarding Rules drop-down menu.
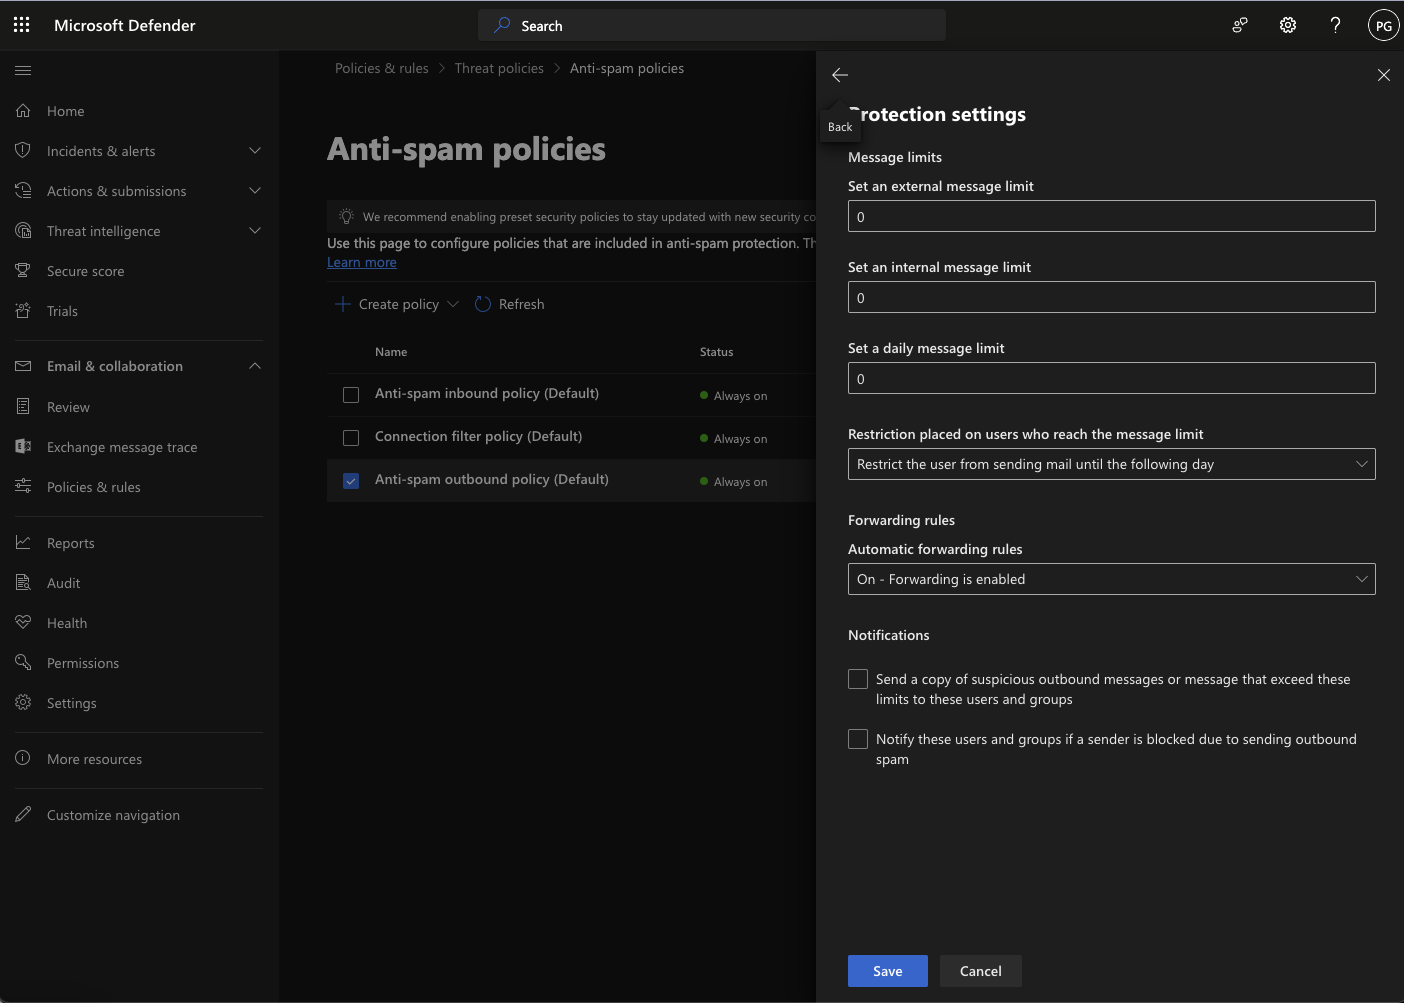
Open the list and select On to enable forwarding.
Then, click Save at the bottom.
Read the full article on controlling automatic external email forwarding in Microsoft 365.
Enable automatic external forwarding for individual mailboxes
- If you’re an admin of your Microsoft account, sign into the Security & Compliance portal for Microsoft 365.
If you can’t find these options or if no policies are visible on the page, it indicates that the Microsoft 365 user used to log in doesn’t have the necessary permissions to make changes.
- Then, navigate to Email & collaboration > Policies & rules > Threat policies > Anti-spam policies (or go directly to the Anti-spam settings page).
- Next, click +Create policy and choose Outbound.

- Name and describe your recently created outbound spam filter policy.

- Proceed to the next step, where you can locate the user account authorized for forwarding, specifically the email account designated for forwarding to HelpDesk.
Once selected, it’ll be visible under the Users field.

- Move to the next step again, scroll to the Forwarding rules section, and access the dropdown menu under Automatic forwarding rules.
Opt for On - Forwarding is enabled, and then proceed to the next stage.

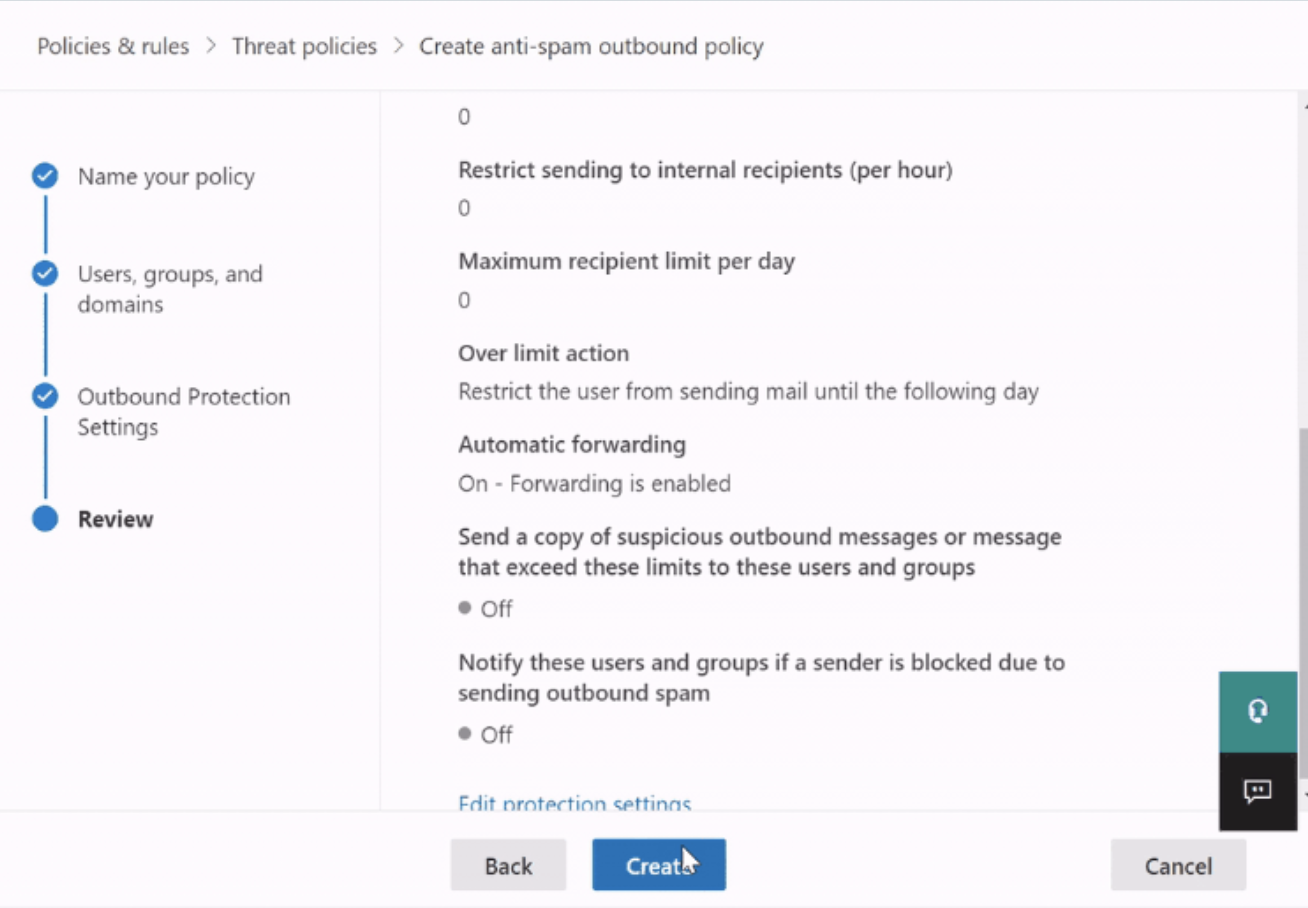
- Review the configured settings on the final screen, and click the Create button to finalize the creation of your new outbound policy for the designated user.
Read the full article on controlling automatic external email forwarding in Microsoft 365.
What if I bought Microsoft 365 from GoDaddy?
If you obtained Microsoft 365 through GoDaddy, as an admin of your GoDaddy workspace, log into your Email & Office Dashboard, and then please refer to the instructions provided by GoDaddy to adjust your external redirection settings.
