158 29
Contact Form 7 is a free WordPress plugin that allows you to manage multiple contact forms, providing you with the flexibility to easily customize both the form and email contents using straightforward markup. The form boasts features like Ajax-powered submissions, CAPTCHA integration, Akismet spam filtering, and more.
You can find a comprehensive guide, docs, FAQs, and more detailed information about Contact Form 7 on contactform7.com.
How to configure Contact Form 7 with your WordPress page
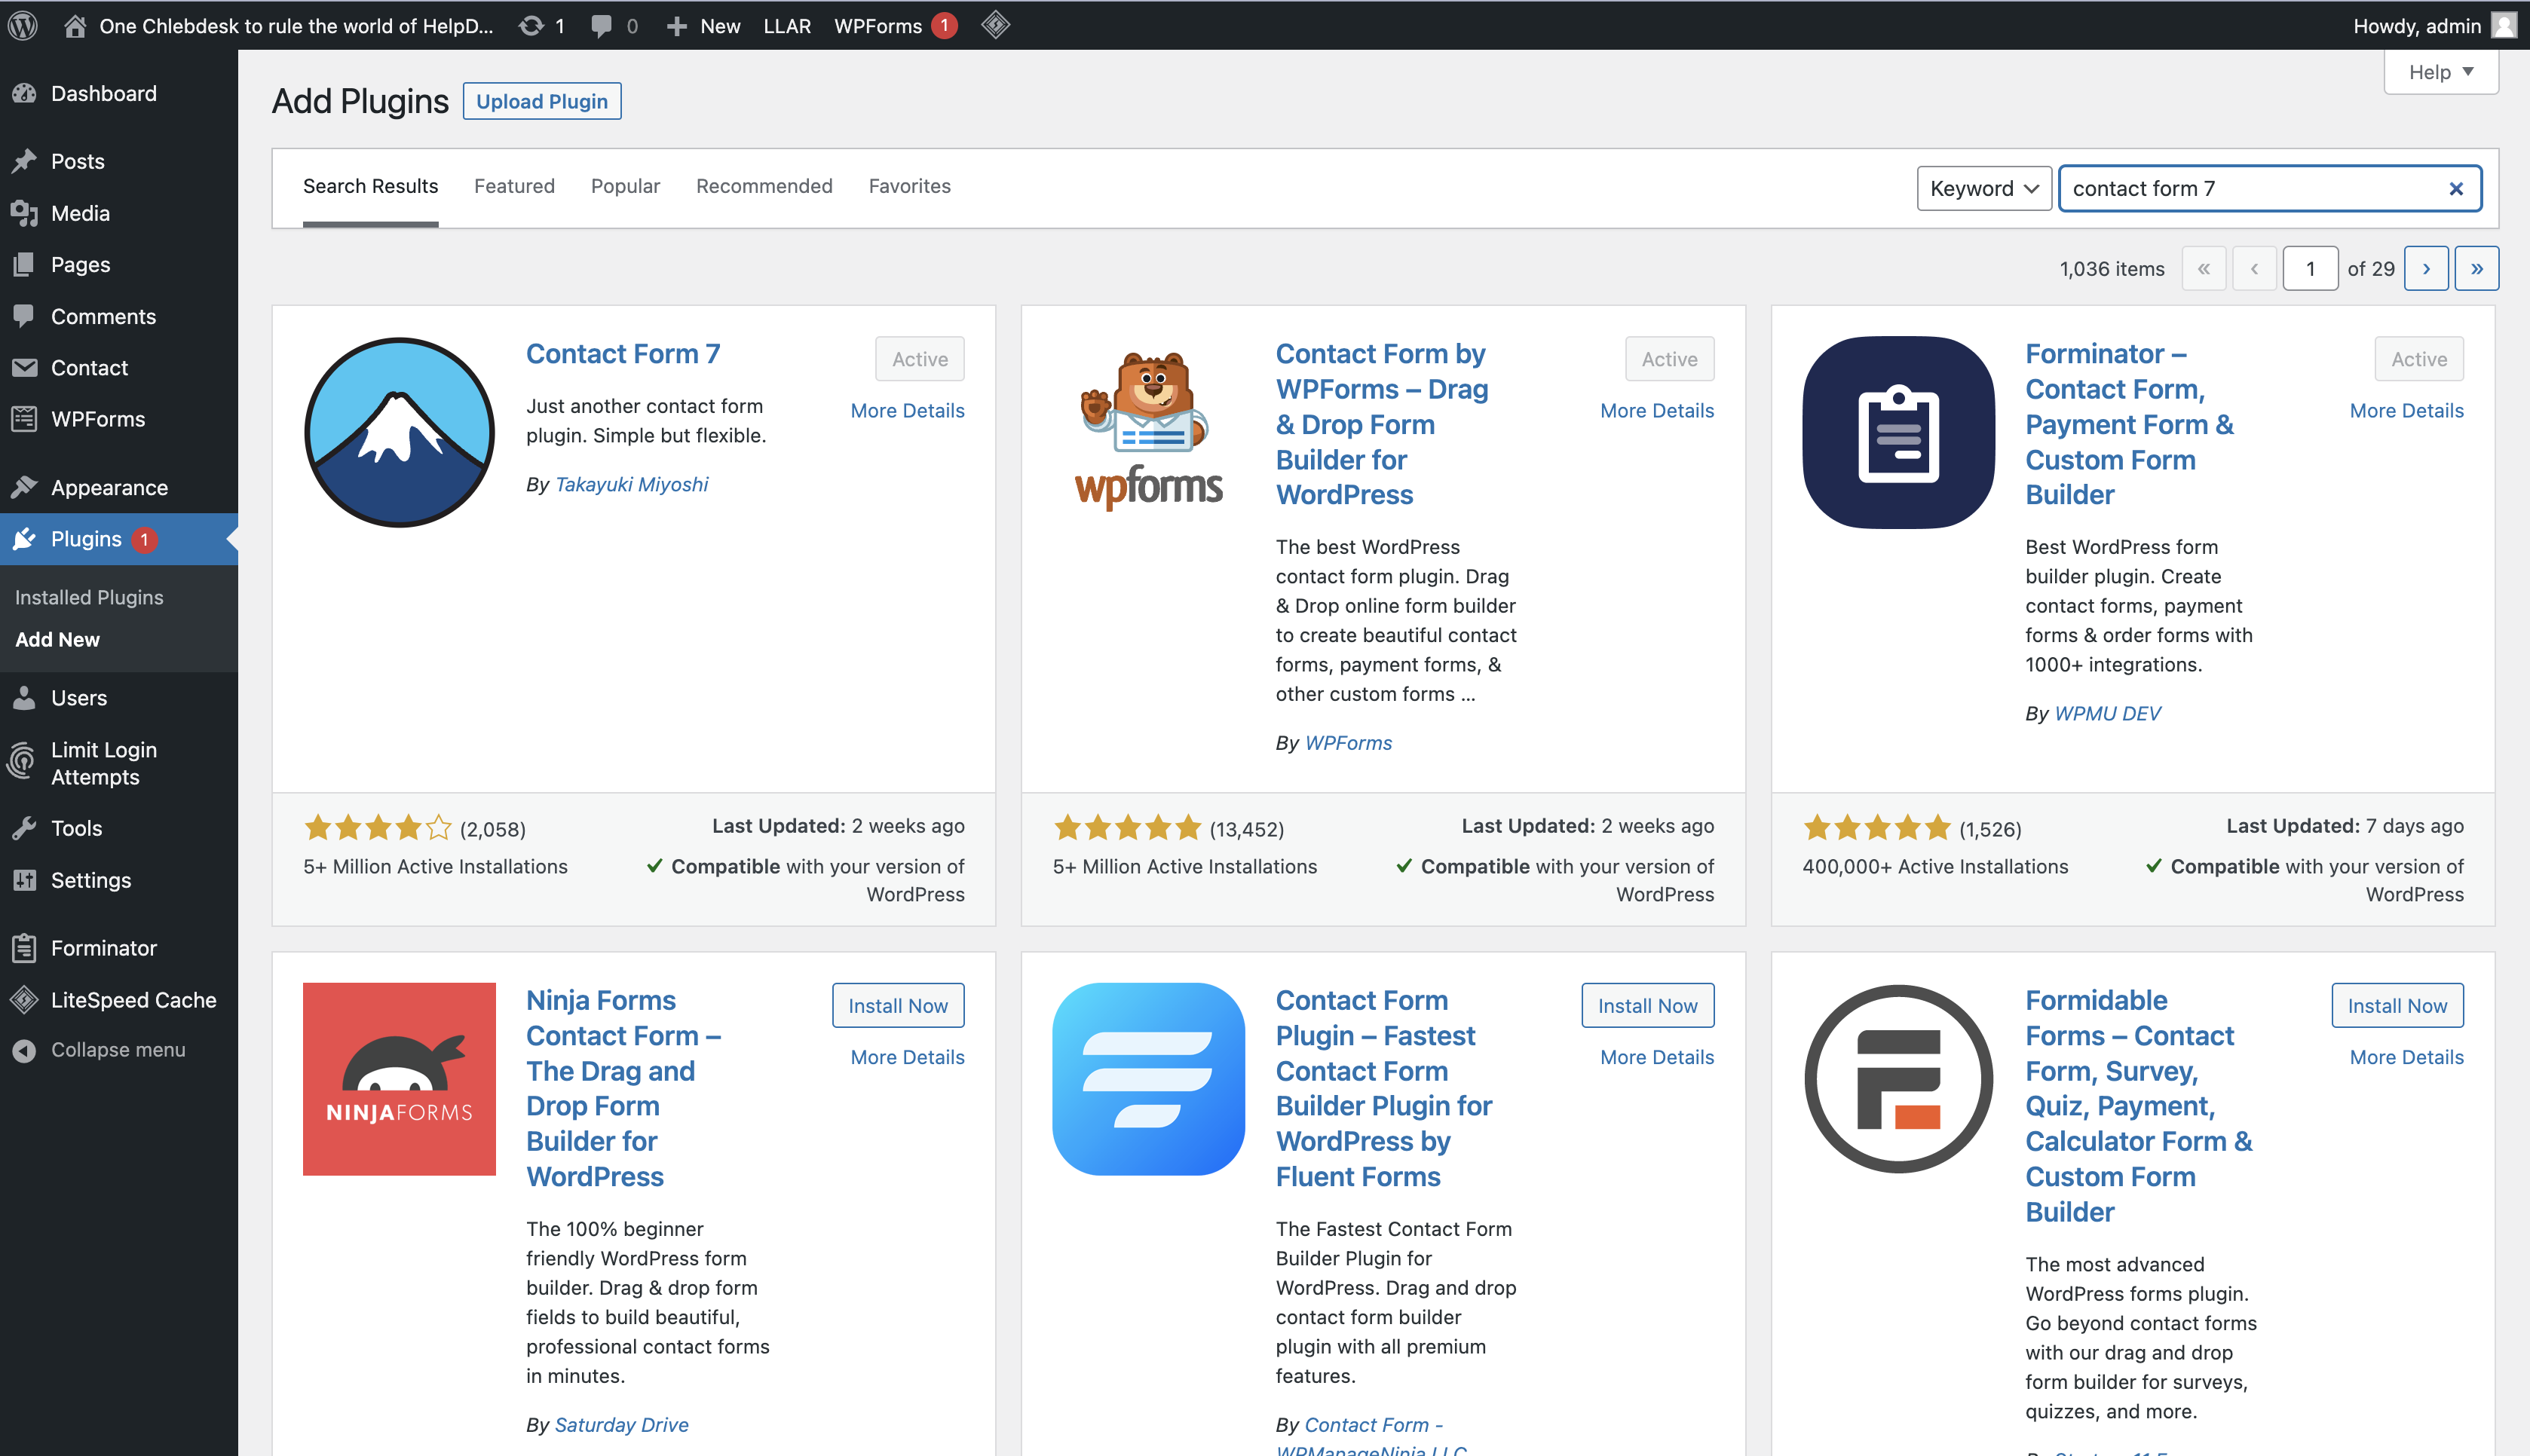
If you want to create and add your contact form, go to the “Plugins” and click on the “Add New” button.
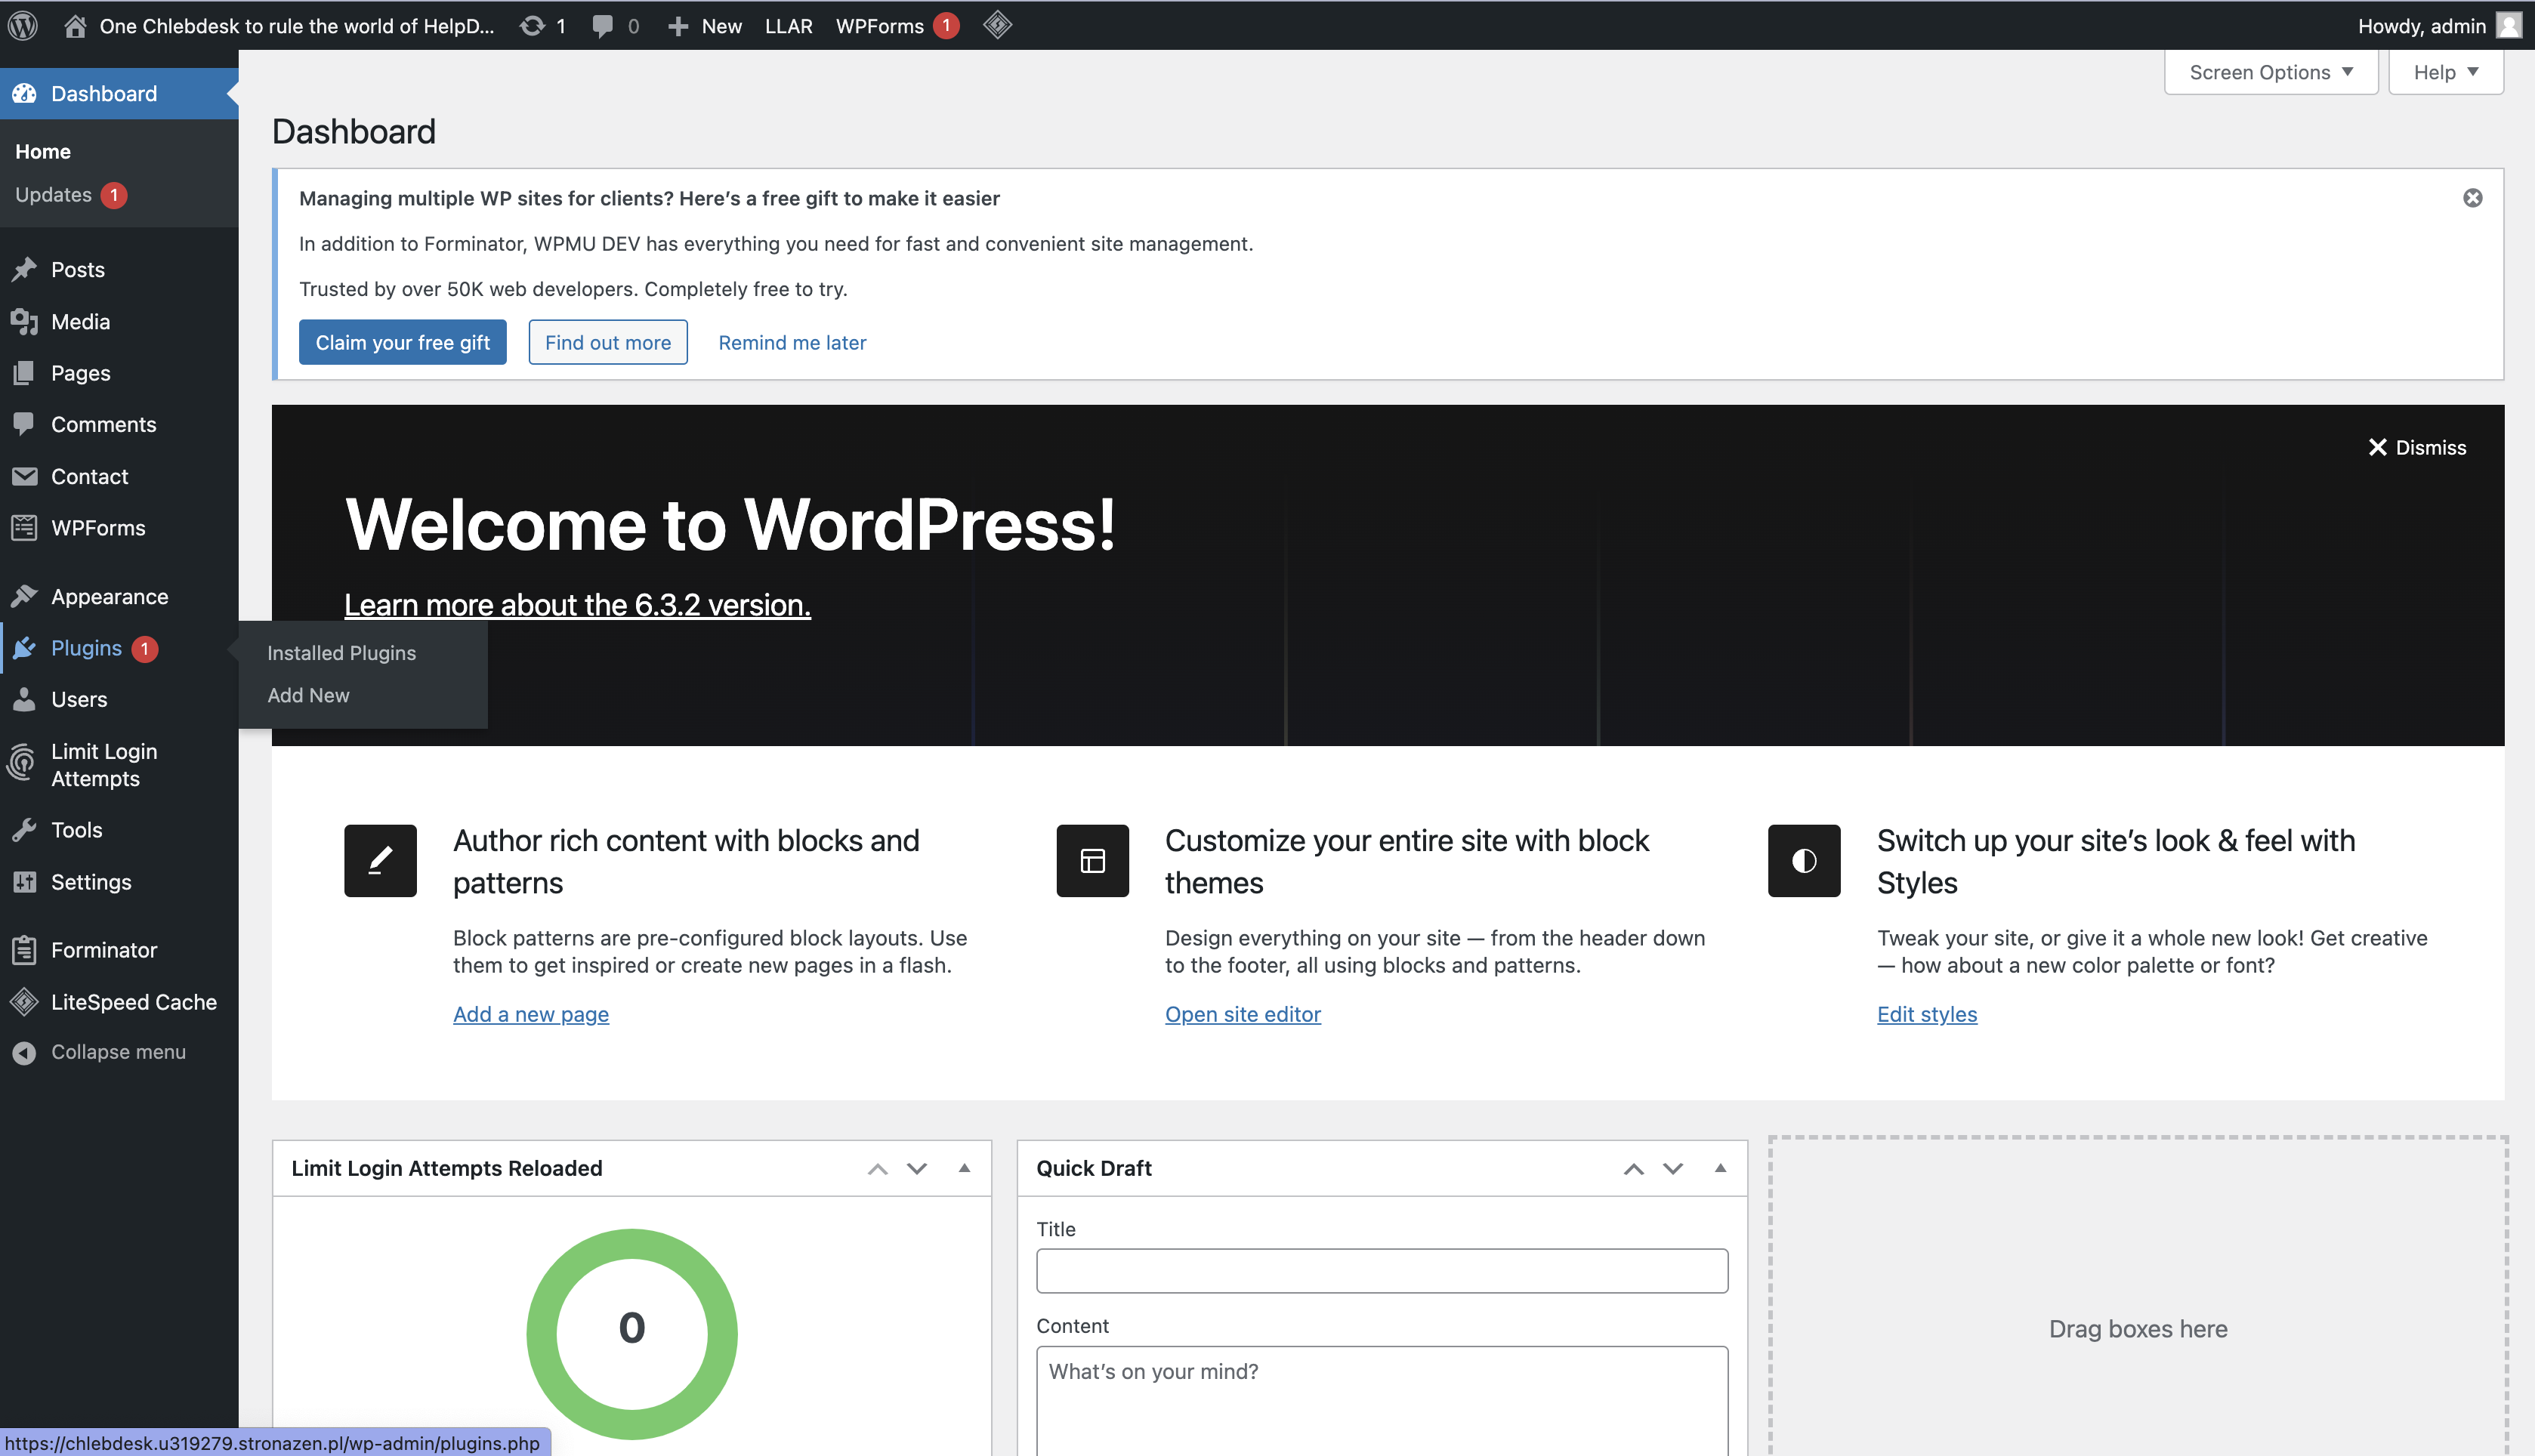
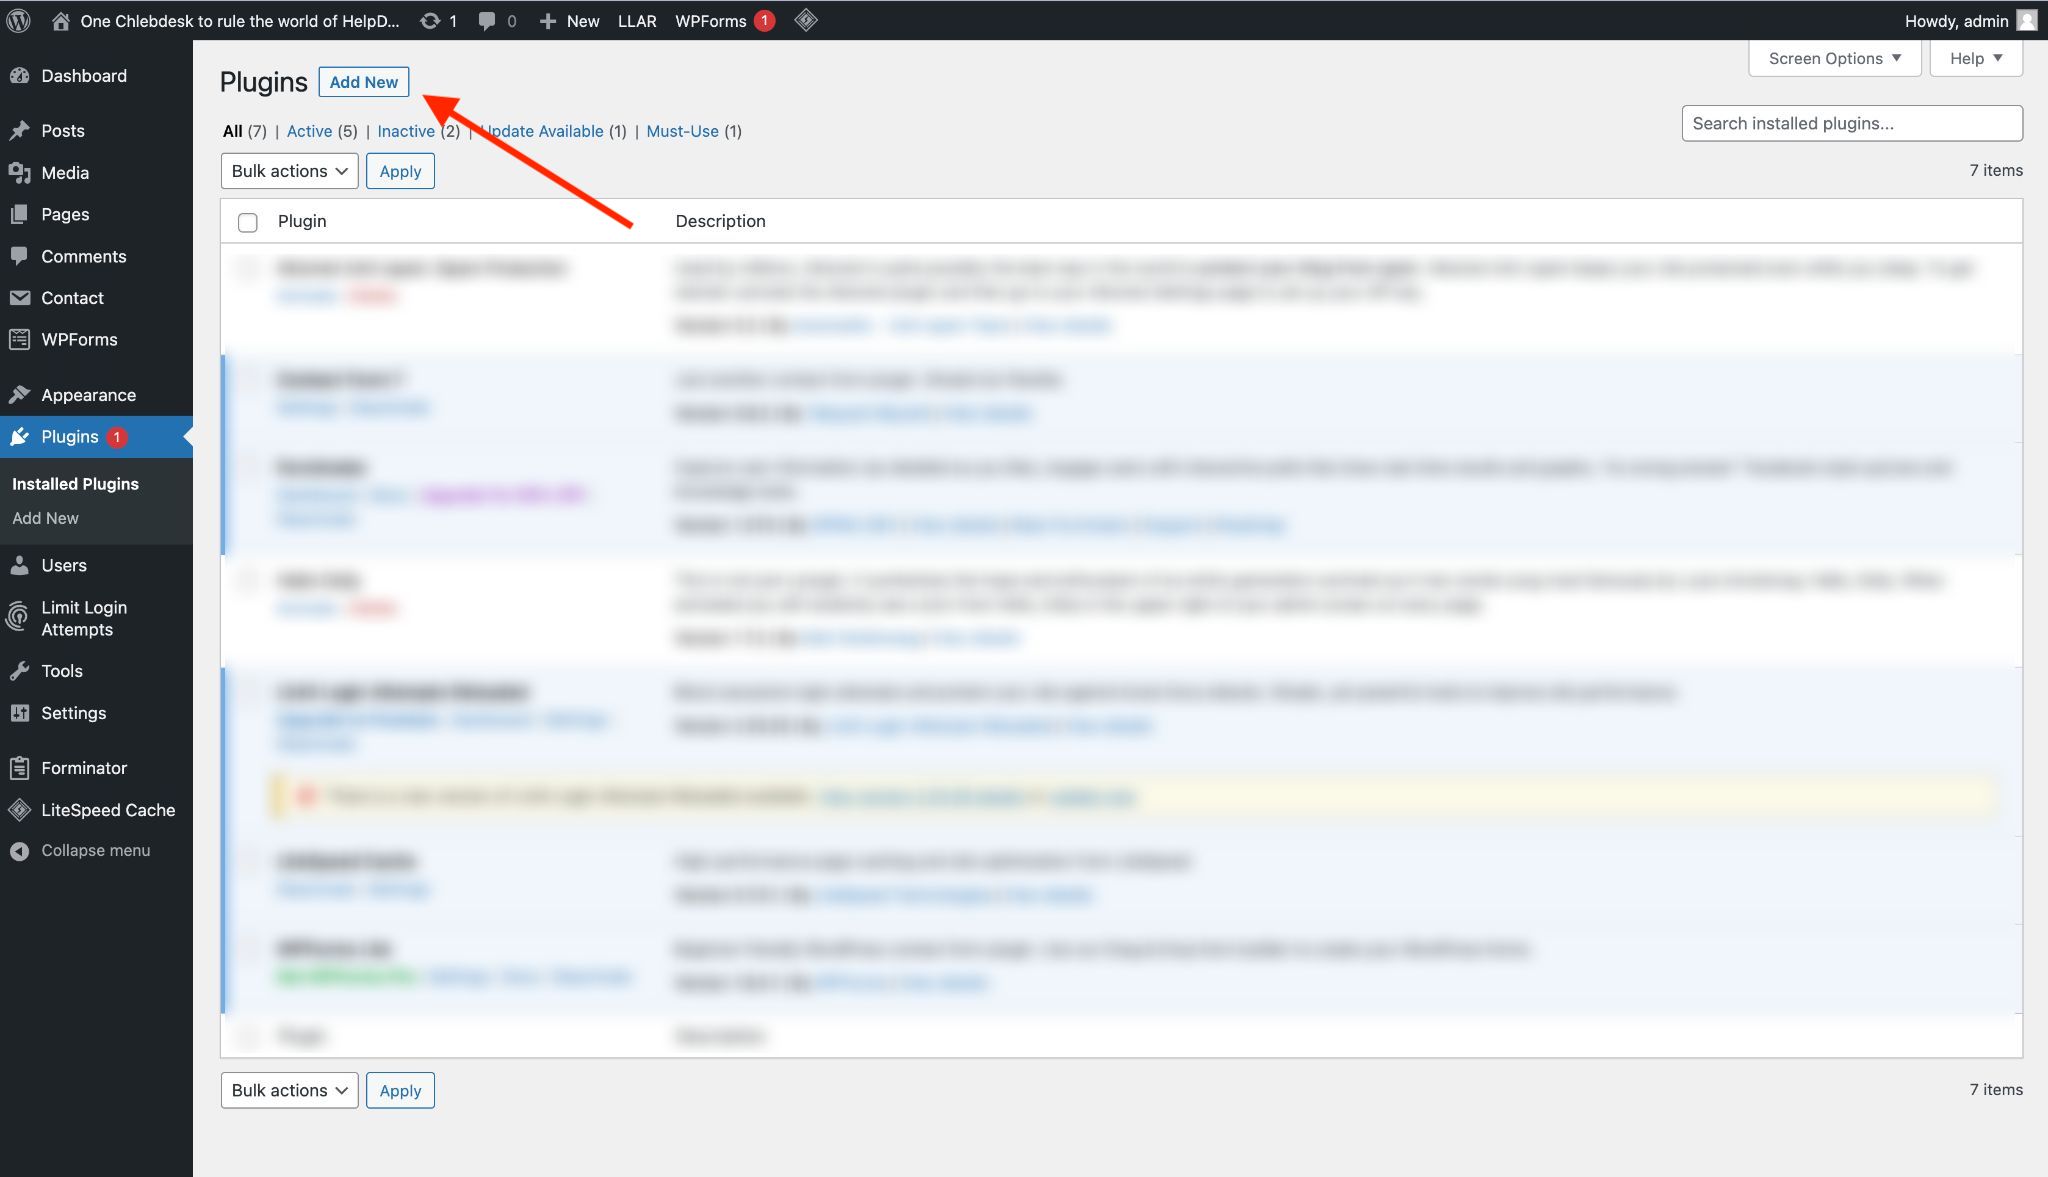
Find Contact Form 7 in the list of plugins. Then, install and activate it for your WordPress account.
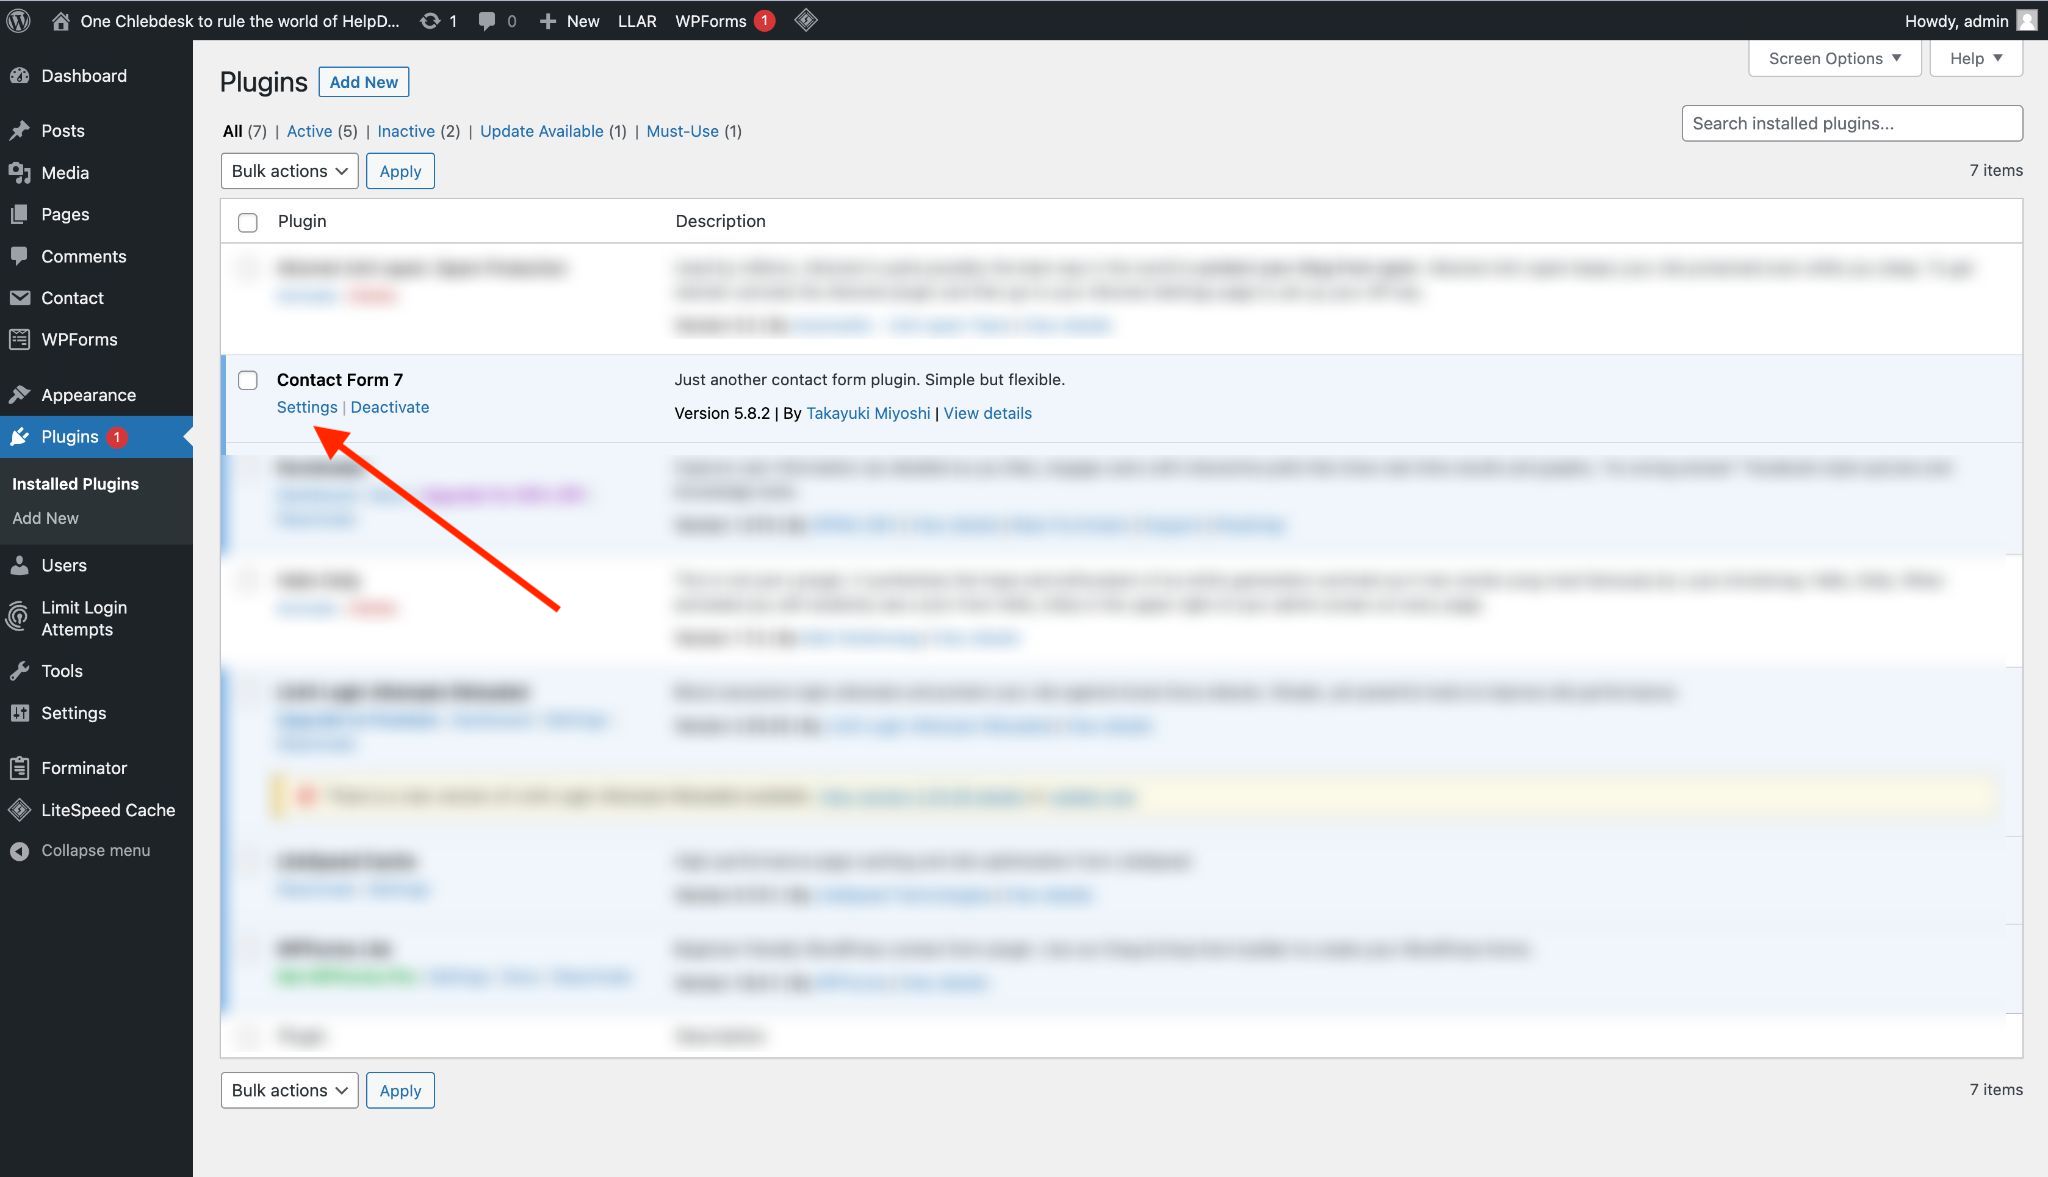
Contact Form 7 plugin will appear in the list. Here, you can click “Settings” and prepare the contact form according to your needs.
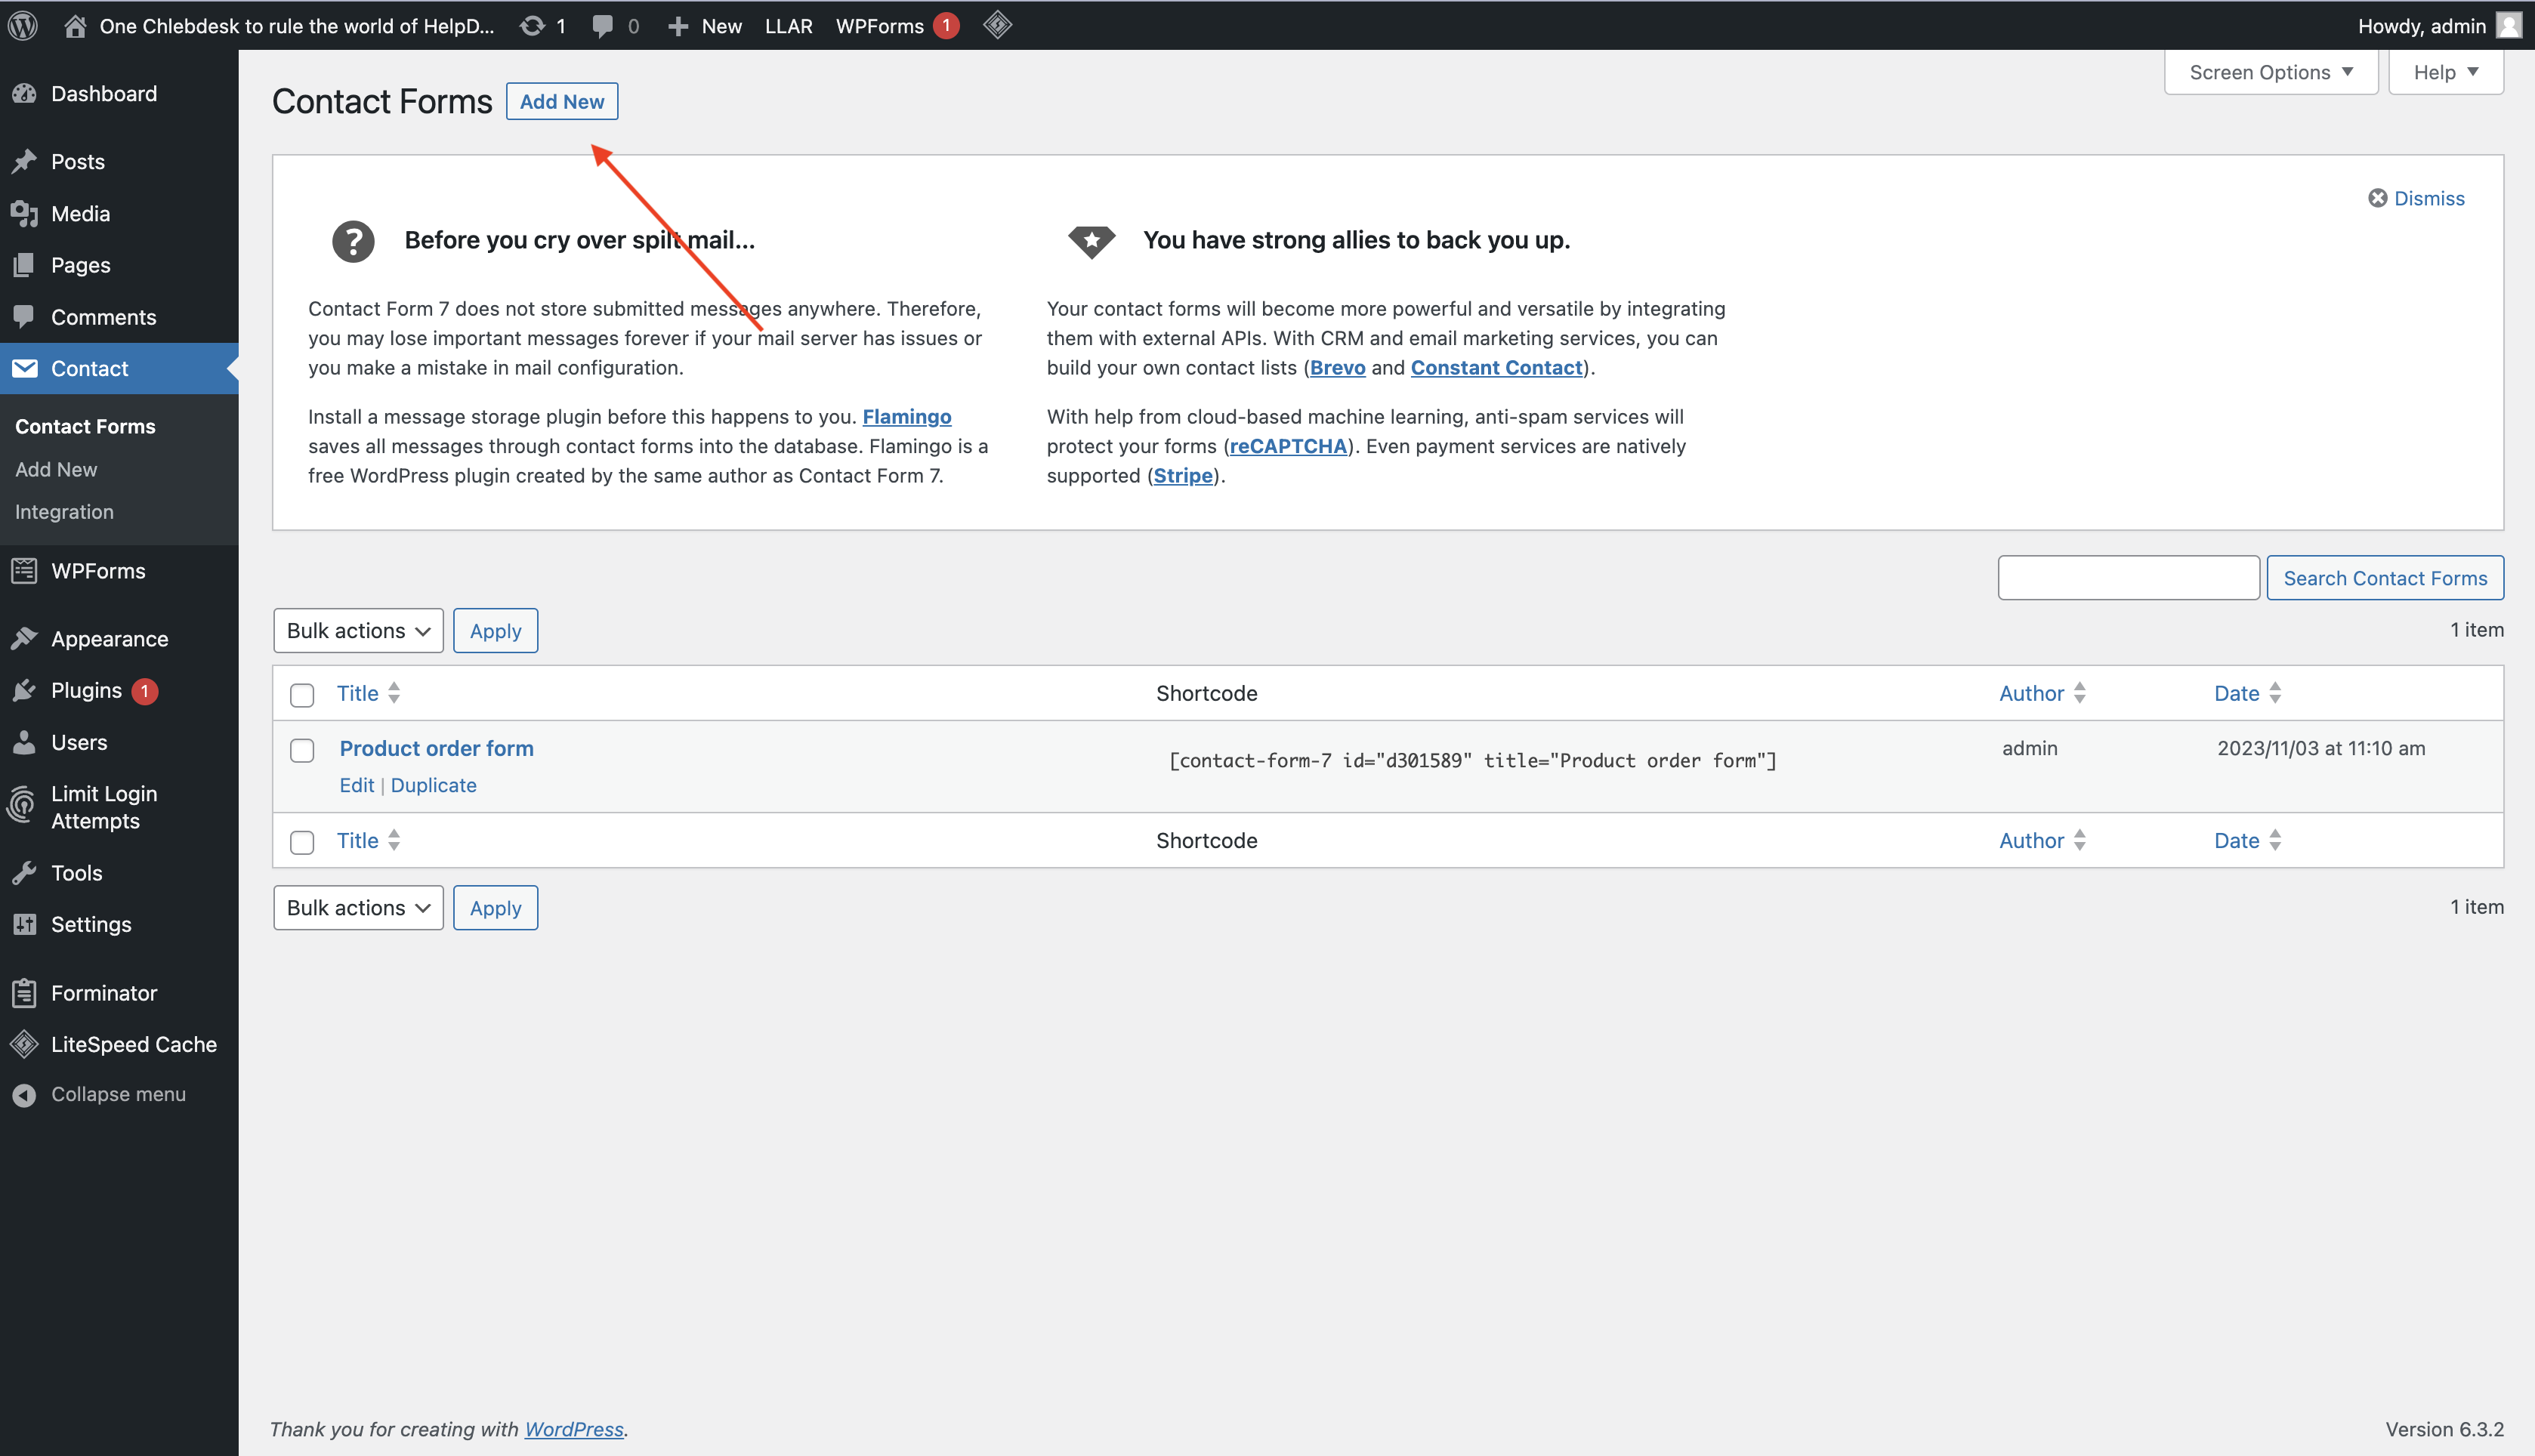
Next, add a new contact form by clicking the “Add New” button.
How to customize WP Contact Form 7 plugin for your HelpDesk
Customize step by step your contact form with the possible options.
Start with the Form panel. Here, add all the details in the HTML form, as in the example below.
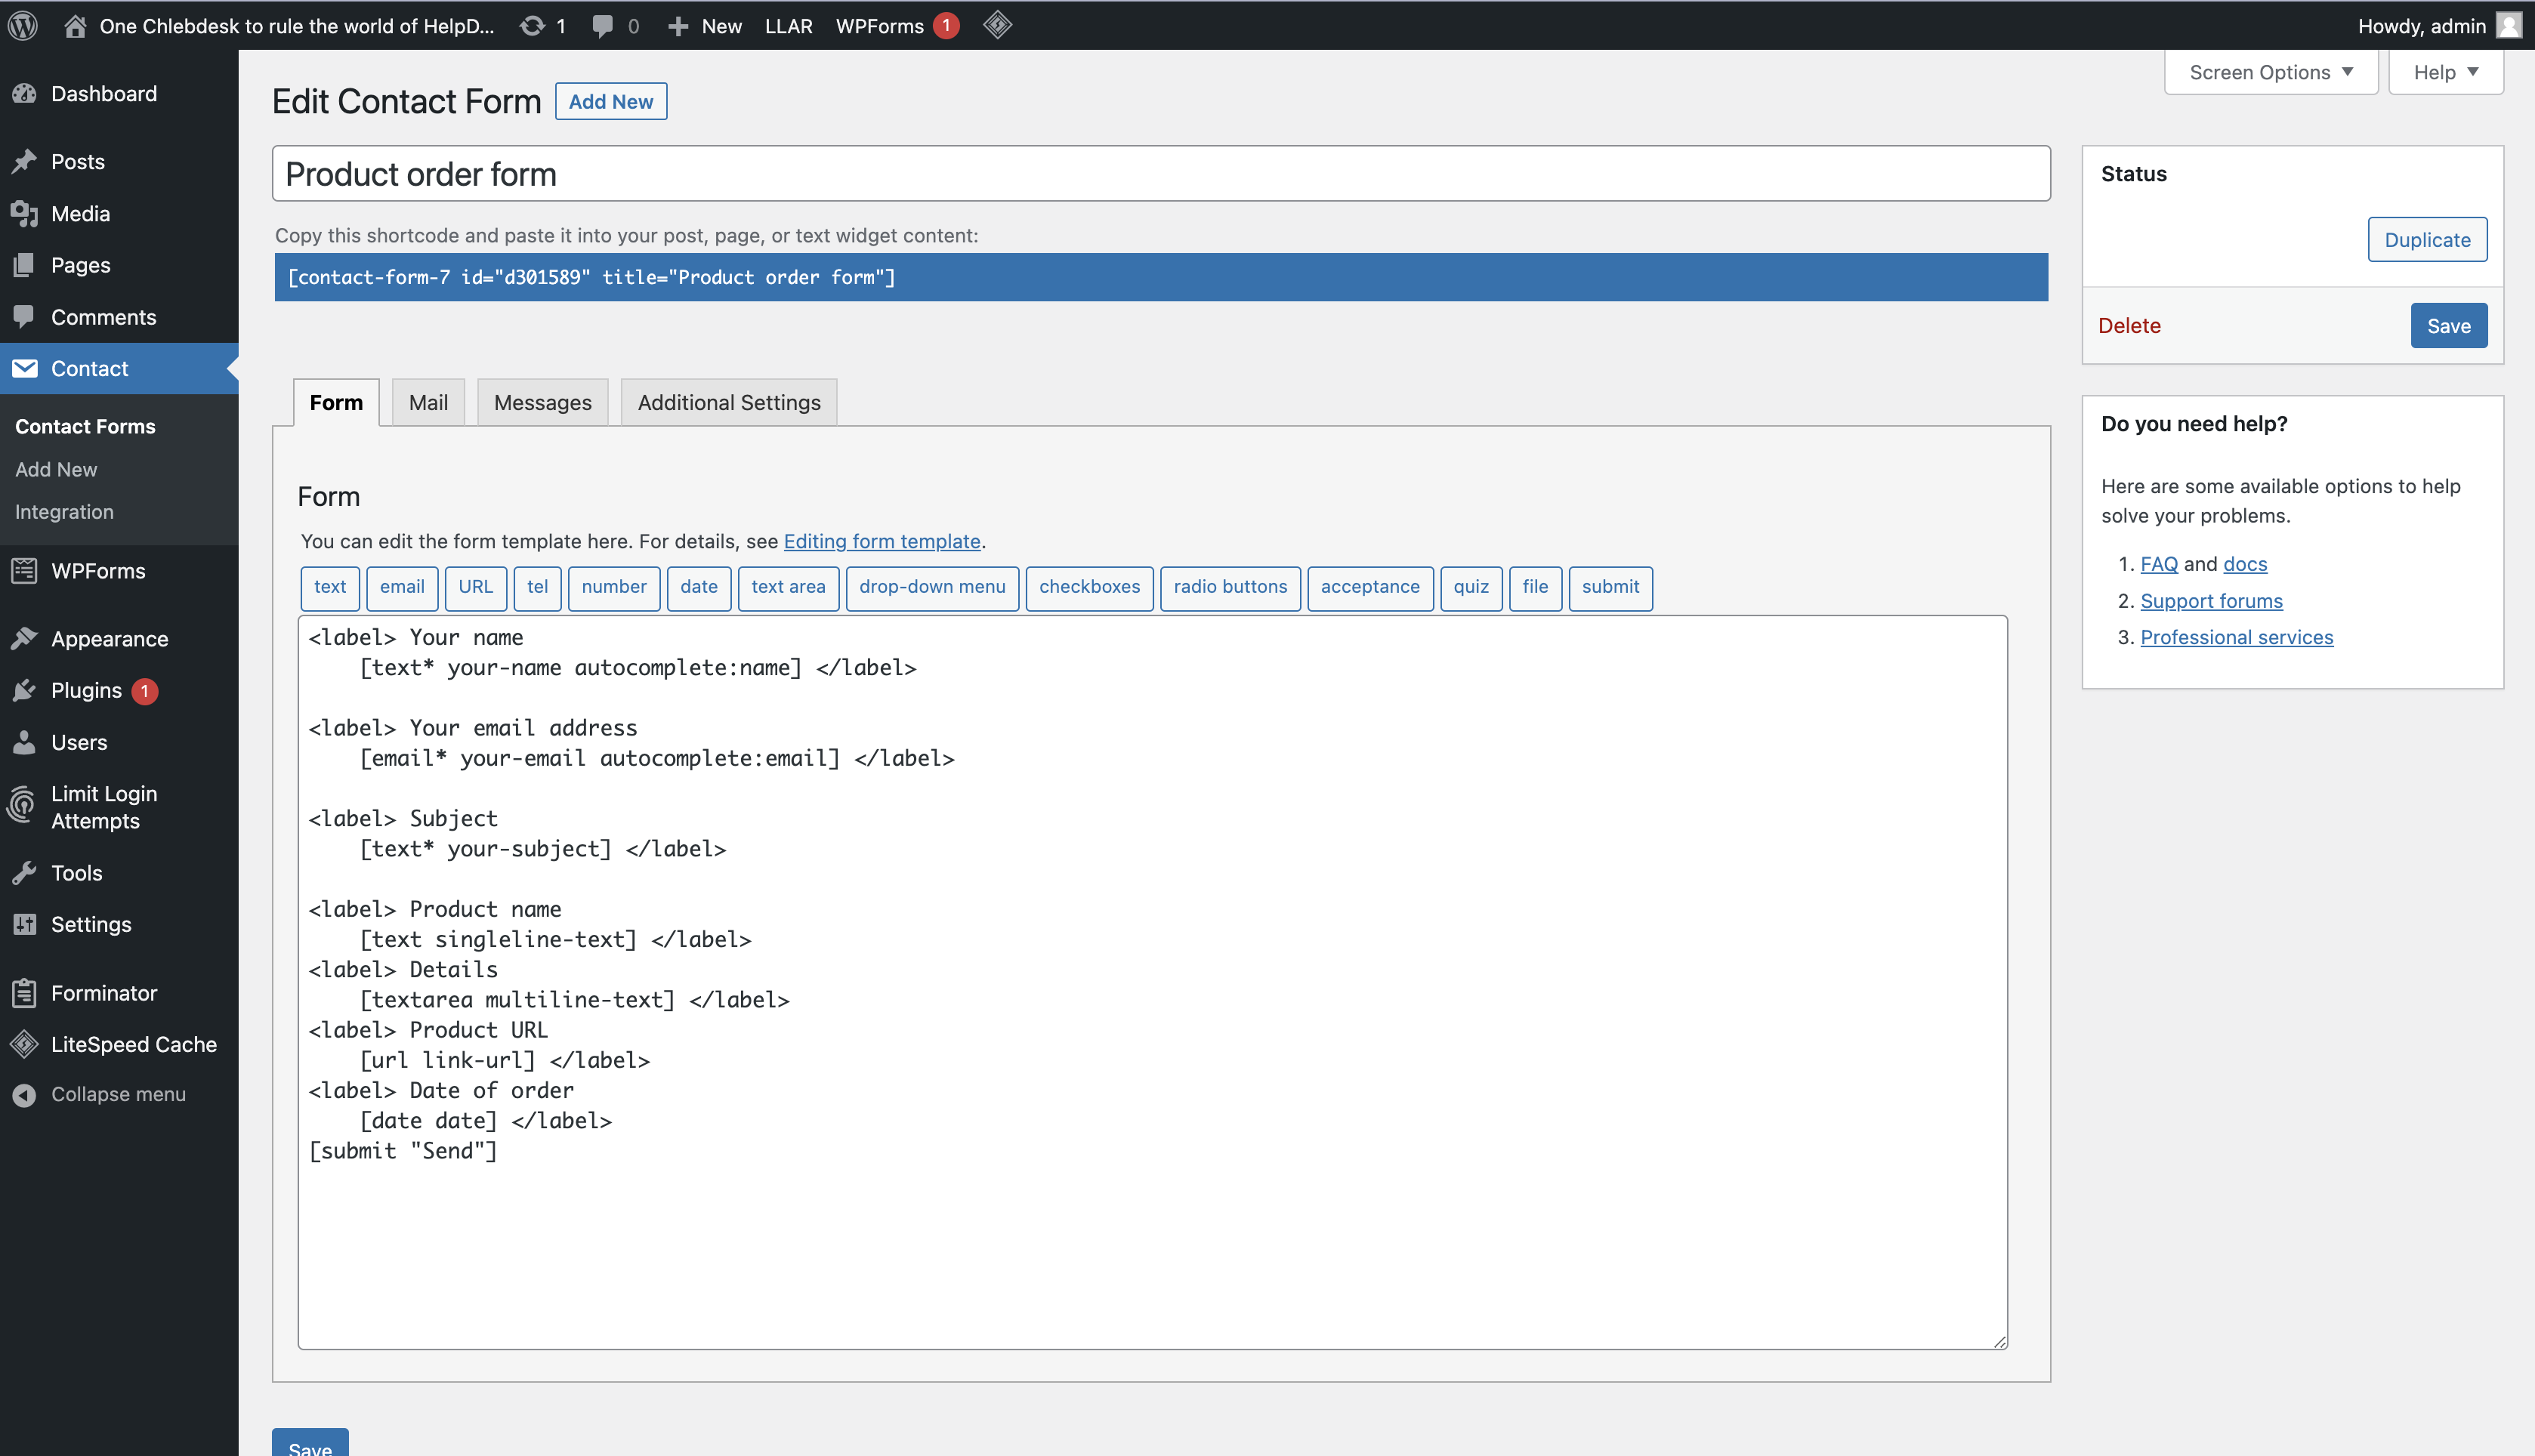
You can see the details below:
[text singleline-text]
[textarea multiline-text]
[url link-url]
[date date]
These are called HelpDesk custom fields.
Custom fields are ideal for storing extra data related to tickets, requesters, and organizations within the ticket details, such as order number, order specifics, contact ID, requester’s website, delivery date, credit card information, social security details, requester’s age, shipping address, deal value, and more.
Creation of custom fields in HelpDesk
Go to the “Settings” section and click on the “Custom fields” category.
Here, click on the “Create custom field” button.
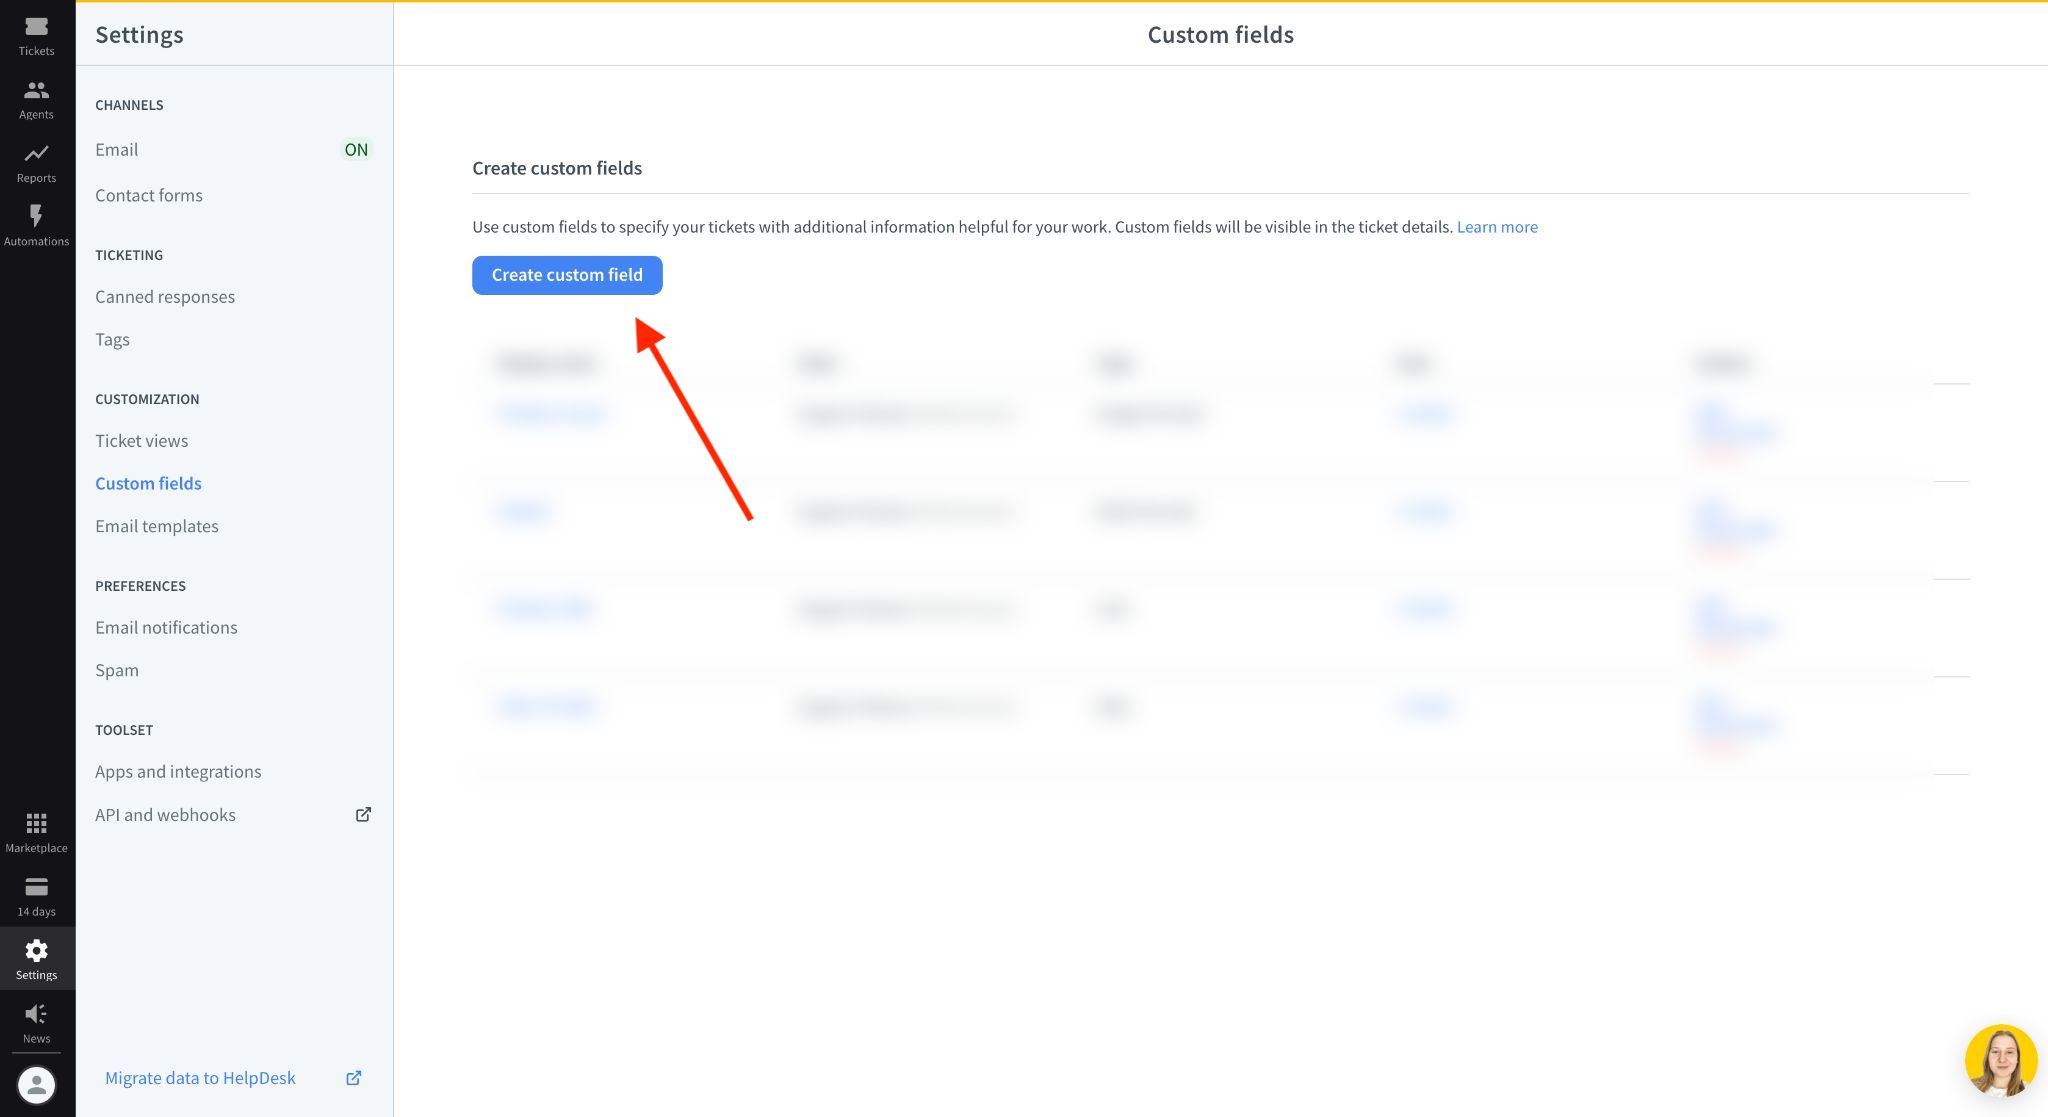
Customize HelpDesk custom fields according to your preferences and needs.
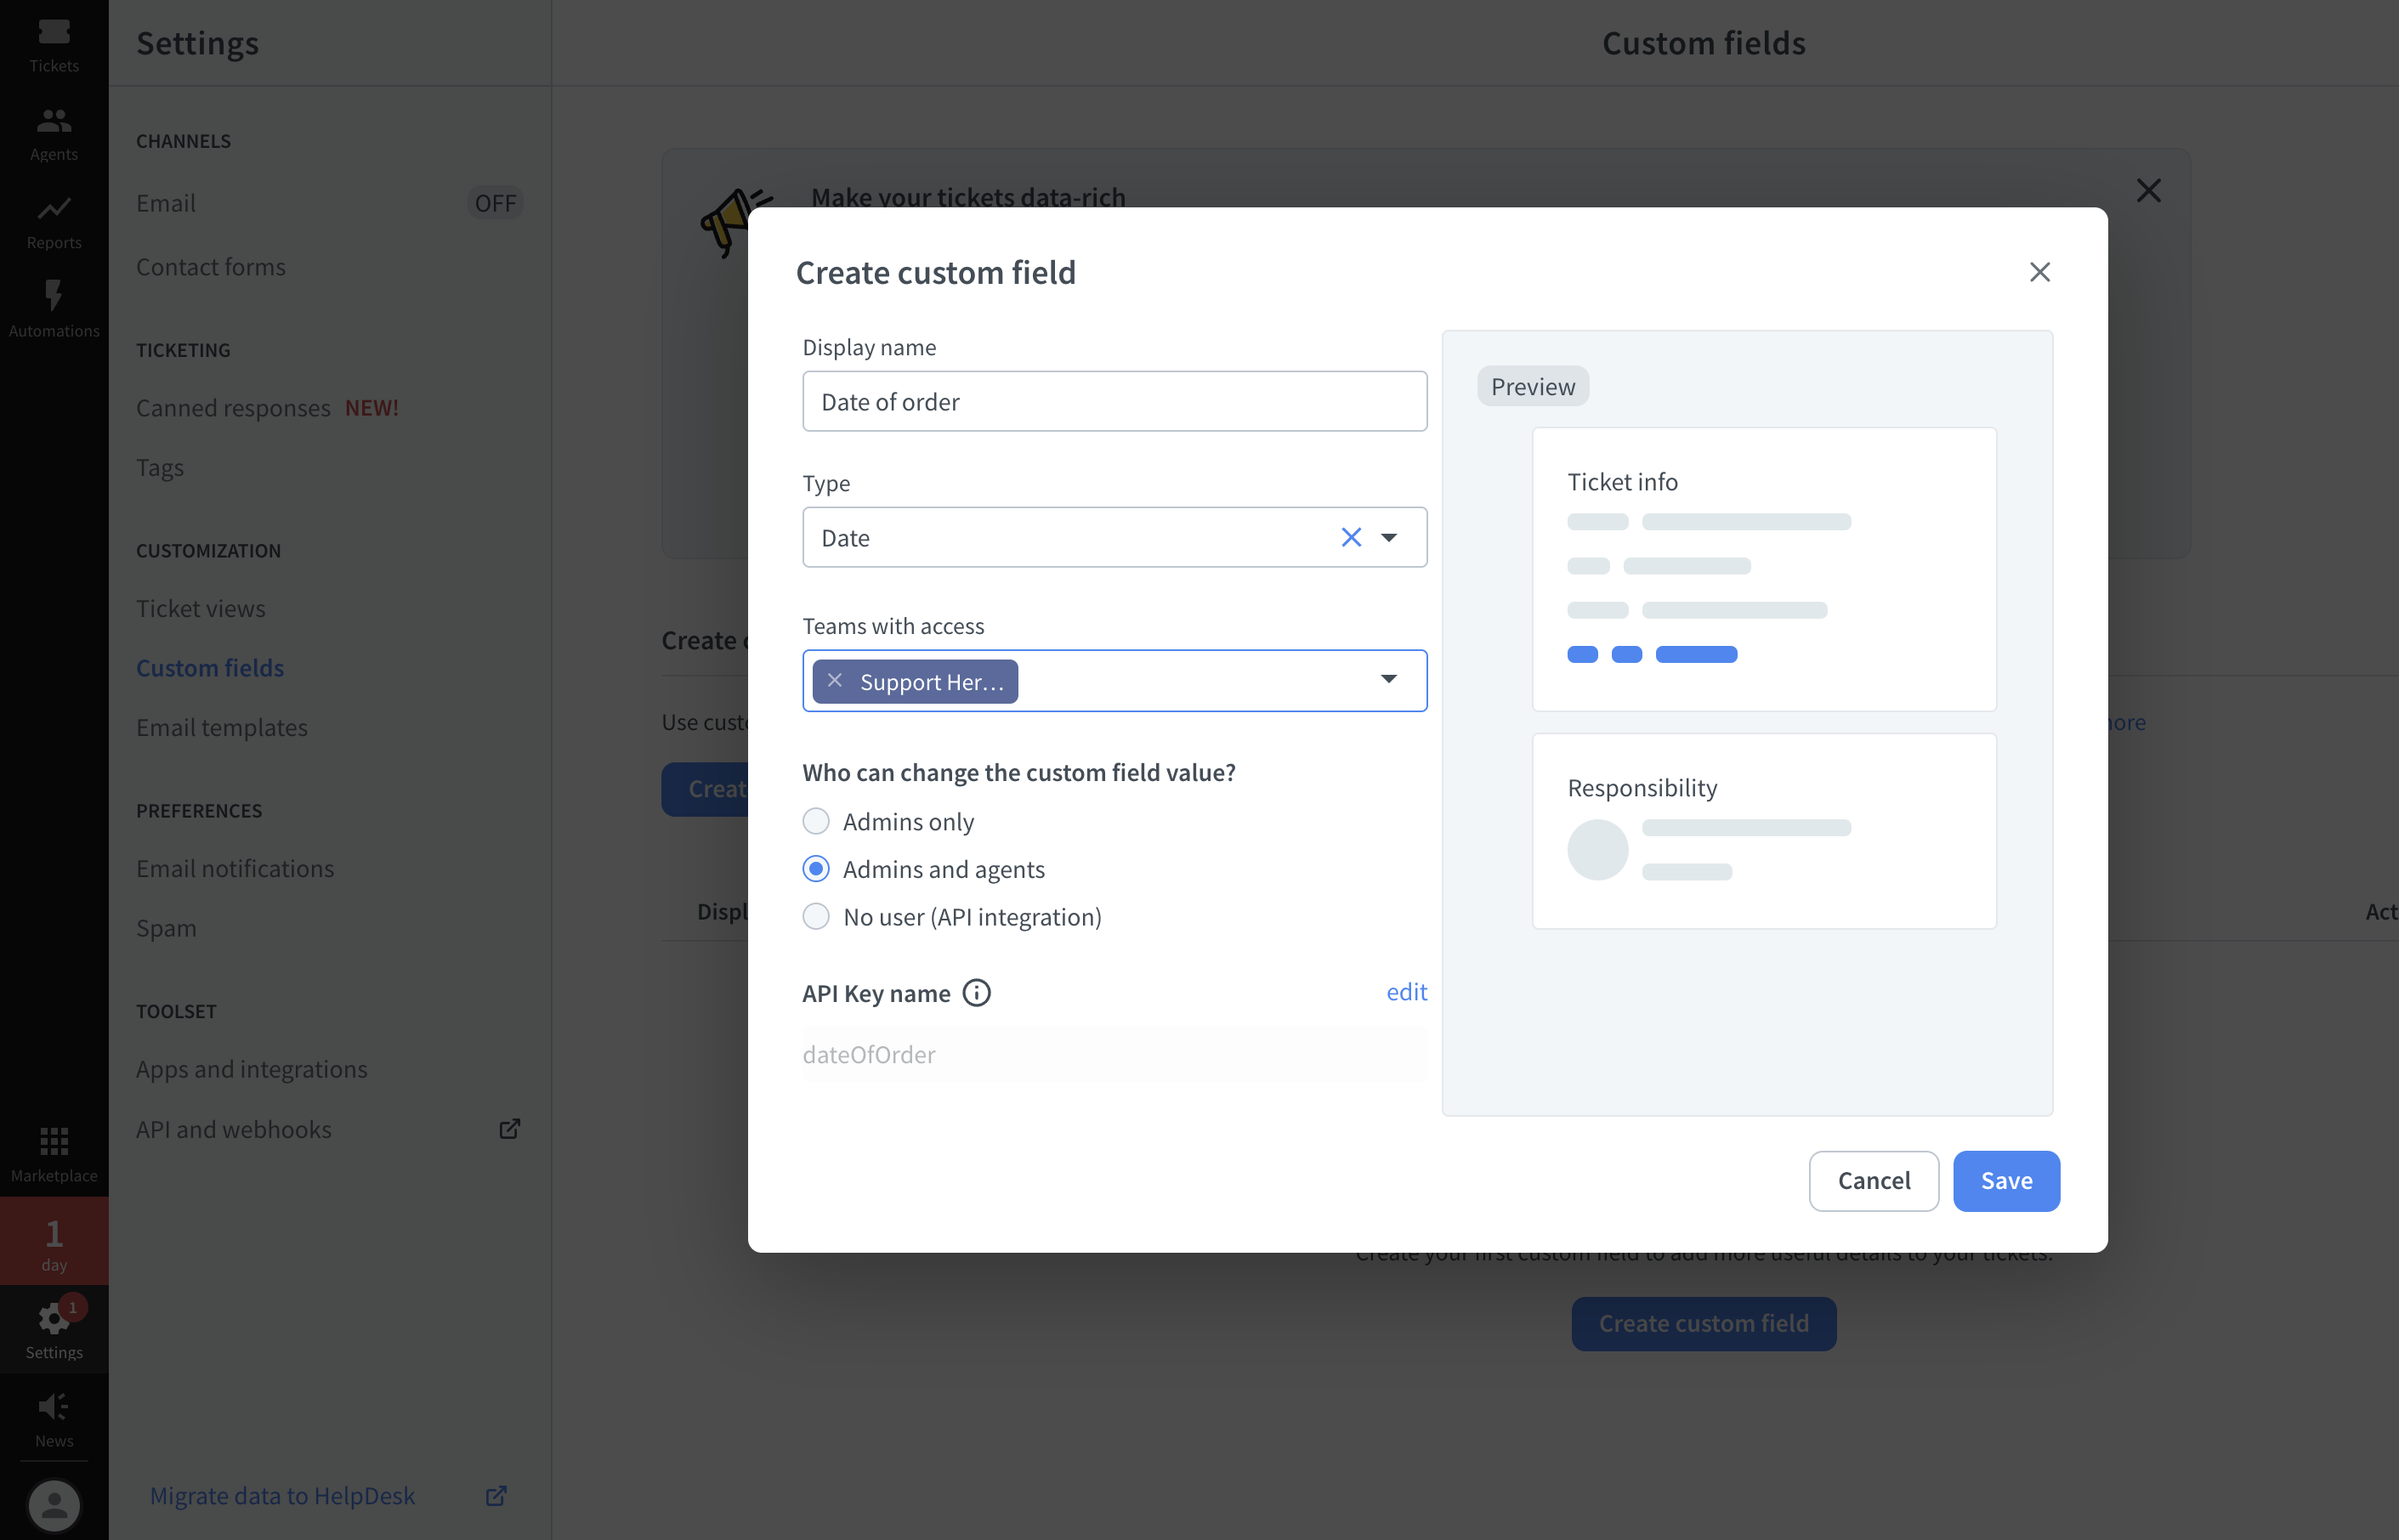
Take a look at the API key name — you’ll need it to create Contact Form 7 in the Form and Mail panels in the CF 7 settings.

Once you’re done creating HelpDesk custom fields, go back to your WordPress account.
Contact Form 7 tutorial: Specifying the Form panel
Let’s take a look at the details of a sample contact form in the Form panel.
In the following section, you can spot some bolded custom field type defined in HelpDesk during the custom field creation process:
[text your-name autocomplete:name] *
[email your-email autocomplete:email] *
[text your-subject] *
````
[text singleline-text]
[textarea multiline-text]
[url link-url]
[date date]
[submit “Send”]
The overall content of the Form panel of the contact form is up to you.
Remember to save changes.
Specifying the Mail panel in Contact Form 7
Let’s take a look at the details of a sample contact form in the Mail panel, according to Contact Form 7 docs.

Below, you’ll find an explanation of each field in the Mail panel to make your contact form work.
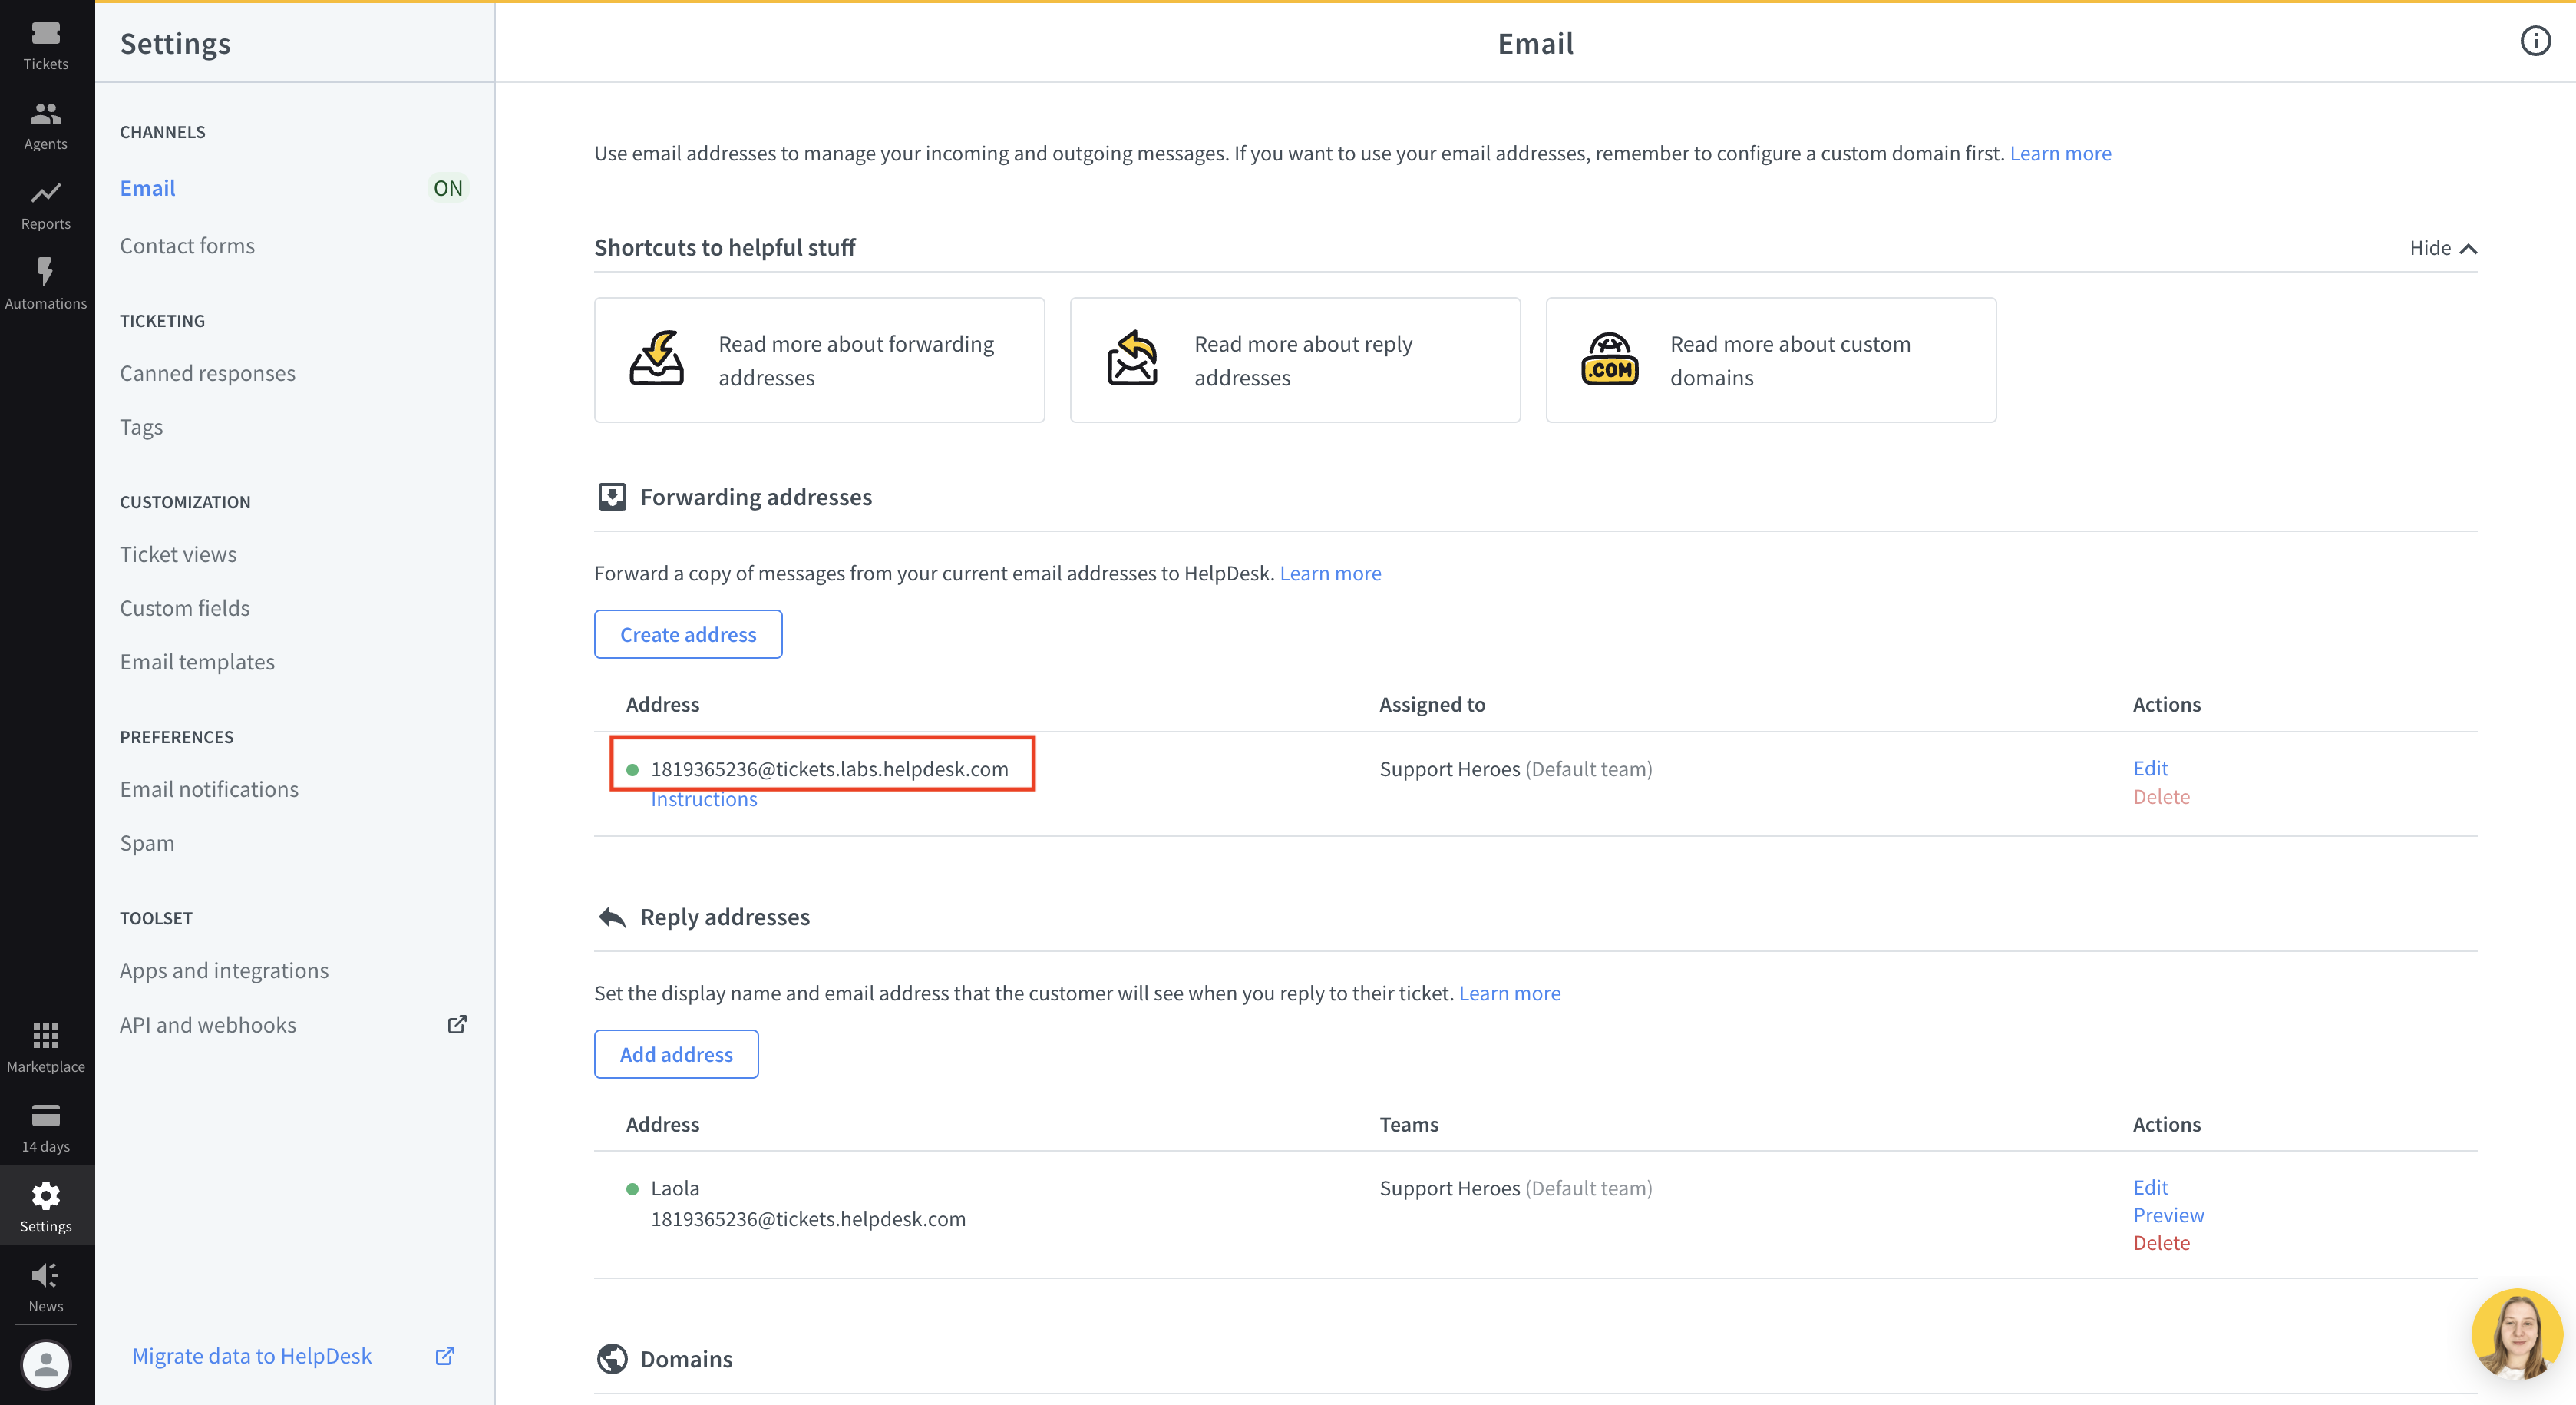
To
Set the recipient email address here. Use your HelpDesk forwarding address that you’ll find in the “Settings” section in the “Email” category.
You can use mail-tags in this field.
Specify values in the valid mailbox syntax, or you’ll get a configuration error.
From
Set the sender’s email address here. You can use mail-tags in this field.
This field value should be an email address that belongs to the same domain as the website. Otherwise, you’ll get a configuration error.
Subject
Set the subject of the message here. You can use mail-tags in this field.
Additional headers
Place custom field headers and keep the following format: X-HelpDesk-CF-
Reply-To: [your-email]
X-HelpDesk-CF-productName: [singleline-text]
X-HelpDesk-CF-details: [multiline-text]
X-HelpDesk-CF-productUrl: [link-url]
X-HelpDesk-CF-dateOfOrder: [date]
You can insert additional message header fields here, such as Cc and Bcc. There should be one field per line. You can embed mail-tags anywhere in these fields.
Message body
This is the message body; you can embed mail-tags anywhere in this field.
Define it to your needs, such as:
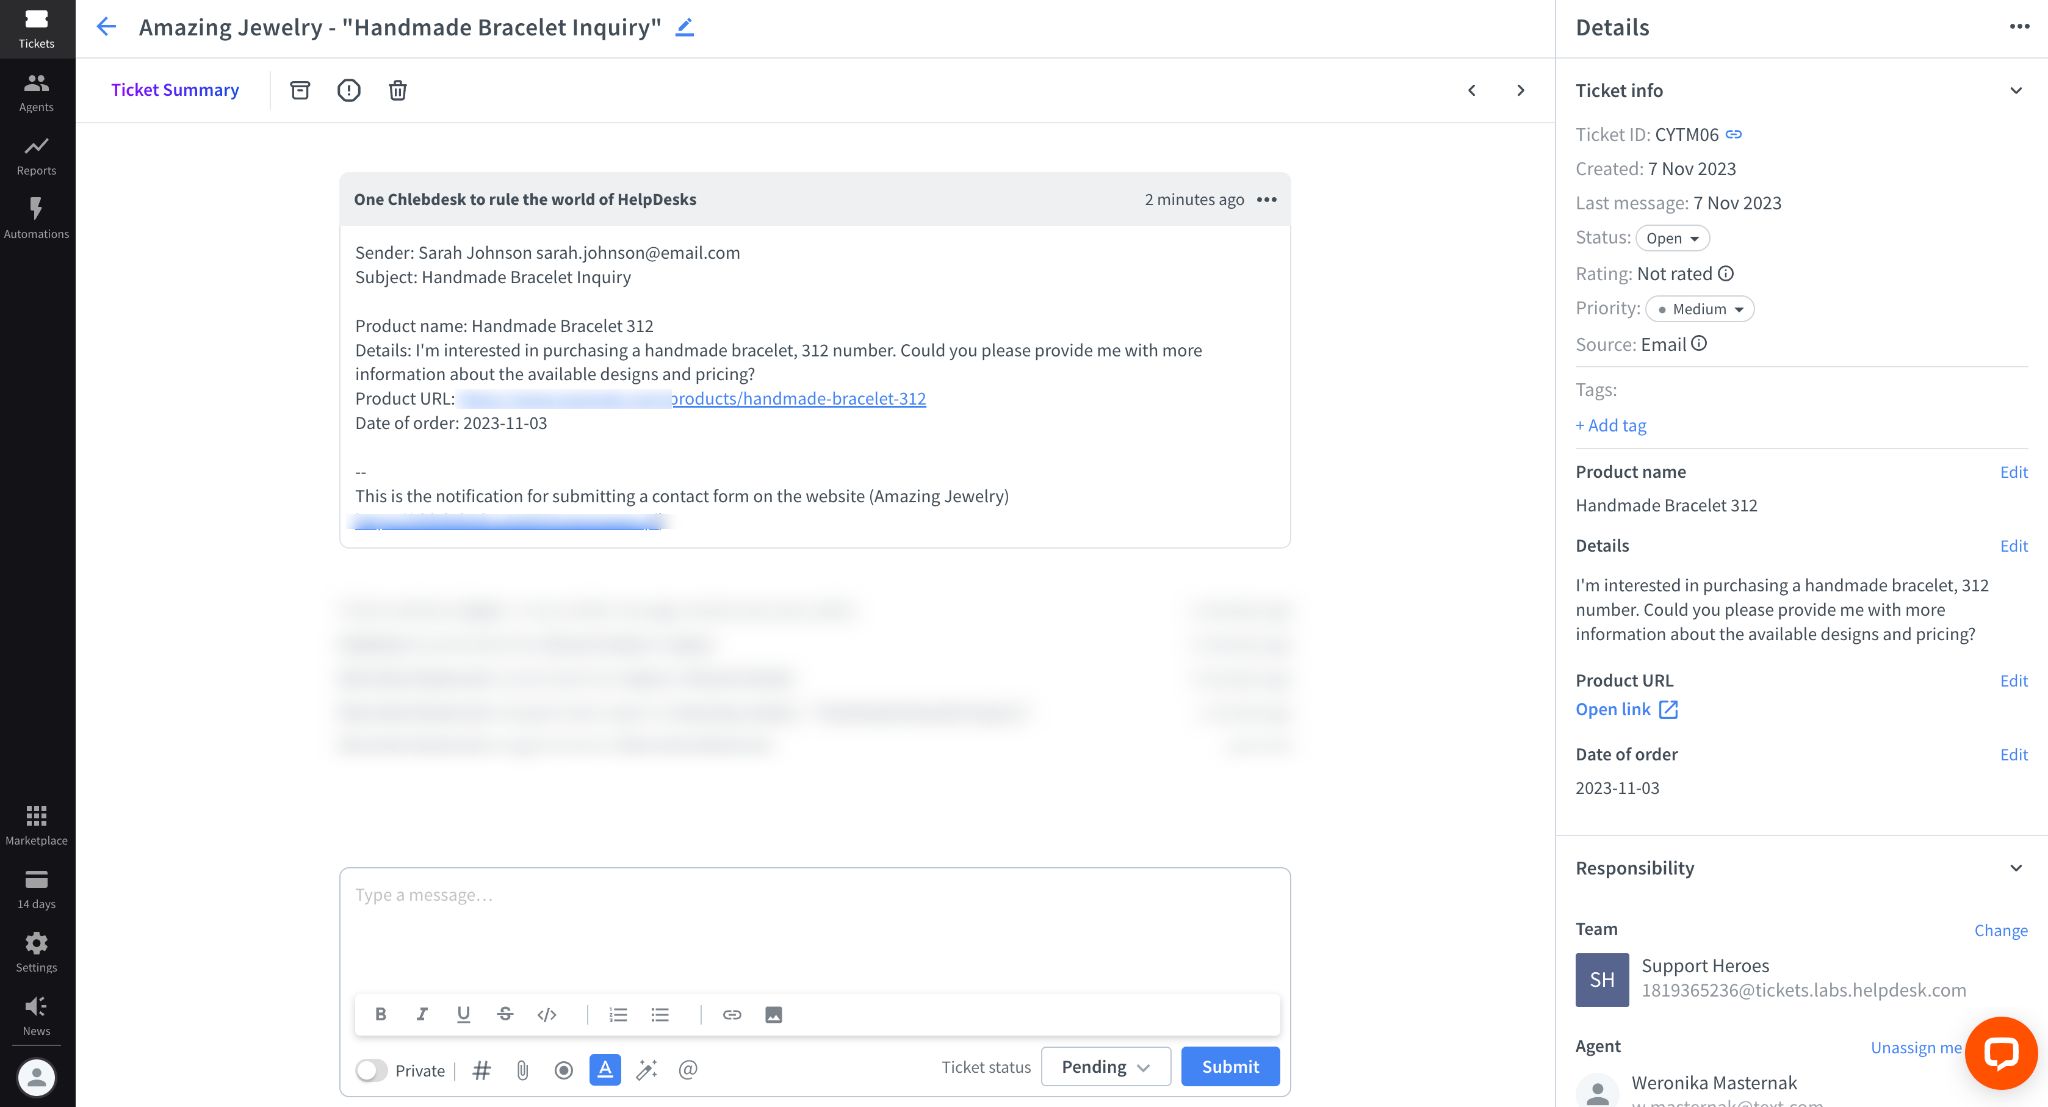
Sender: [your-name] [your-email]
Subject: [your-subject]
Product name: [singleline-text]
Details: [multiline-text]
Product URL: [link-url]
Date of order: [date]
--
This is the notification for submitting a contact form on the website ([_site_title] [_site_url]).
If you select the Exclude lines with blank mail-tags from the output checkbox, lines, including mail-tags that have empty values, will be excluded from the message body of the actual email output.
By default, plain text is used for the message body. To use HTML, select the Use HTML content type checkbox.
The overall content of the Mail panel of the contact form is up to you.
Remember to save changes.

Contact Form 7 installation on your WordPress page
First, create a page for your contact form. Go to “Pages” and click on the “Add New” button in your WordPress account.

Give it a proper headline and add the necessary content, then insert a block named “Shortcode” to paste the contact form.

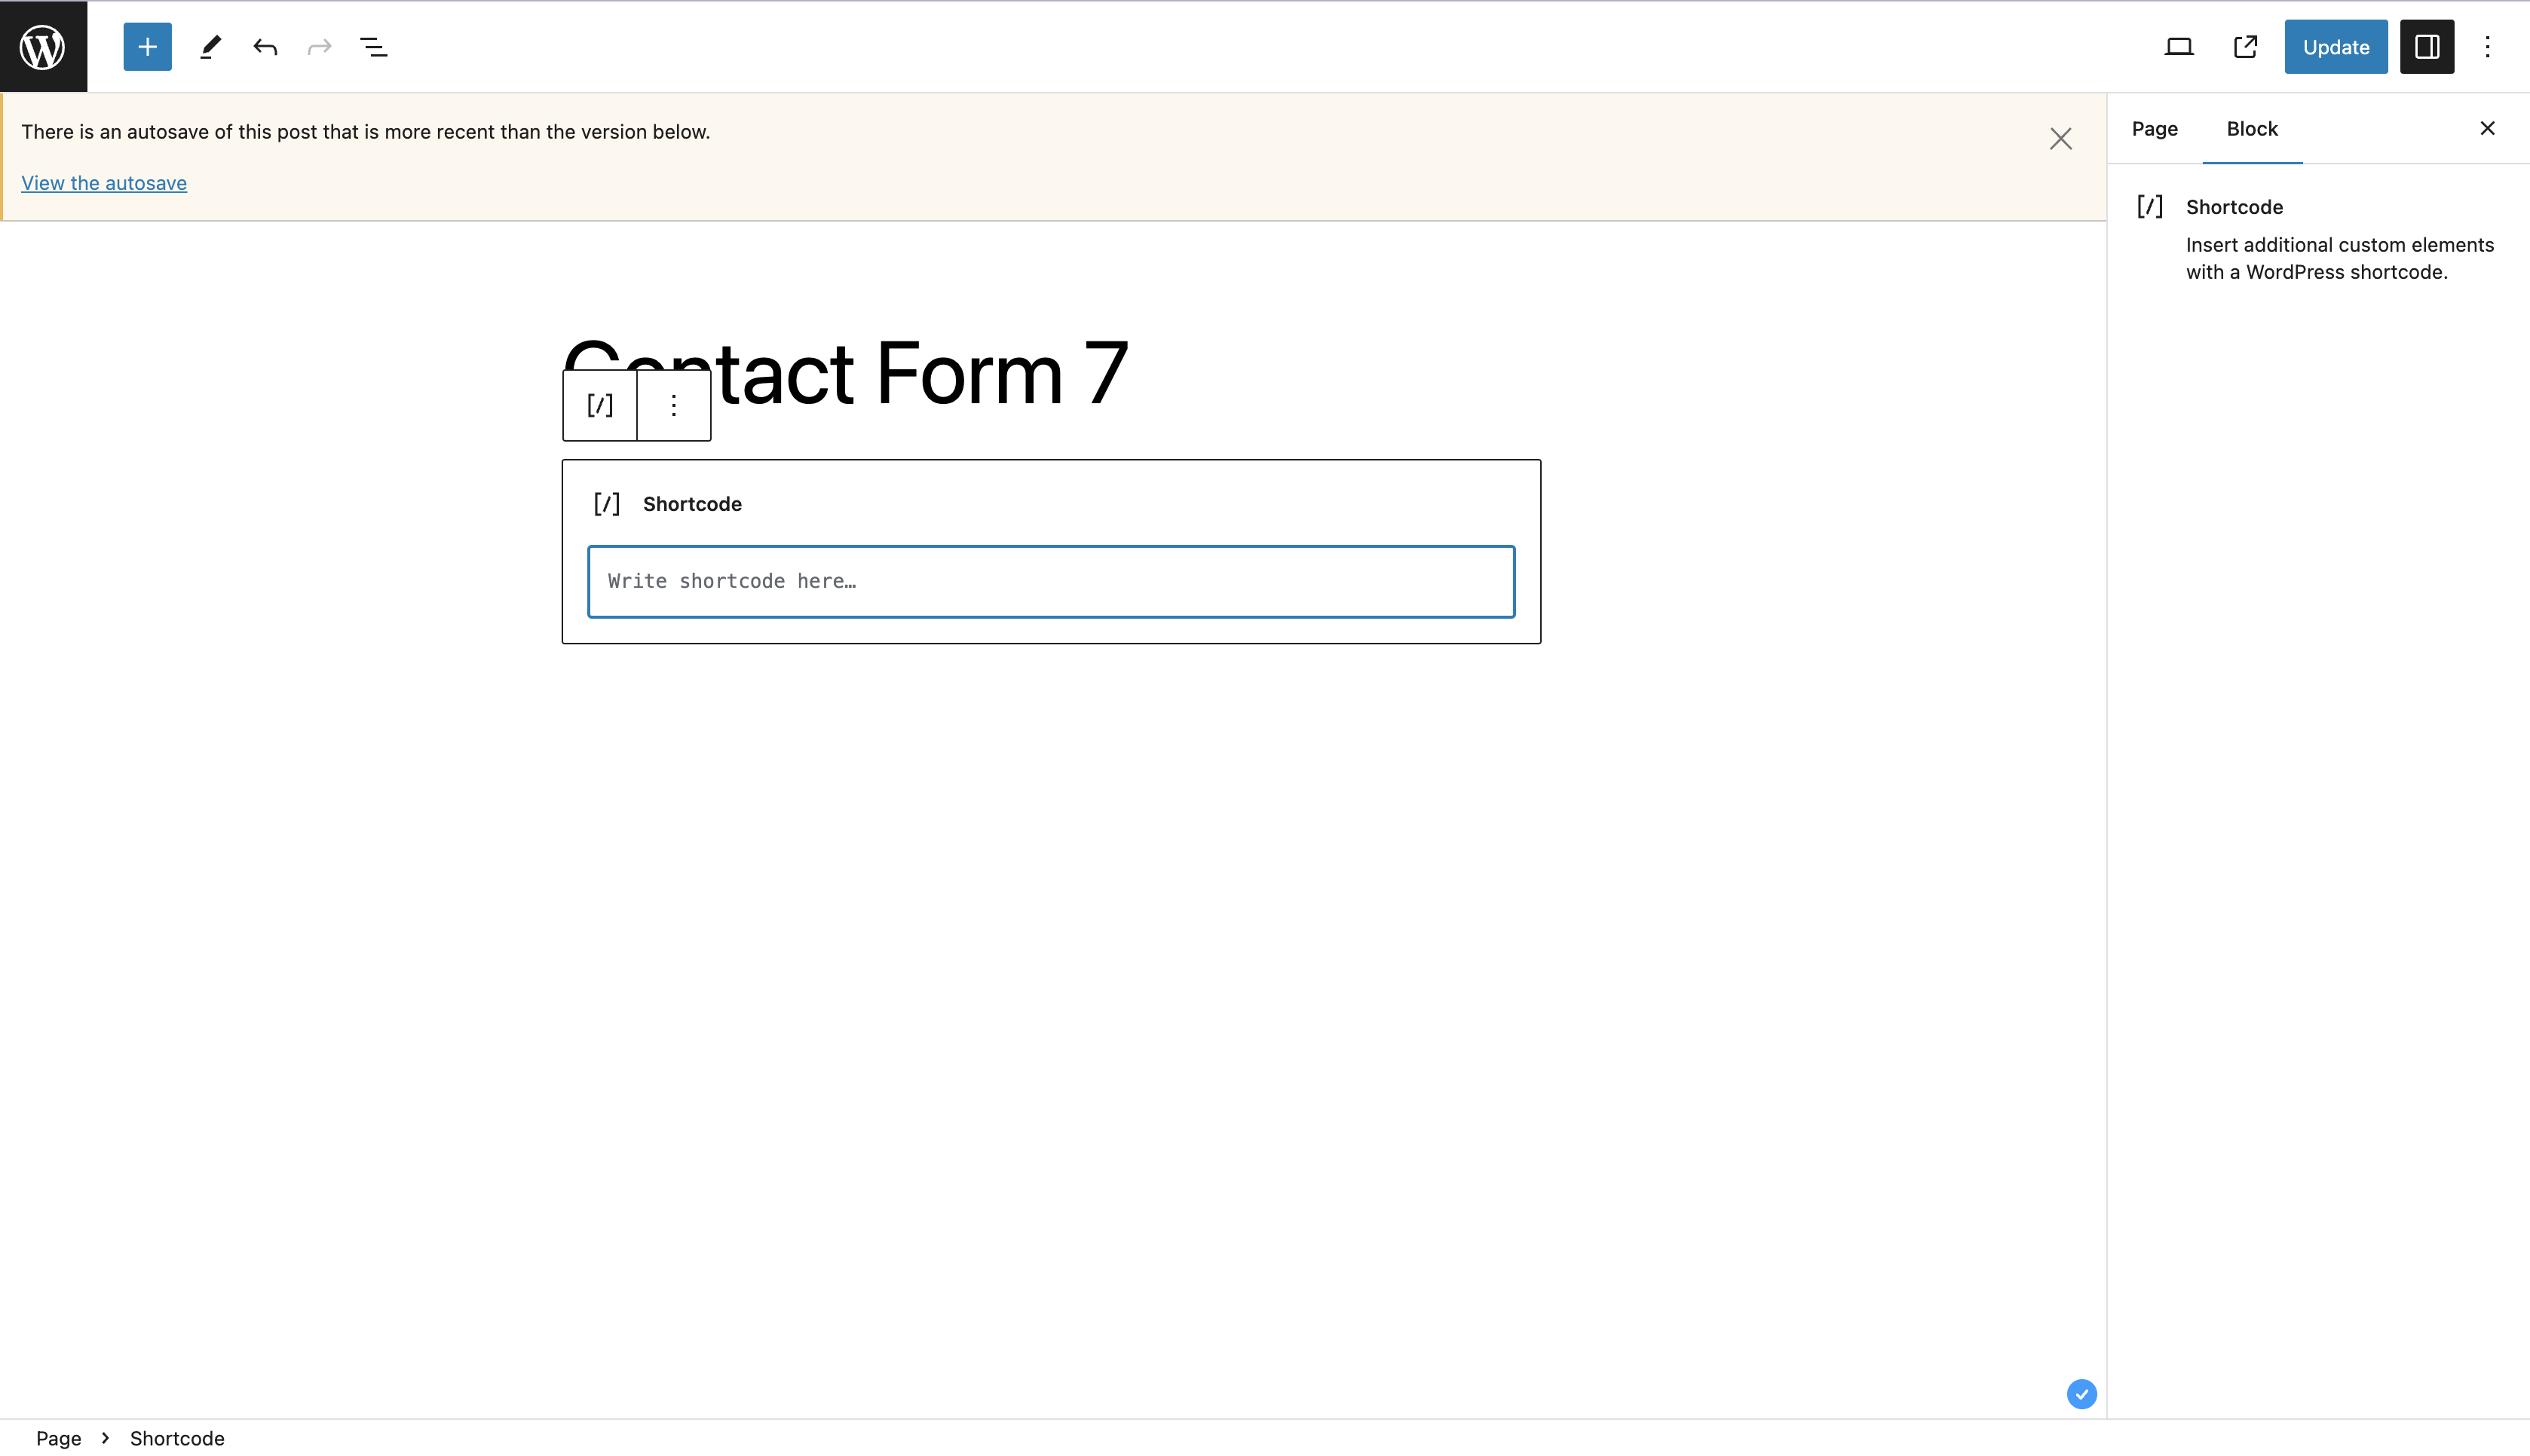
Now, copy and paste the shortcode of your newly created contact form.
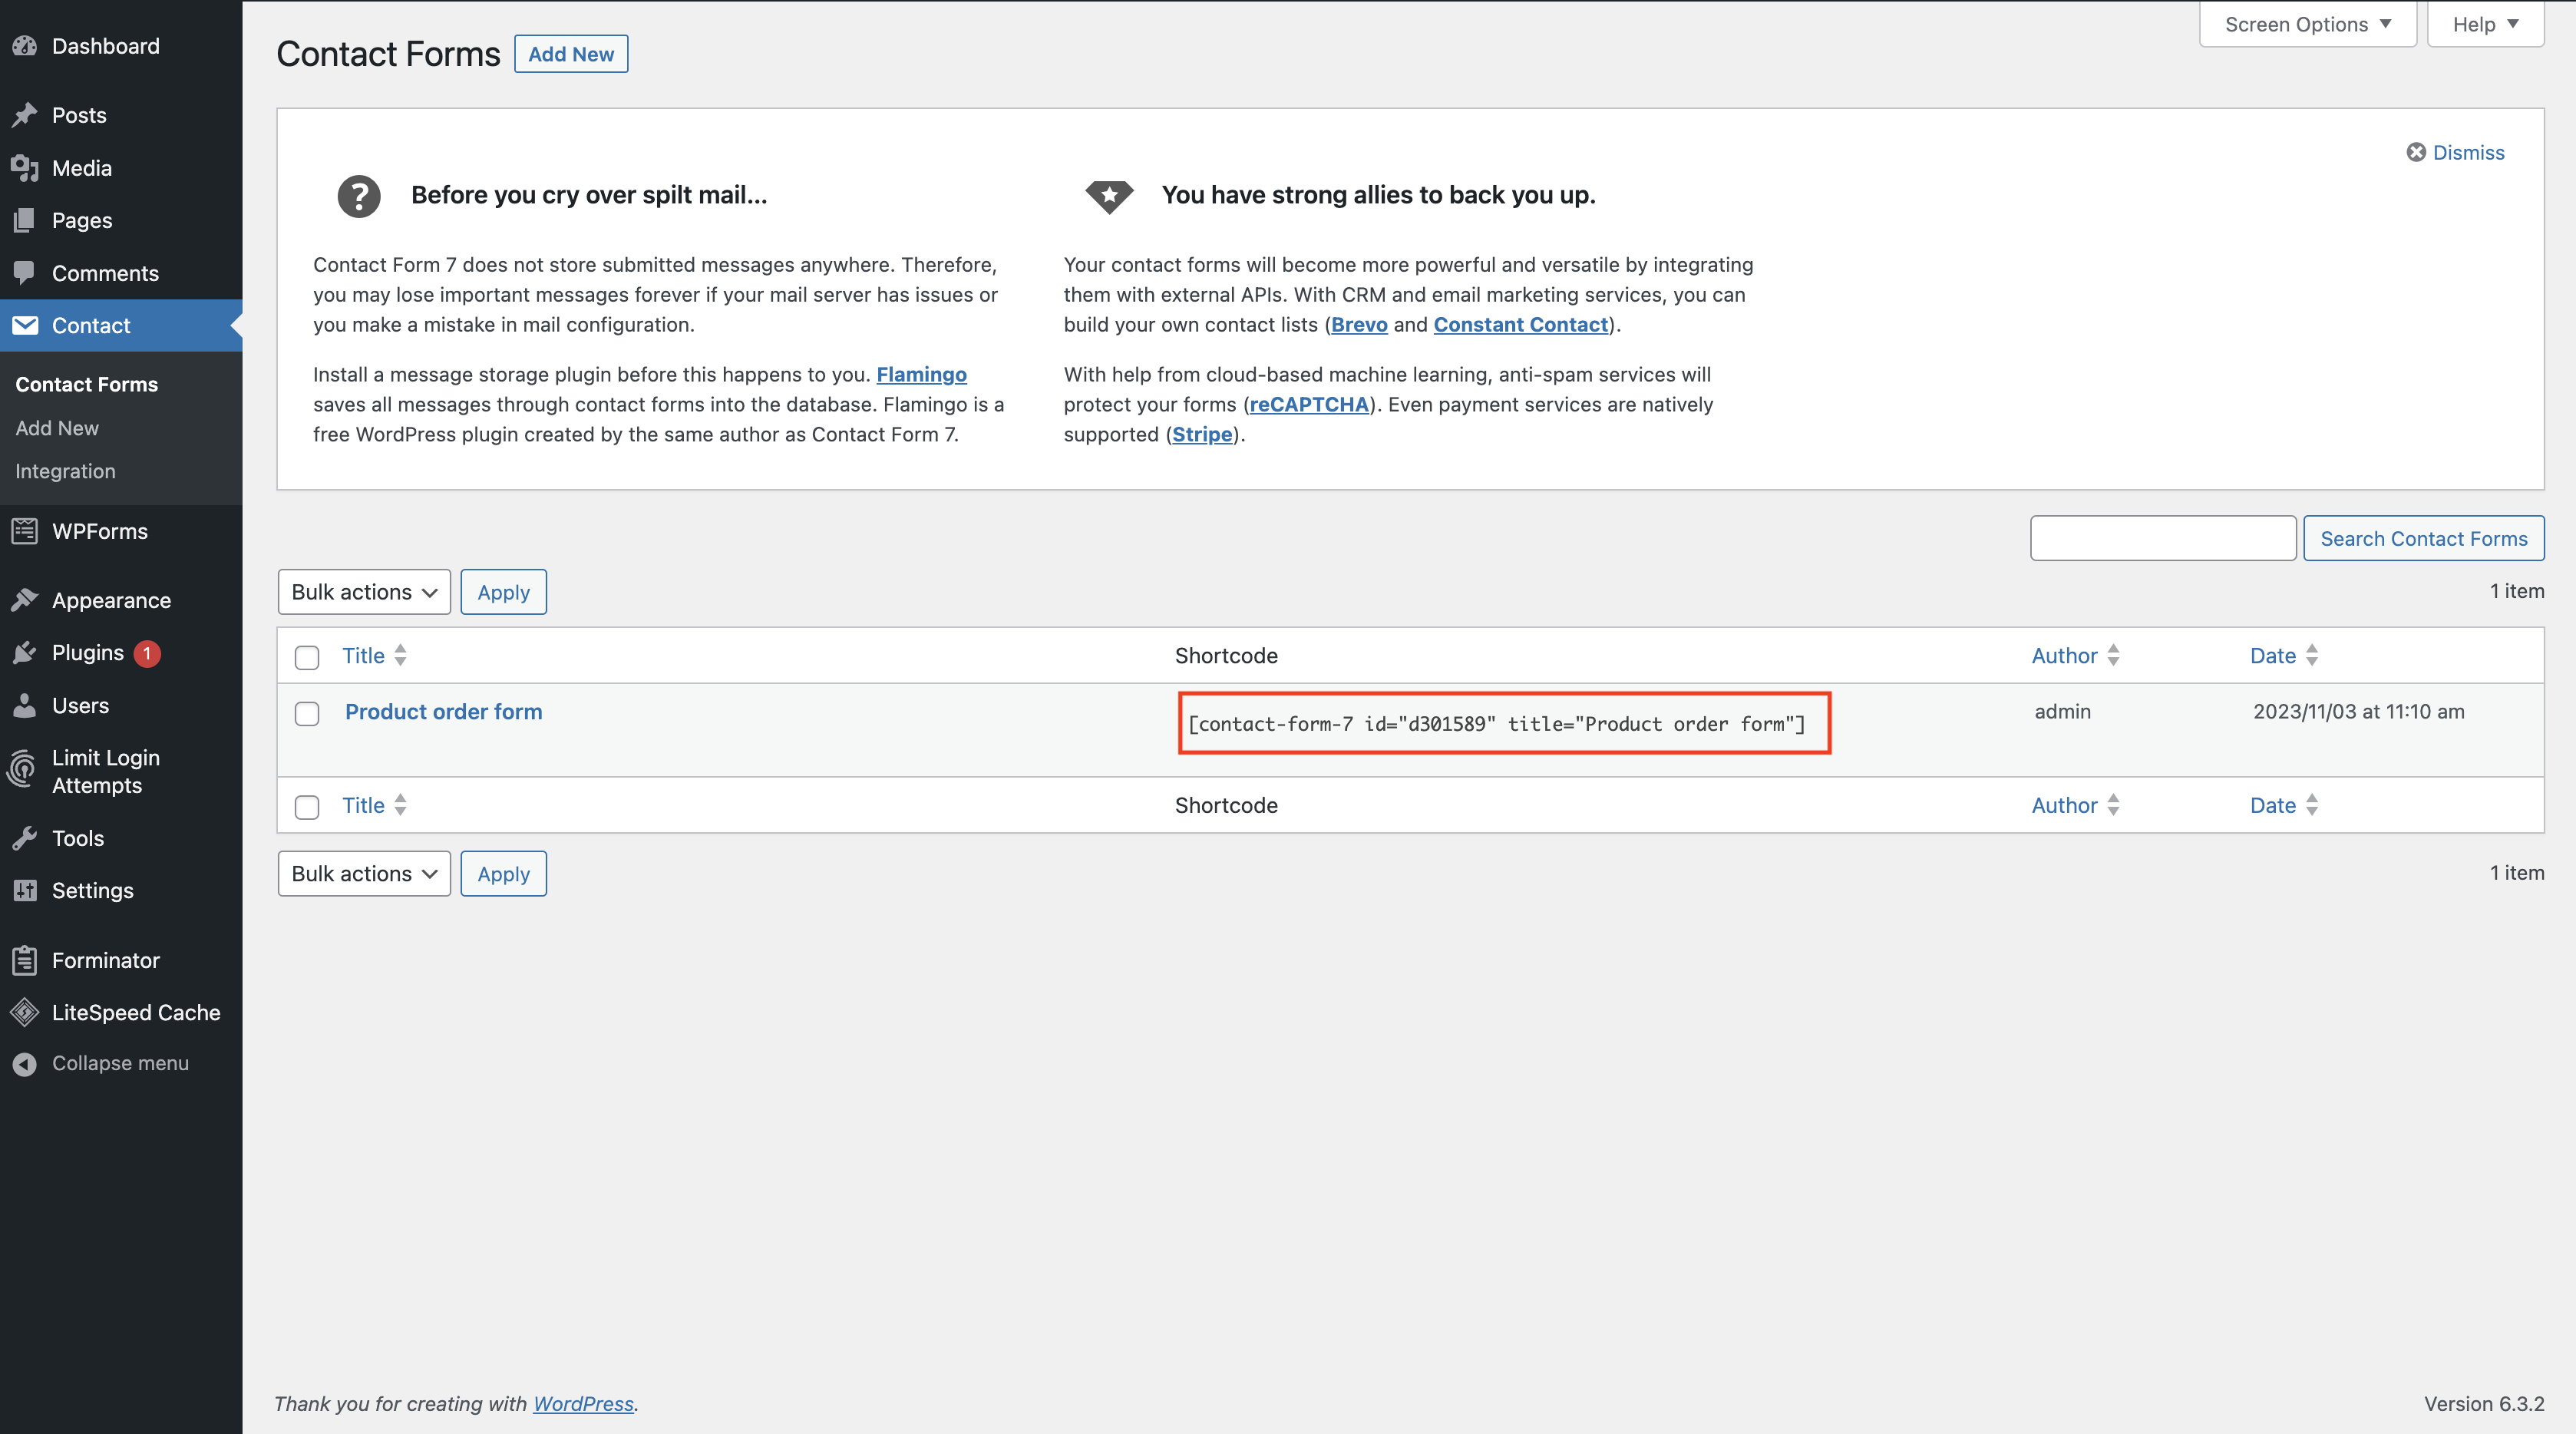
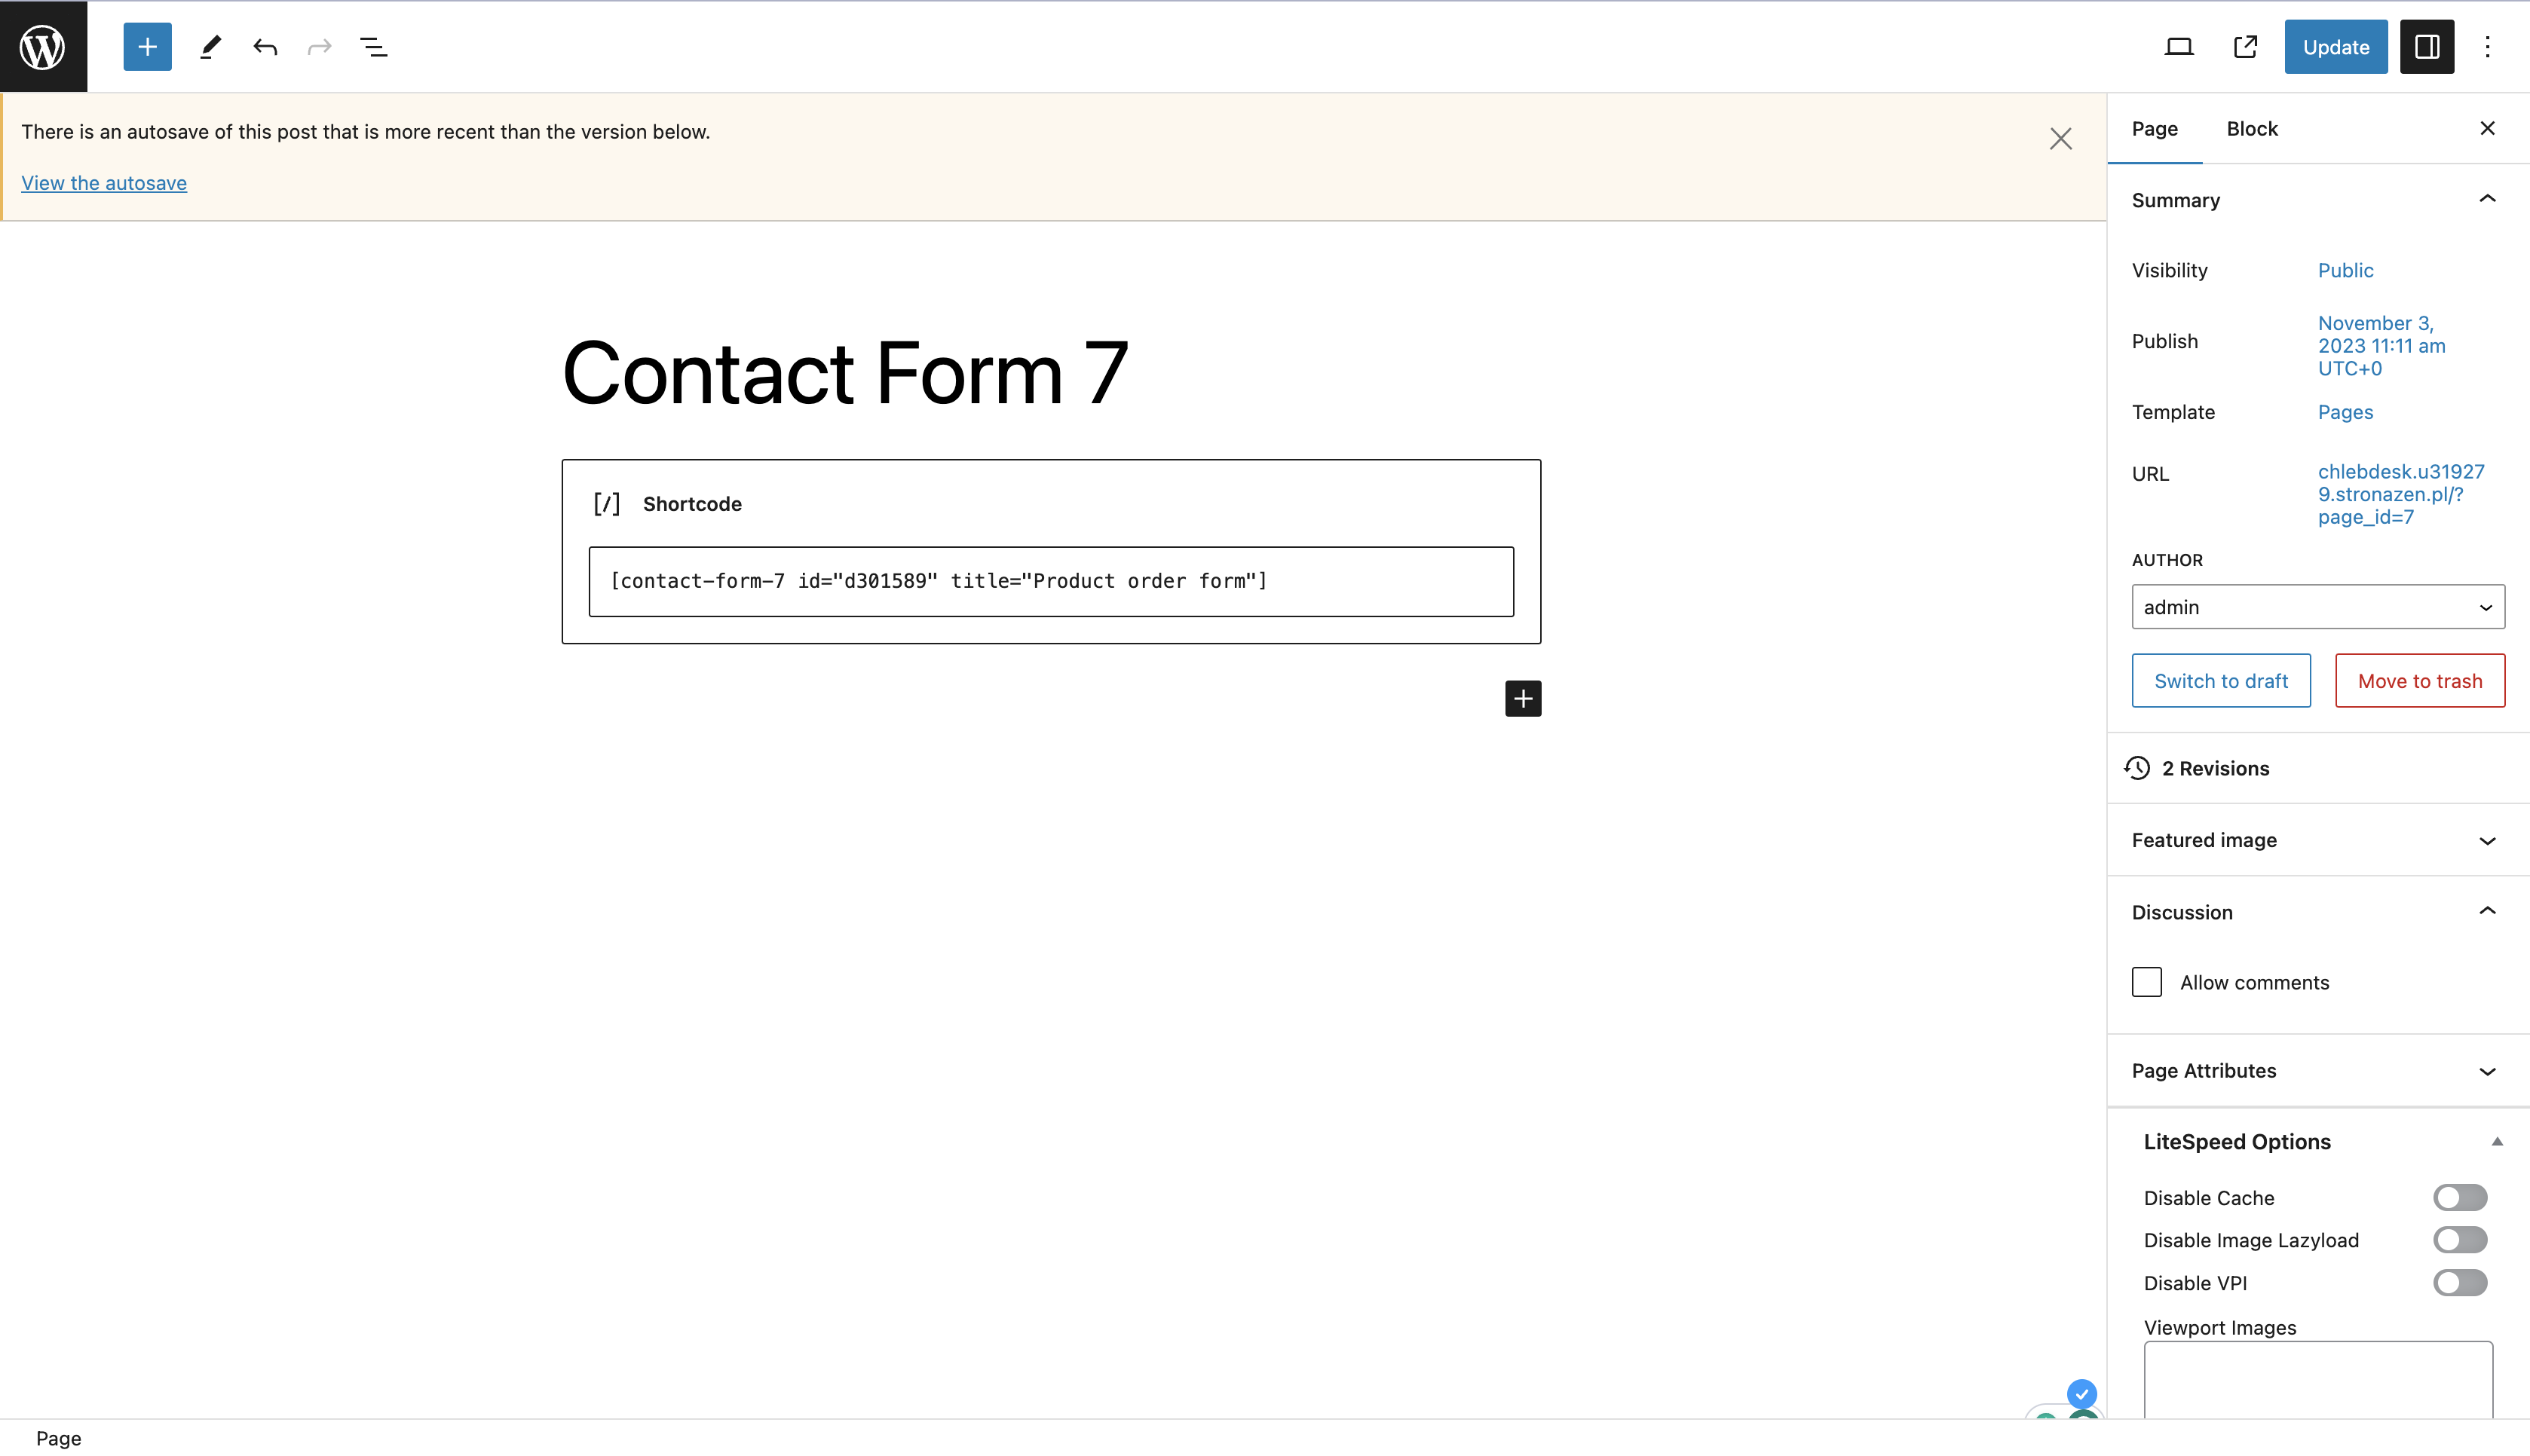
Then, click the “Update” button and test the contact form on your website.
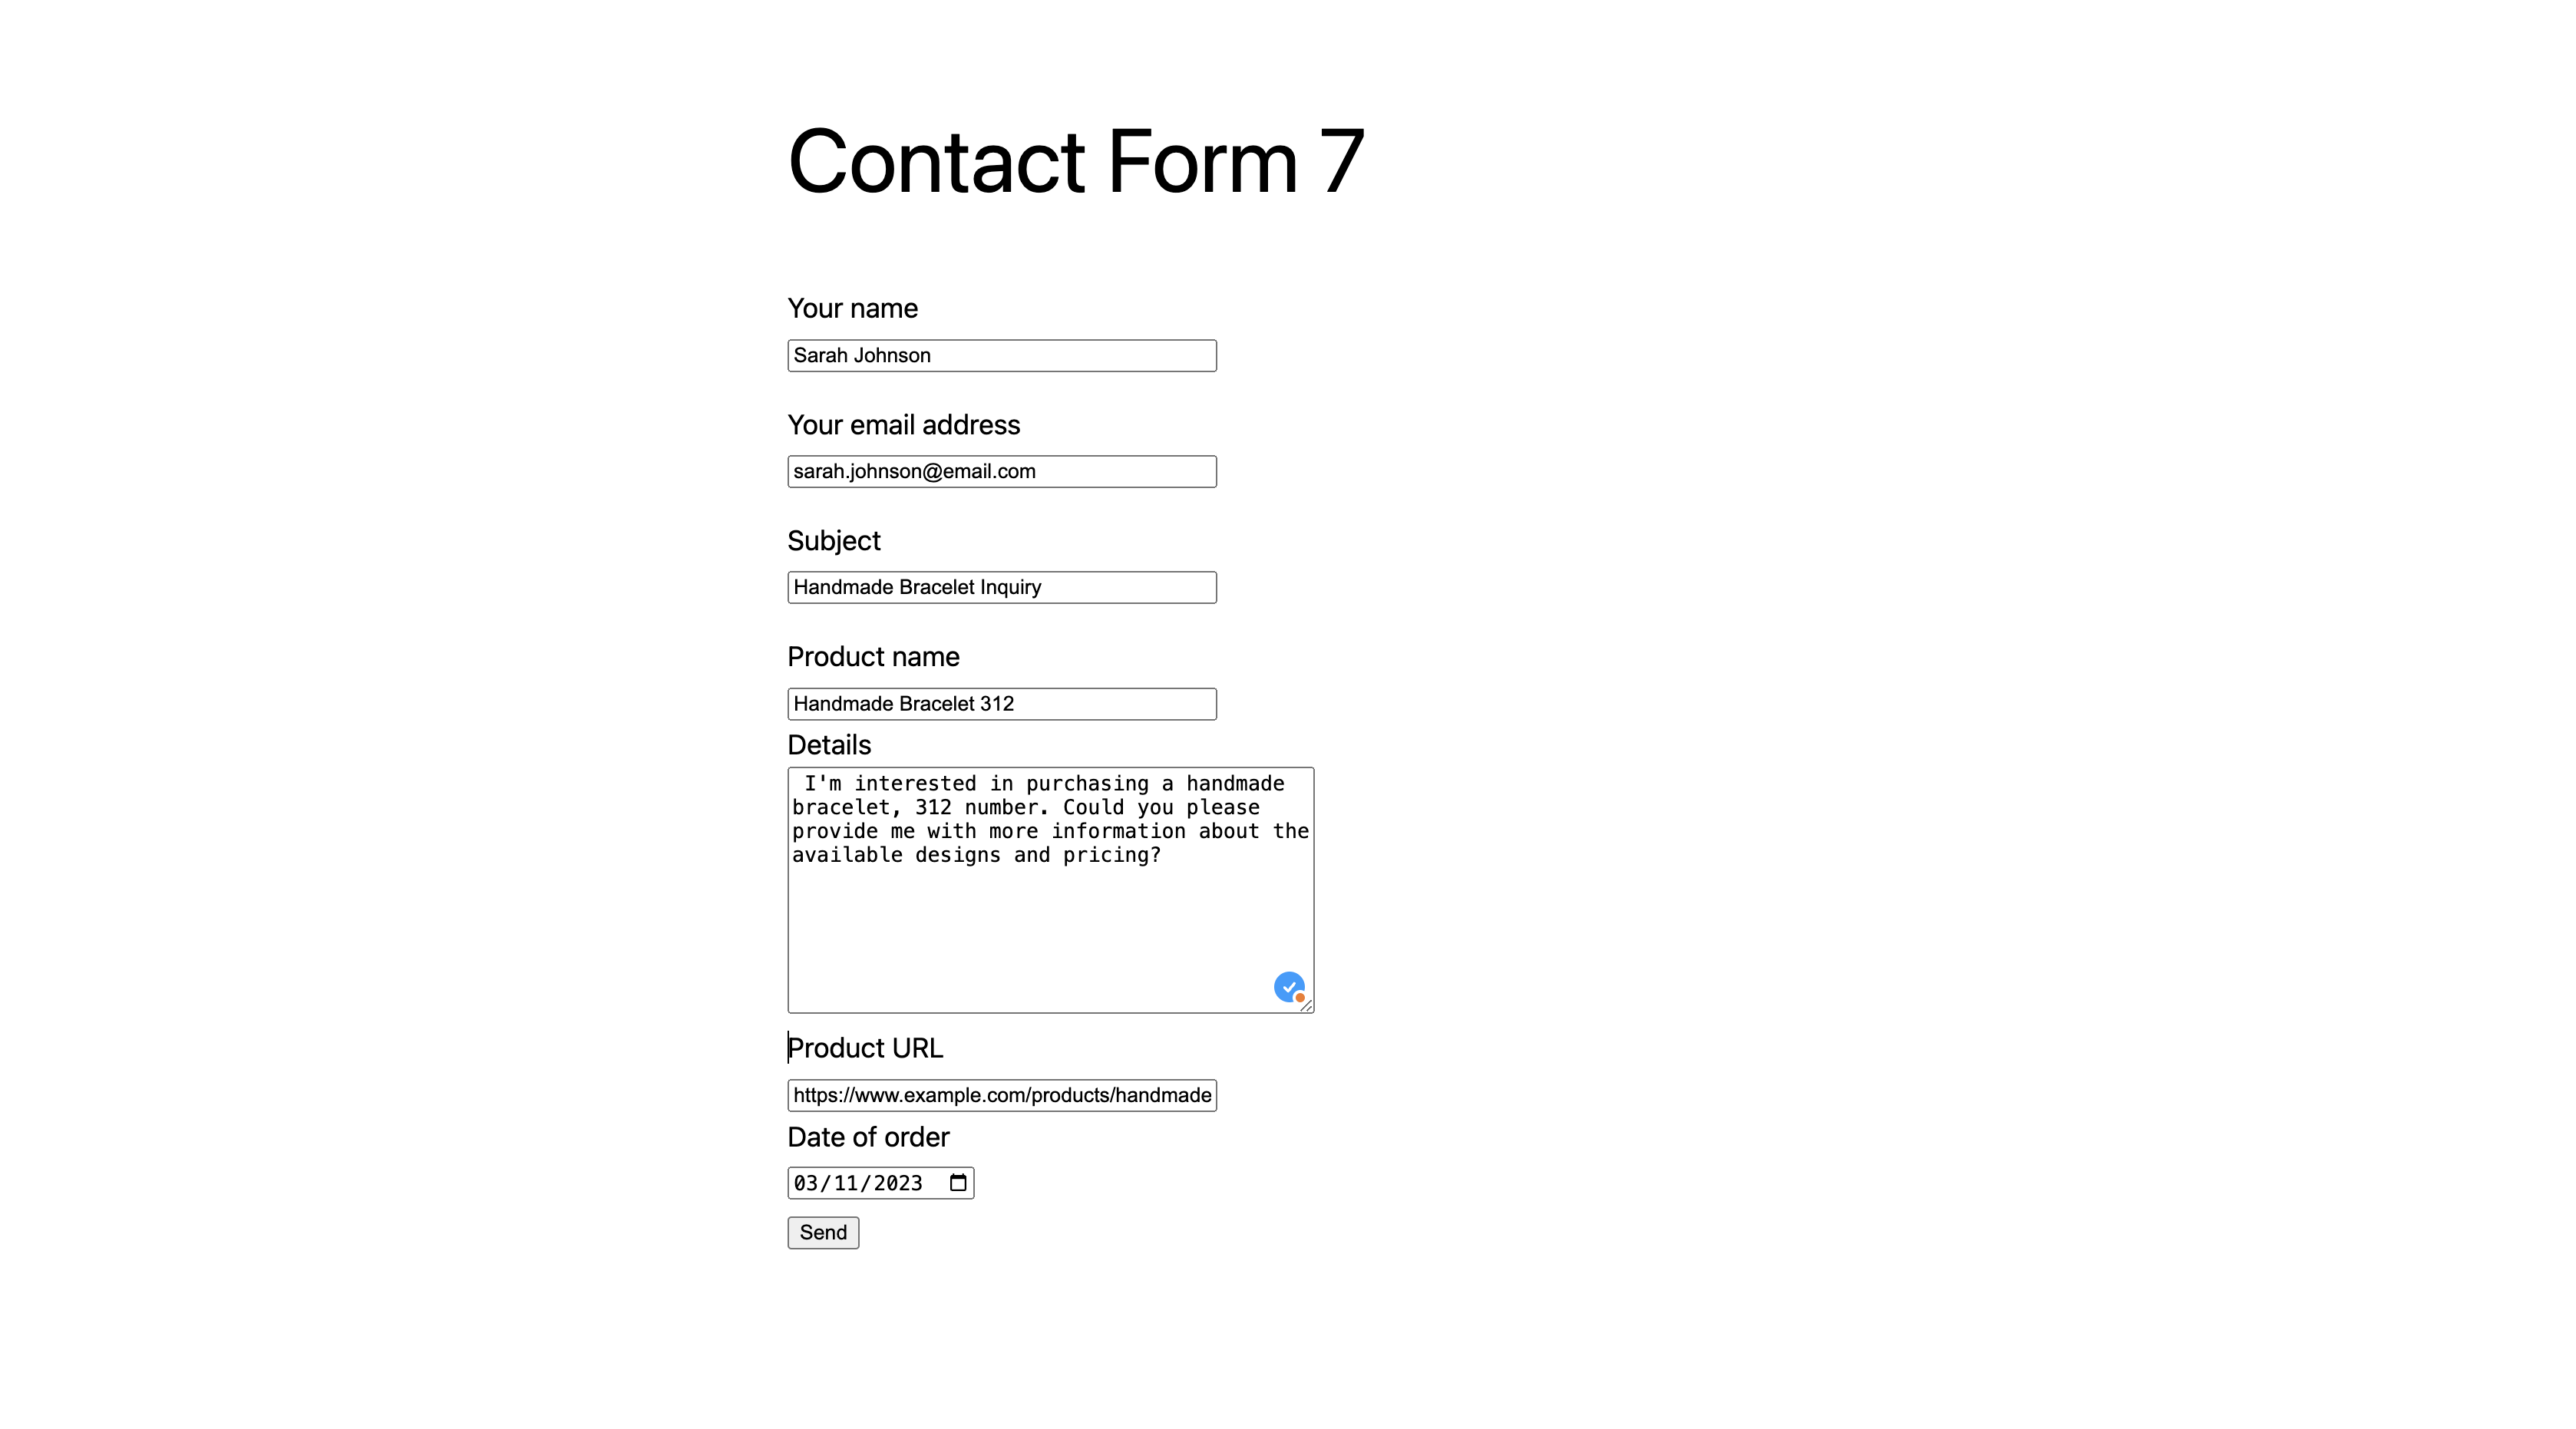
If everything’s configured well, the test should result in a new HelpDesk ticket filled with custom fields (if you previously set them up).