 158 29
Set up ticket ratings
First, you can only collect feedback on your customer service team’s performance with a properly configured rule or macros.
To start collecting customer feedback, go to the “Automations” section and select the “Rules” category.
Here, you can find the “Feedback request” rule template for collecting ticket ratings.

By default, the “Feedback request” rule template is:
-
Ready in terms of a set of conditions and actions
-
Enabled for new licenses

You can modify the content of the “Feedback request” rule to suit your needs. In addition, you can easily turn this rule on and off using the switch button to the right of this specific rule in the main list with rules.

Set up rules using a condition related to the ticket rating
Choose whether a rating is (given in the past) or has been added (given after the automation was created) as Great 🟢, Okay 🔵, or Not good 🔴 in tickets to automate responding to customer feedback.


Ticket rating from the recipient’s perspective
The ticket rating process included the following steps:
1. Rating selection
When the recipient picks a rating inside the ticket, it automatically takes them to a dedicated website where the rating they selected is already saved.

2. Adding comments
On the ticket rating website, the recipient can add more thoughts or opinions in the comments section if they wish, but this isn’t required.


3. Confirmation of sent ticket rating
To ensure the recipient’s rating and any comments are officially noted and shown to us, they need to click “Send” on the website.

4. Automated saving and time limit
As soon as the recipient selects a rating in the ticket, it’s saved immediately. Once on the feedback website, they have 10 minutes to leave any comments or change their rating. If they don’t submit a new rating and comment using the Save button, the initial rating is saved.
Ticket rating from the agent’s perspective
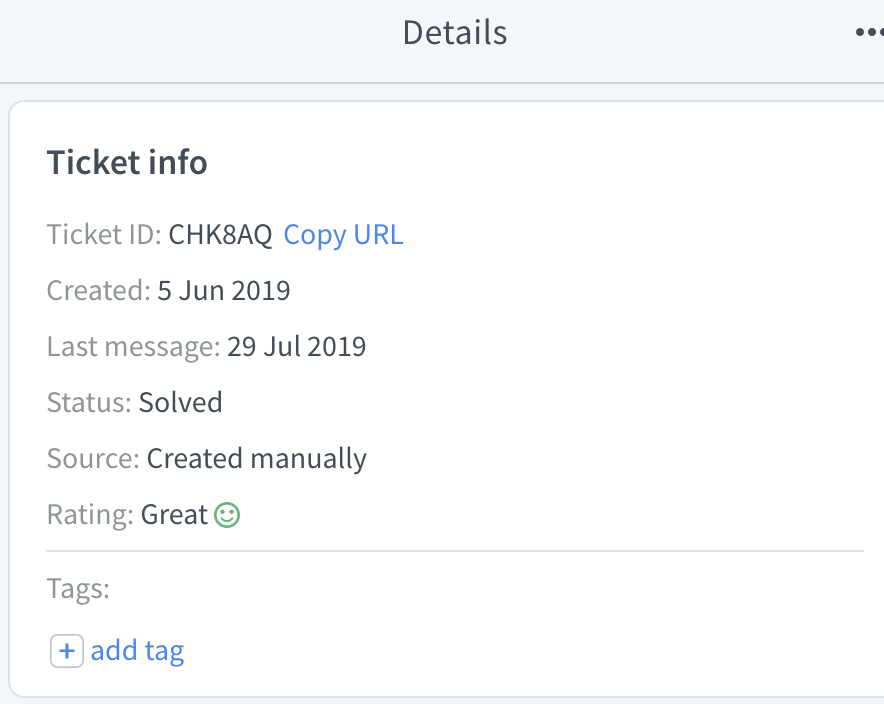
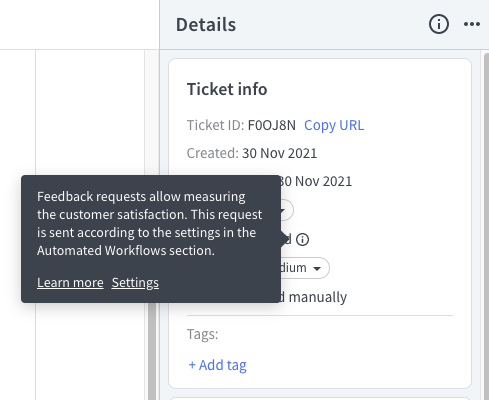
When you’re in the ticket, go to the “Ticket details” section. Then, look at the “Ticket info” part for the current ticket rating status.
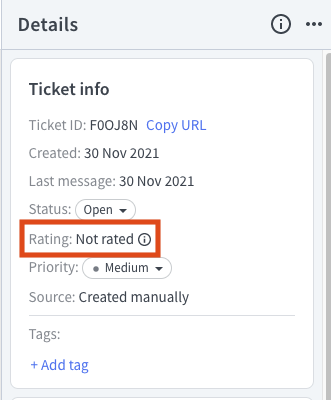
There are five possible ticket rating statuses you can encounter:
-
Rating: Not rated (your customer hasn’t yet given any feedback)
-
Rating: Not applicable
-
Rating: Request sent
-
Rating: Great/Okay/Not good
-
Recent rating: Great/Okay/Not good (if there were more ratings)

Ticket rating in the communication feed
In the ticket’s communication feed, you can see all ratings added by your customer, along with optional comments. You can’t change or delete a rating if you’re an agent.

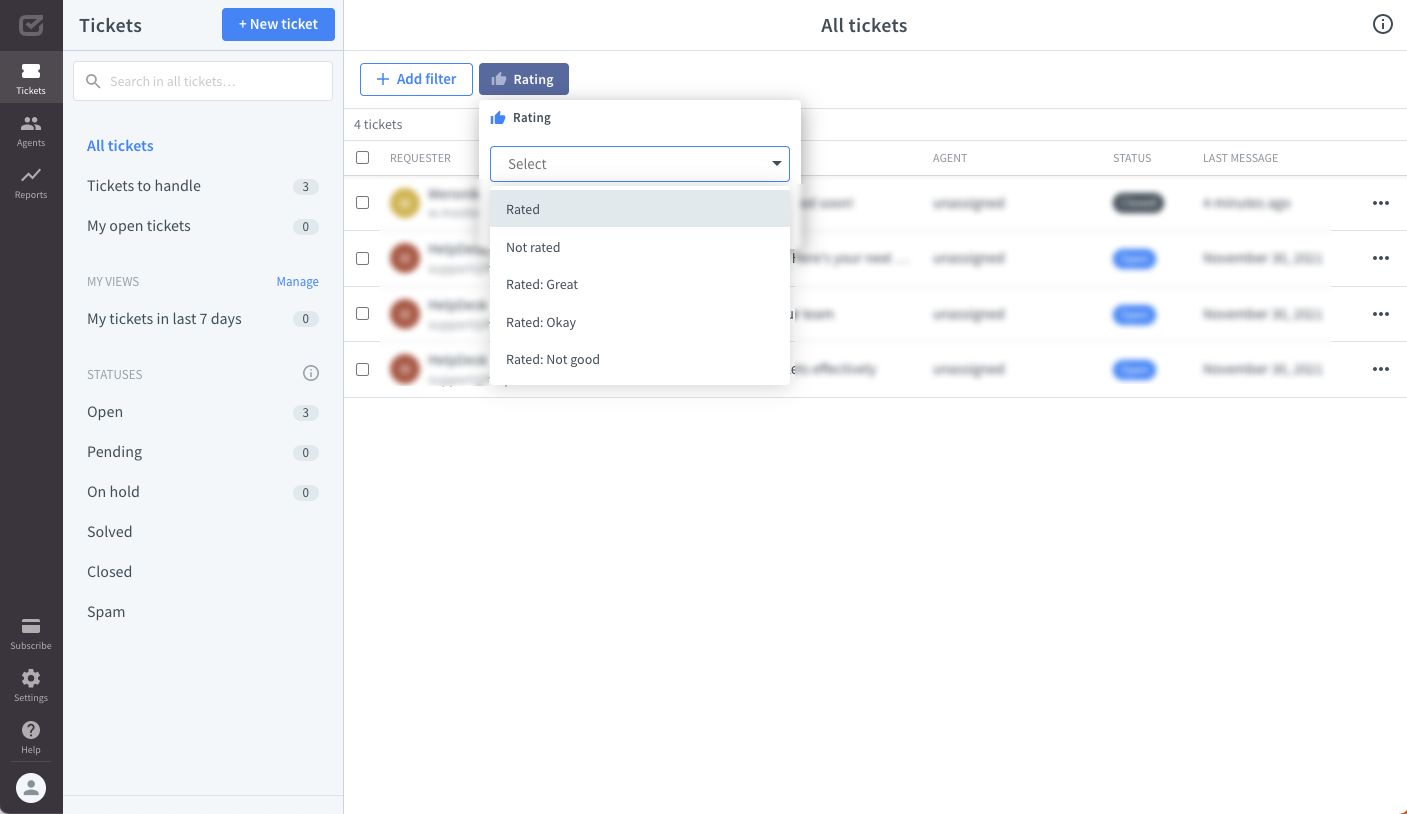
Filter by ticket ratings
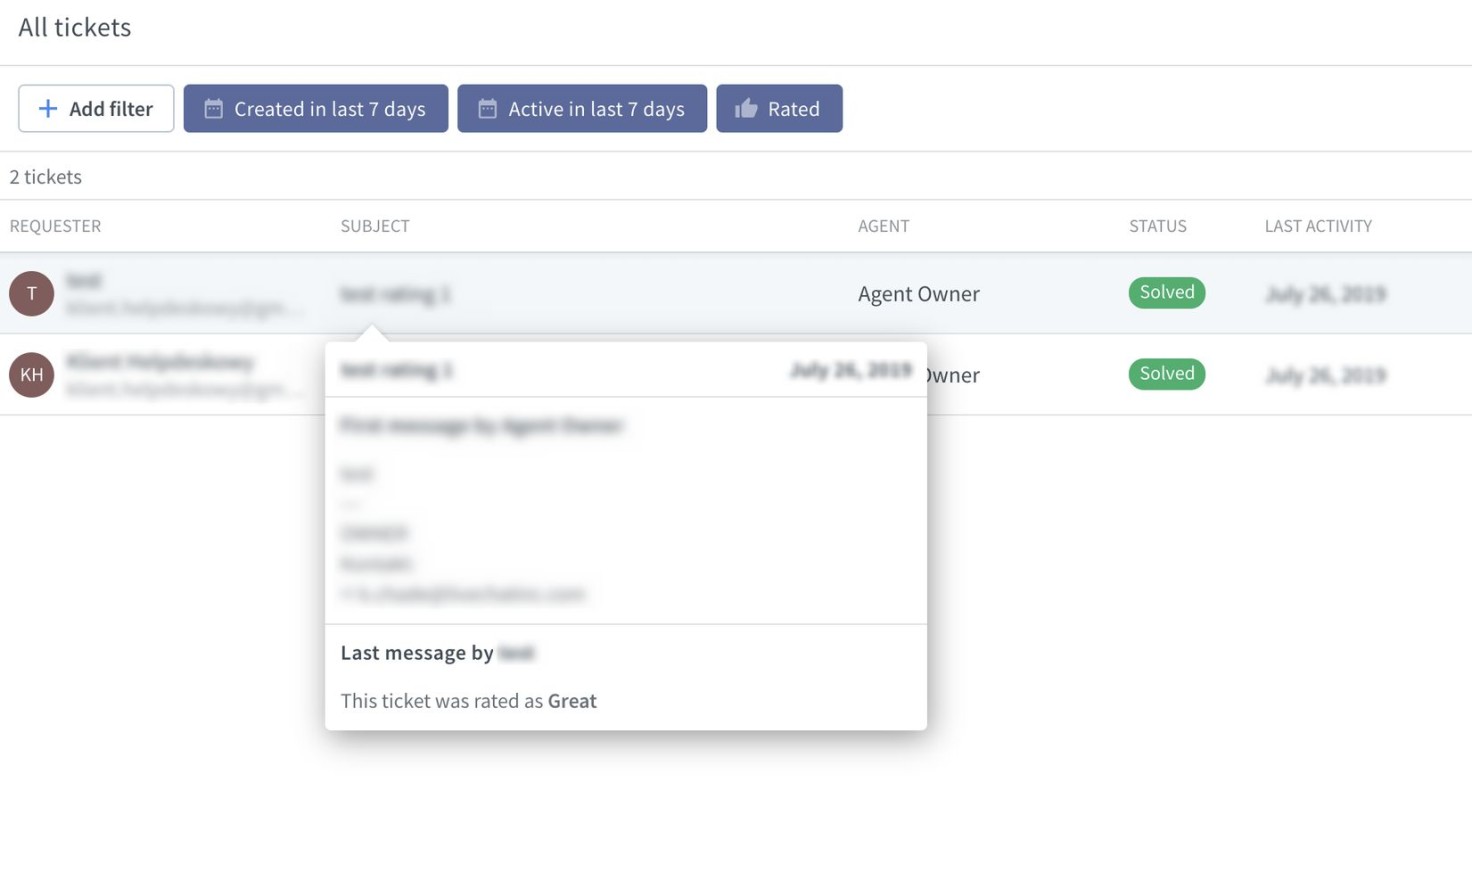
You can filter your tickets by rating. Go to the main dashboard, click on the “+Add Filter” button, select “Rating,” and pick the ticket rating status you’re interested in.
Ticket ratings are also visible in the ticket preview. Hover your cursor over a ticket to see its rating.
Customer satisfaction reports
Ticket ratings are a great indicator of whether you’re doing something right or need improvement. You can analyze your ticket ratings in the “Reports” section. Select the “Ticket Satisfaction” report to find out how you did.
