 158 29
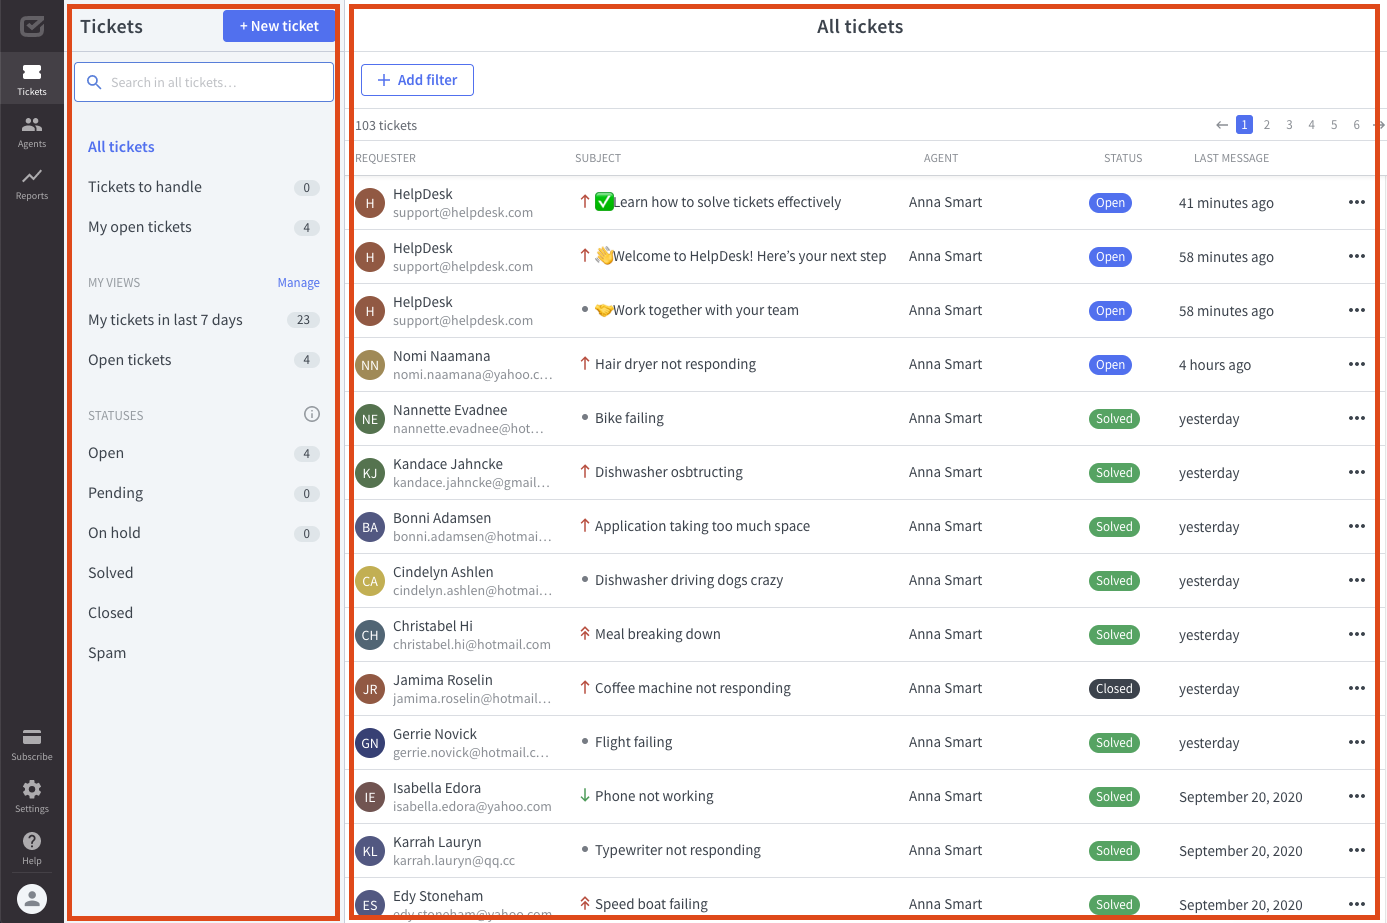
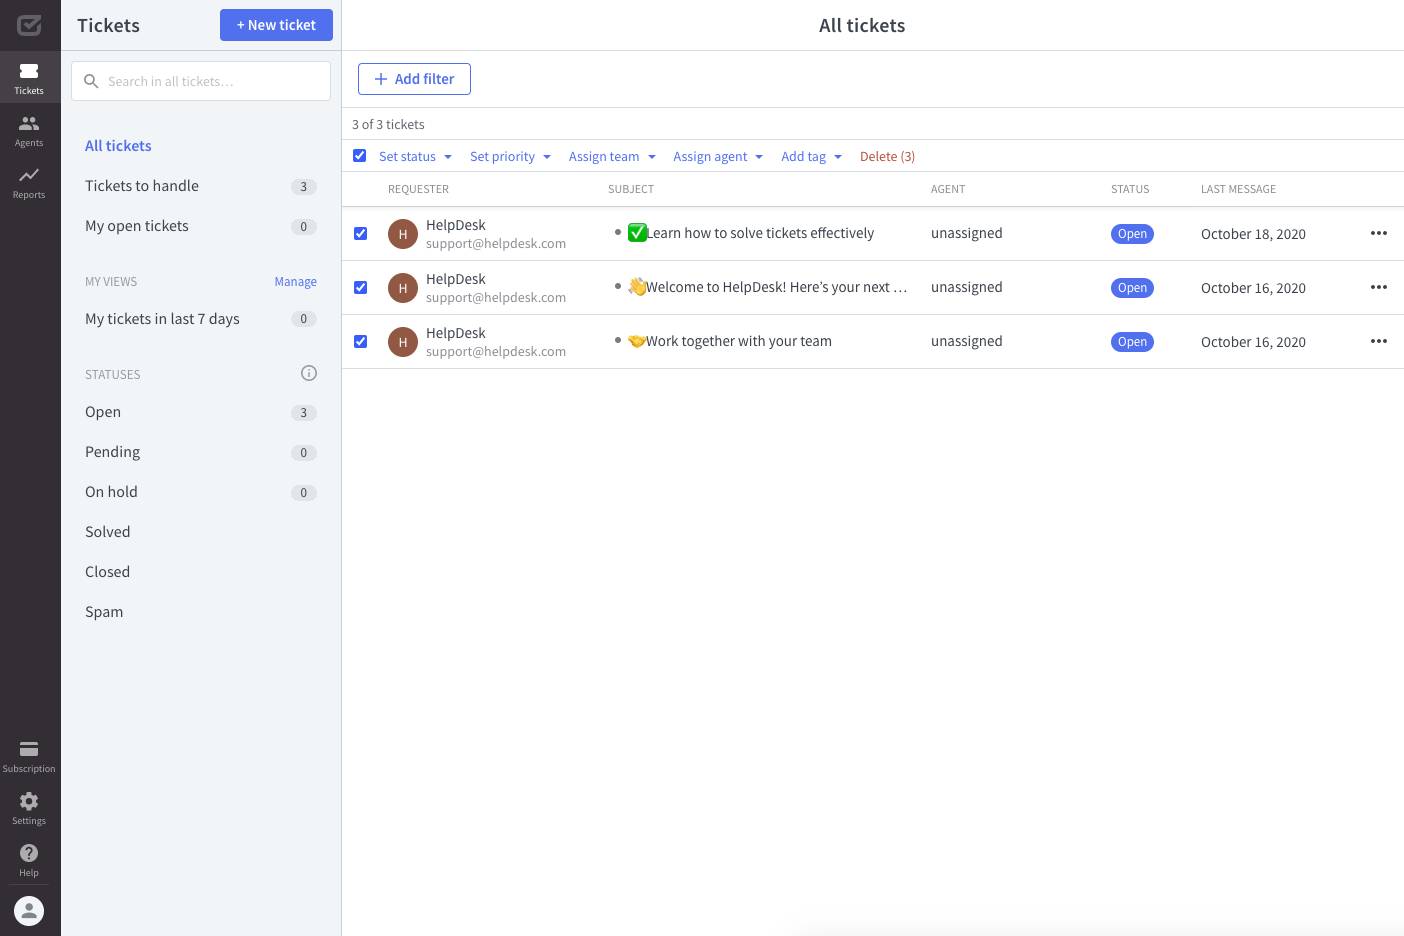
When you open HelpDesk, you’ll see the ticket dashboard. In this article, we’ll explain how to navigate your dashboard.
In this view, you can see 2 basic sections:
-
Views (on the left)
-
Ticket list (on the right)
Views
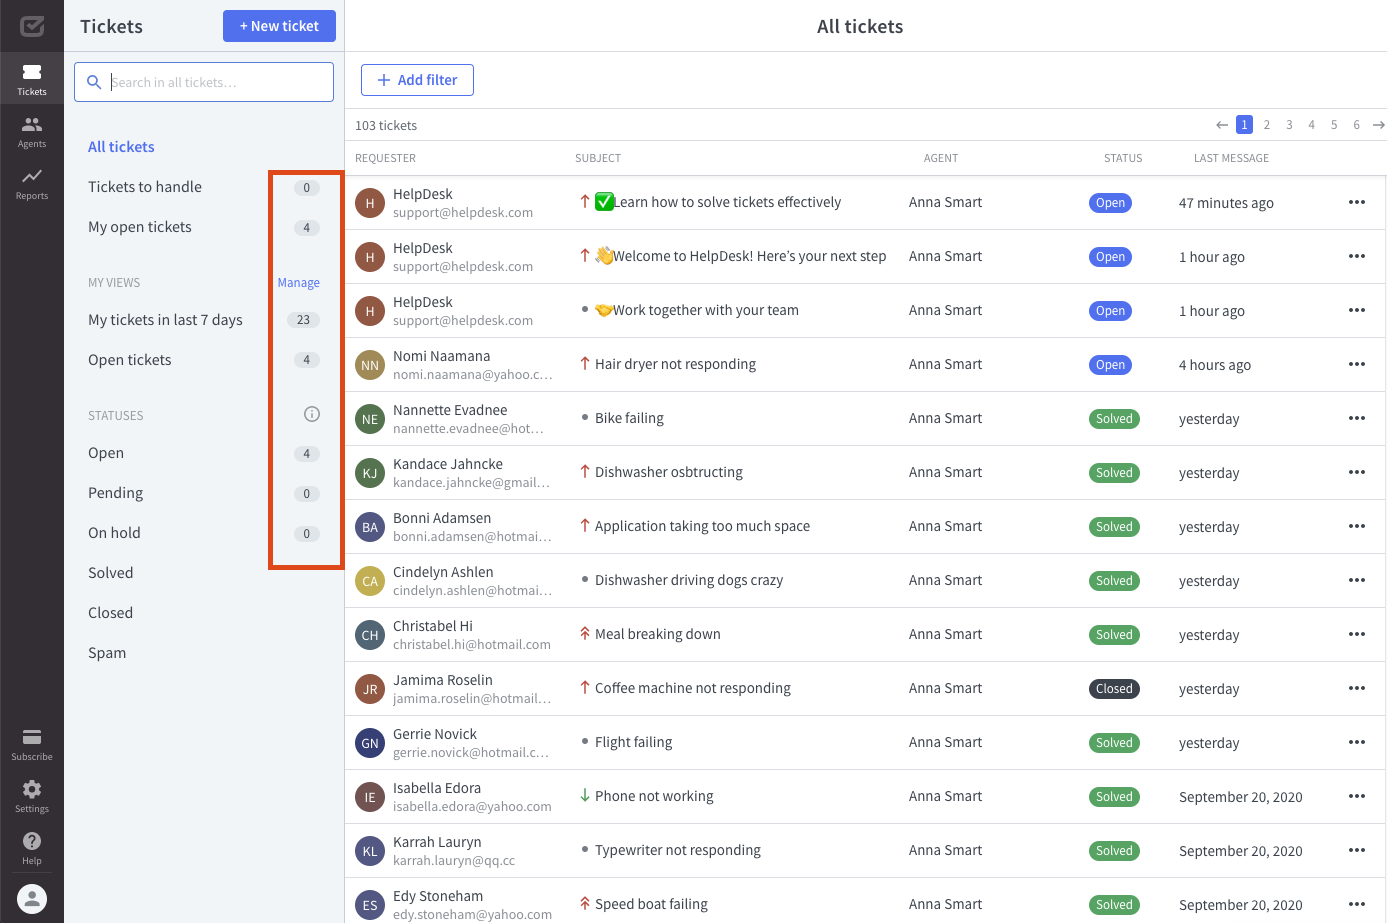
Views help you navigate through different ticket lists. They are sorted by views or ticket status. Here, you will also find a search bar and the ‘+ New ticket’ button.
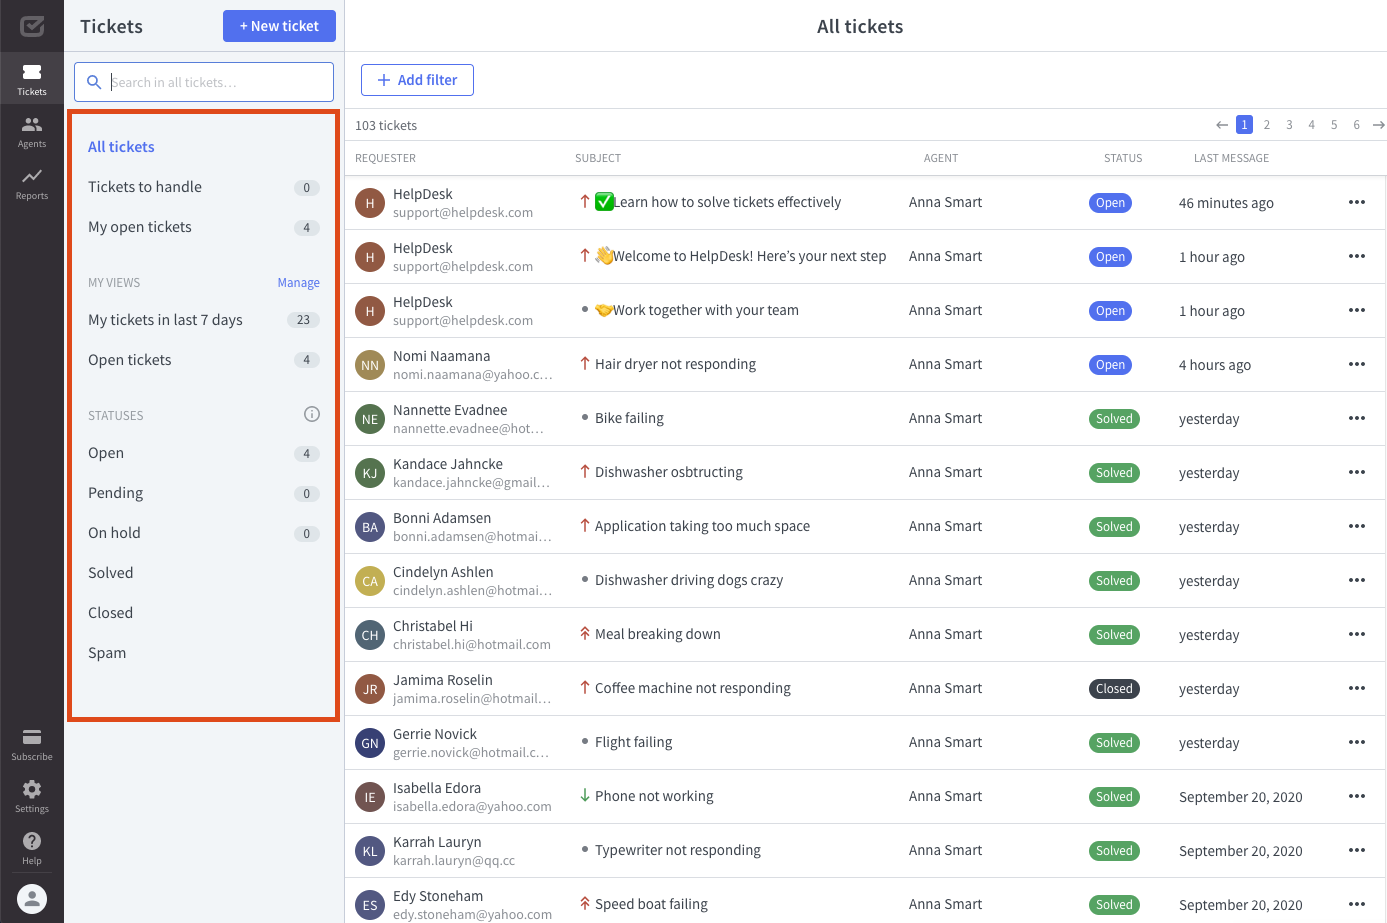
Also, you can easily spot the number of particular customer cases thanks to the counters.
Ticket list
Here you can see all the tickets from a specific view. The list includes following ticket details:
-
Requester’s details
-
Subject
-
Agent
-
Status of the ticket
-
Date of the last message that was sent in the ticket thread
You can choose filters that will help you find tickets according to specific parameters. Learn more about filters.

Open a ticket to write a message, access the message history, and the ticket details.

Bulk actions on the ticket list
Bulk actions are helpful when performing tasks on a large scale. Also, they speed up work during the responsibility assignment.
The option to perform bulk actions is available on all ticket views.
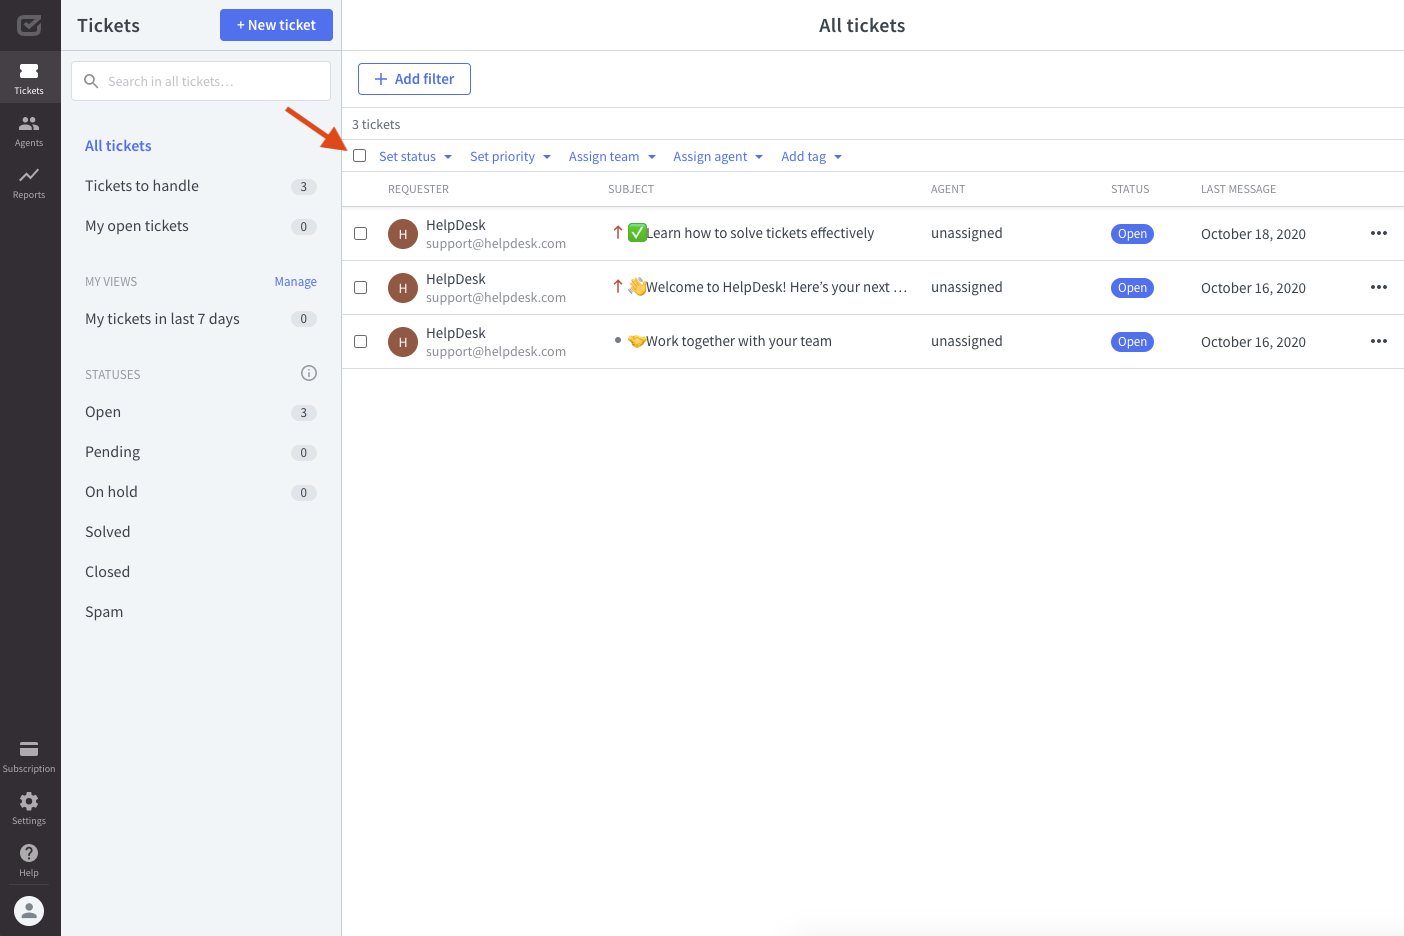
You can create and apply a bulk action to a set of your tickets. First, choose all or some of your tickets.
Select the actions to be performed collectively within the selected tickets.
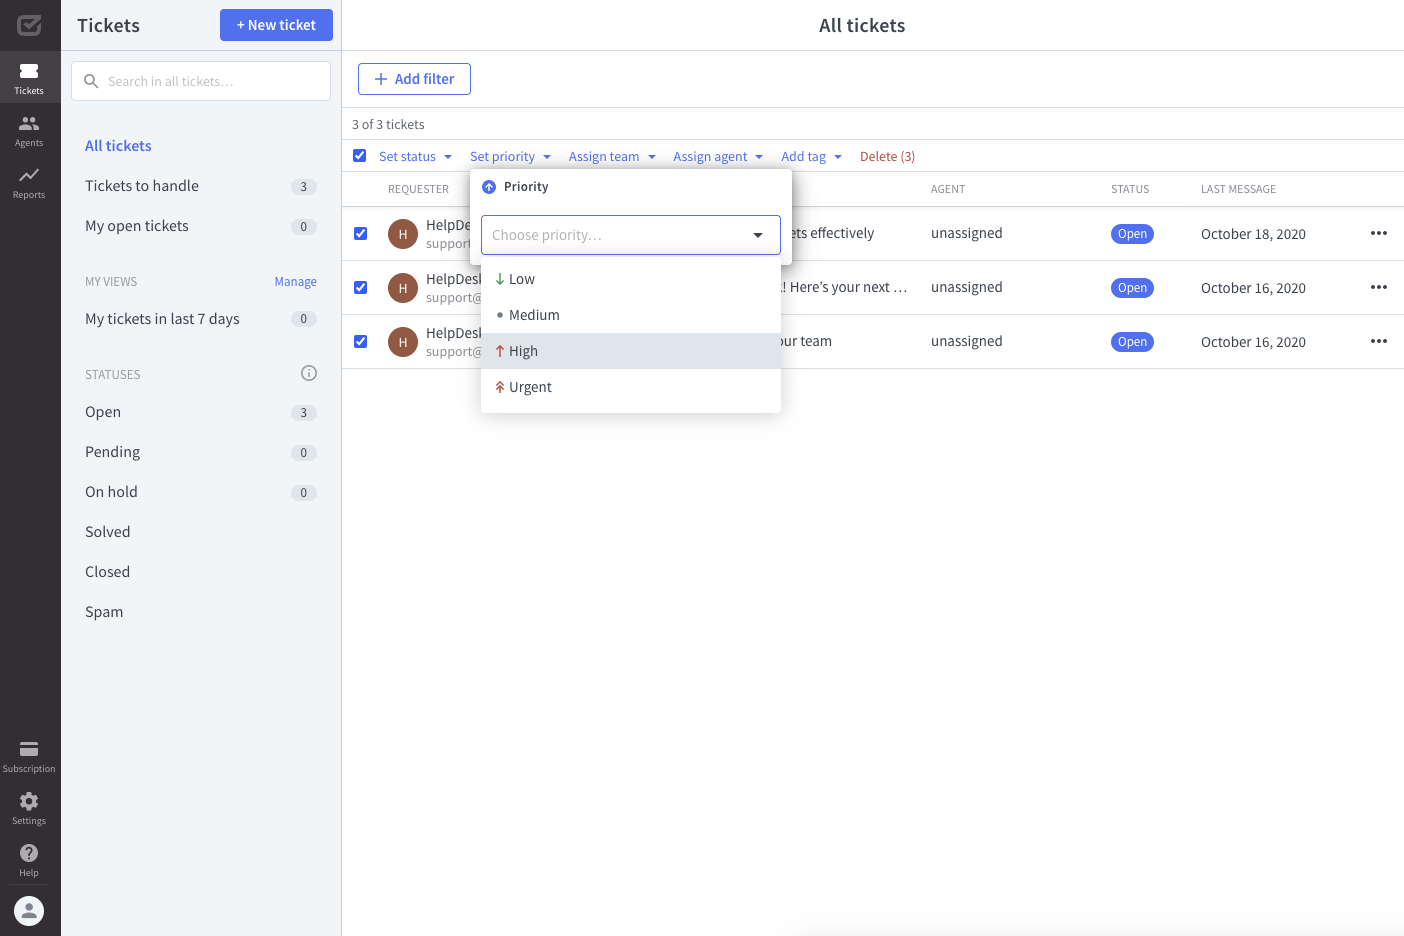
When you’re done selecting the actions, click on the “Apply” button to finalize the process.
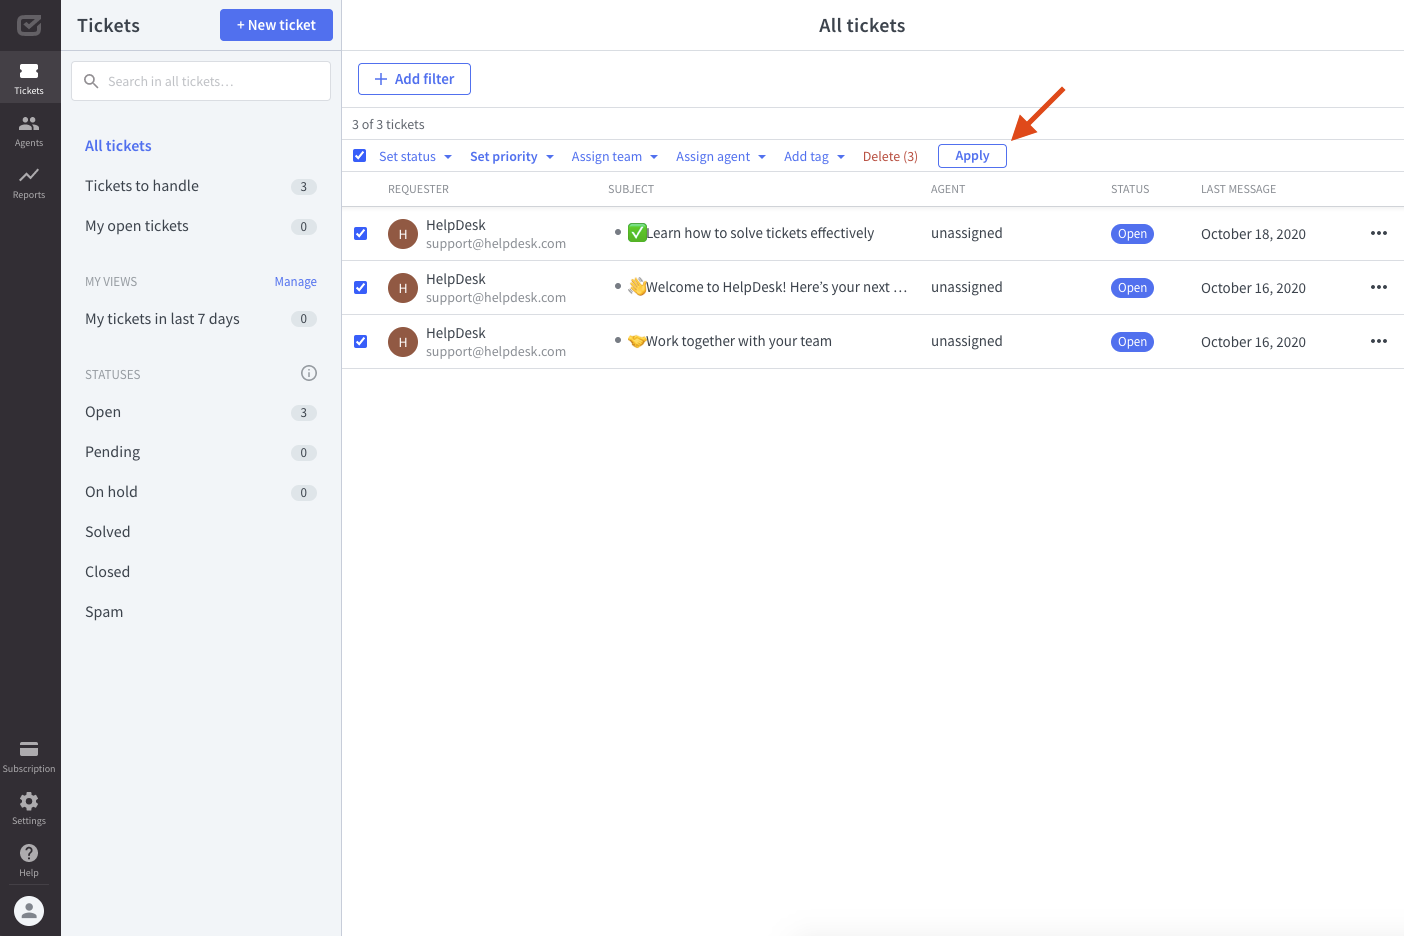
After clicking on the “Apply” button, a bulk action is performed, and changes to the selected tickets are made immediately.

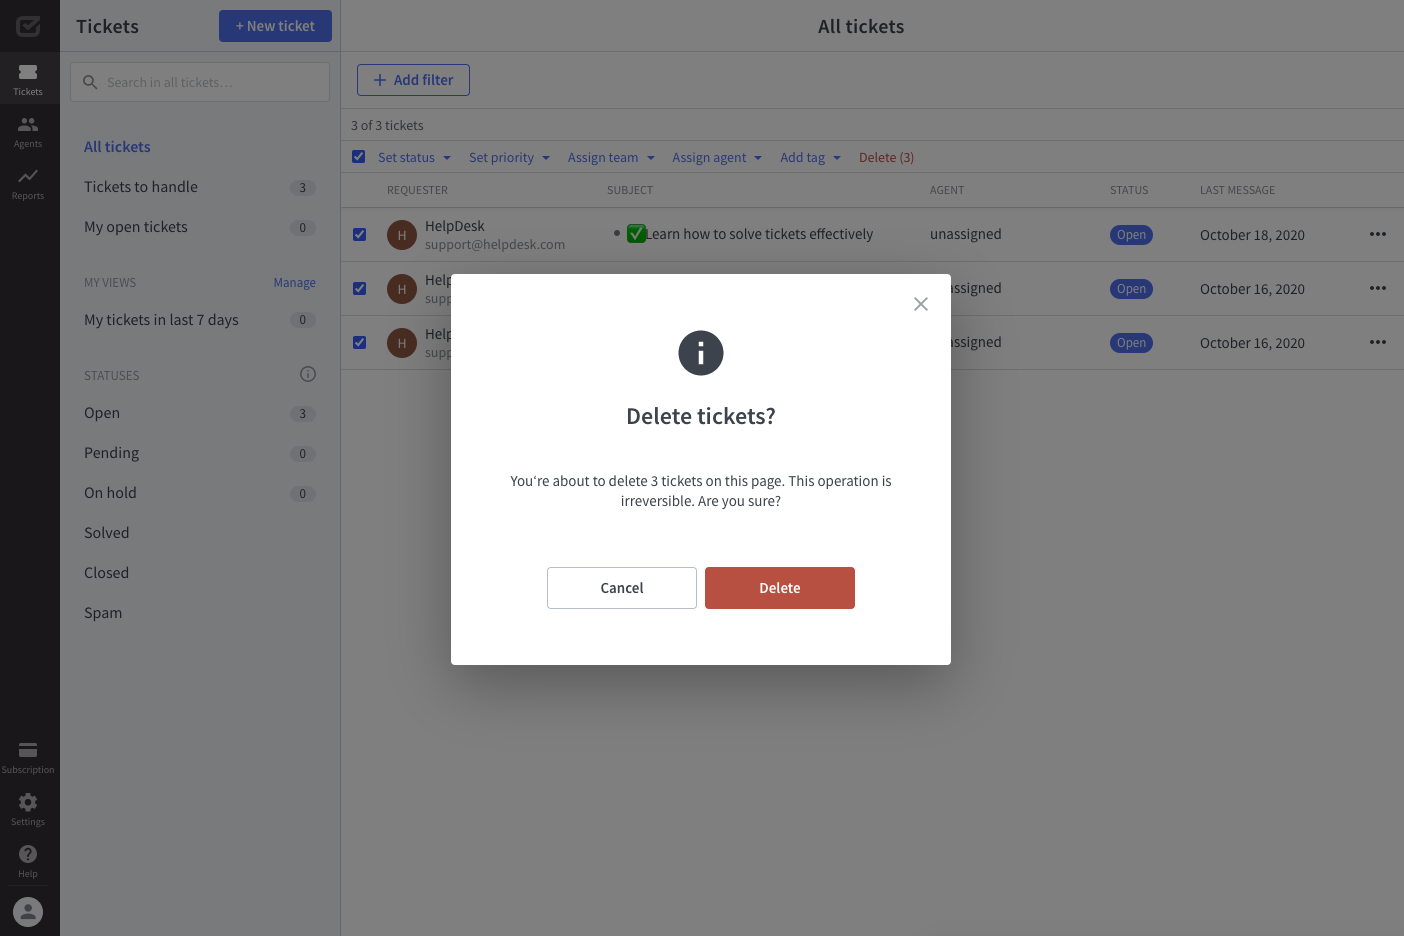
Deleting tickets in bulk
Deleting tickets as such, not only for bulk actions, is only possible if you have the admin role in HelpDesk. Before you delete your tickets, you’ll be asked for additional confirmation to do this.
Deleting tickets can fail when another agent or admin in the meantime changes the ticket’s attributes, such as status or priority. It can also be a situation when an agent loses access to the ticket.
